Featuring Premium Parts from
by Scott Ammerman
Torque Correspondent
Wheels are an essential part of any Jeep build. I’m not just saying that because they are required equipment that pairs with tires, and the Jeep would make an awful lot of noise driving without them, but wheels are really the finishing touch that ties the whole package together.
When you look at a lot of Jeep builds, it seems like too many wheels are purchased with only aesthetics in mind, and not much thought to the engineering and manufacturing process that makes a durable and well thought out wheel.
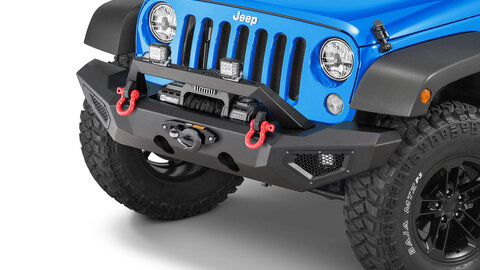
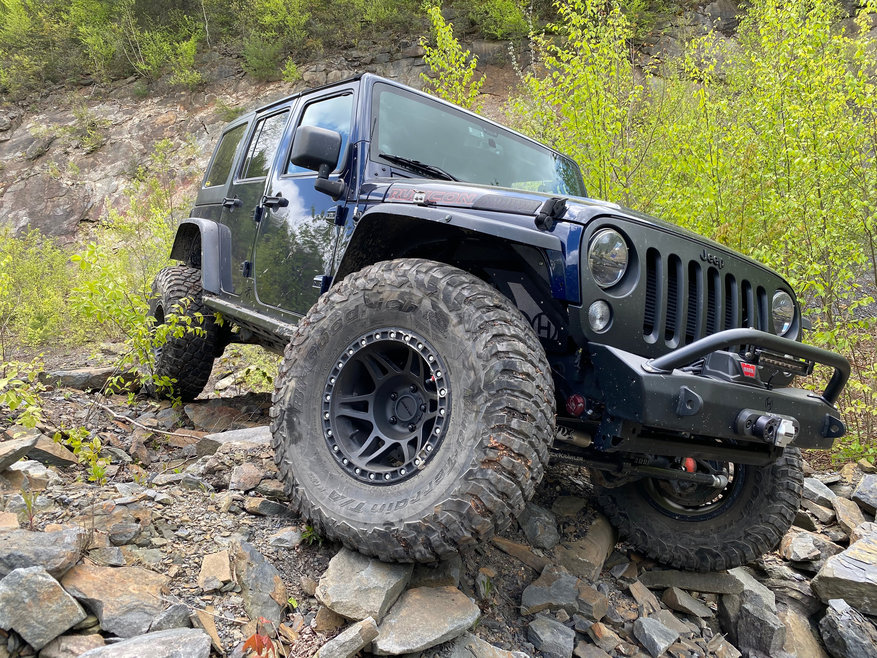
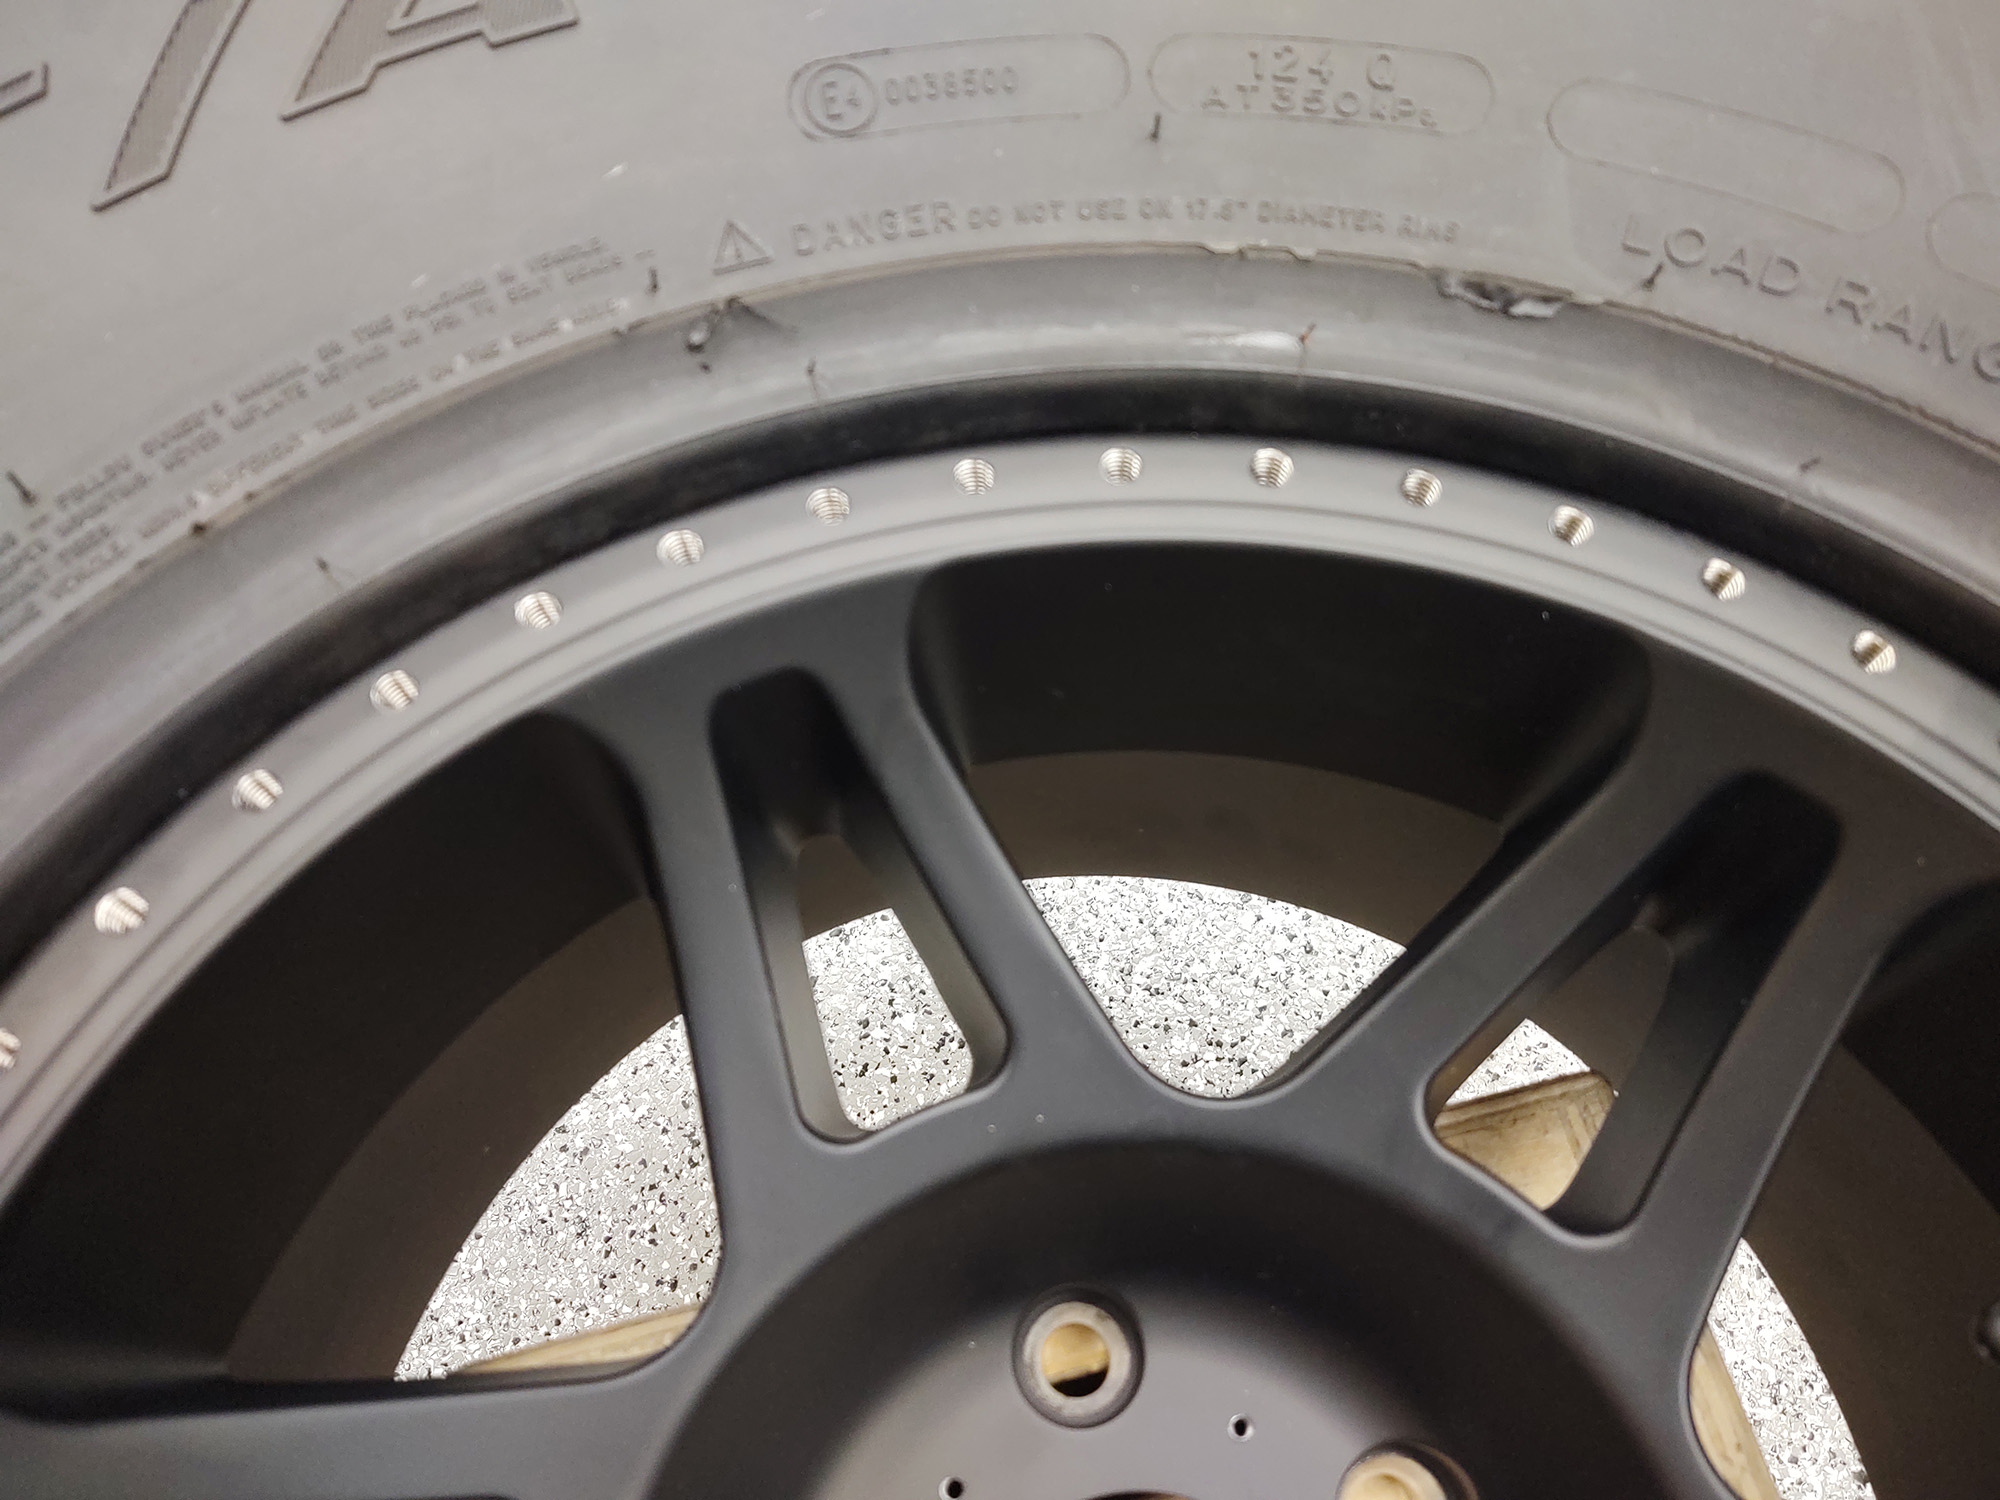
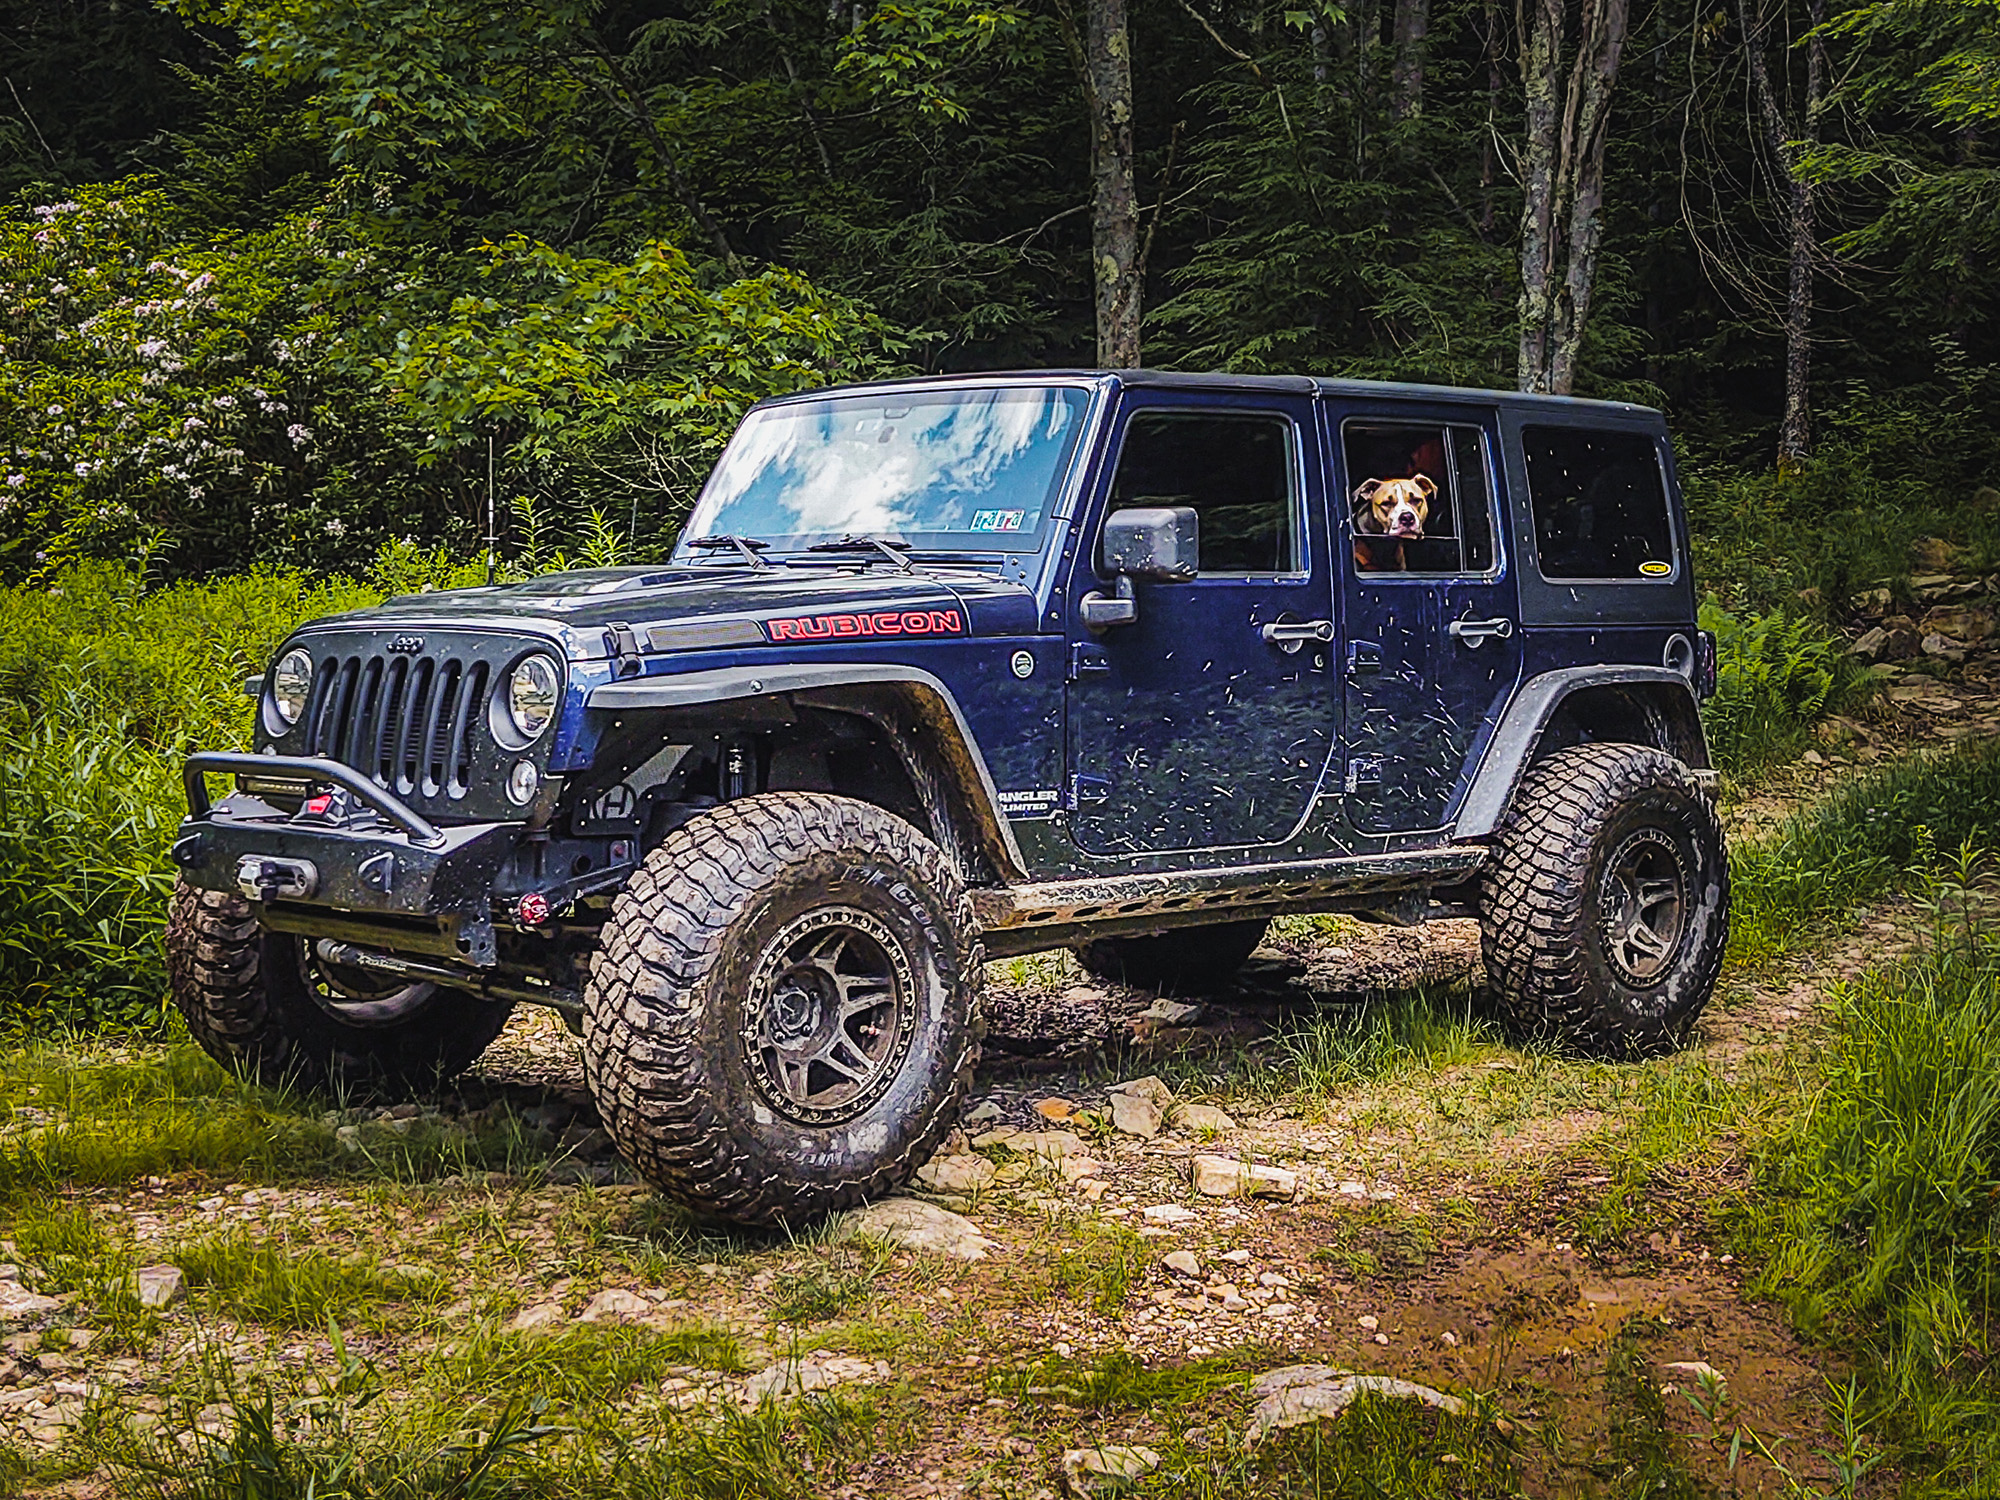
With several Rock Krawler Suspension and steering upgrades already installed, I recently felt it was now time to consider new wheels for project Rattler. For one thing, the original wheels were not the correct backspacing to clear the straight rear control arms, and make use of the full articulation of the Rock Krawler X-Factor Mid Arm Suspension with the MCE Front and Rear Flexible Fender Flares. For this setup, a wheel with 3.5” backspacing will work with up to a 39” tire.
In the short-term, I had been running 1.5” spacers because my wheels didn't clear the suspension or the Rock Krawler Aluminum Off Road Pro Tie Rod steering properly.
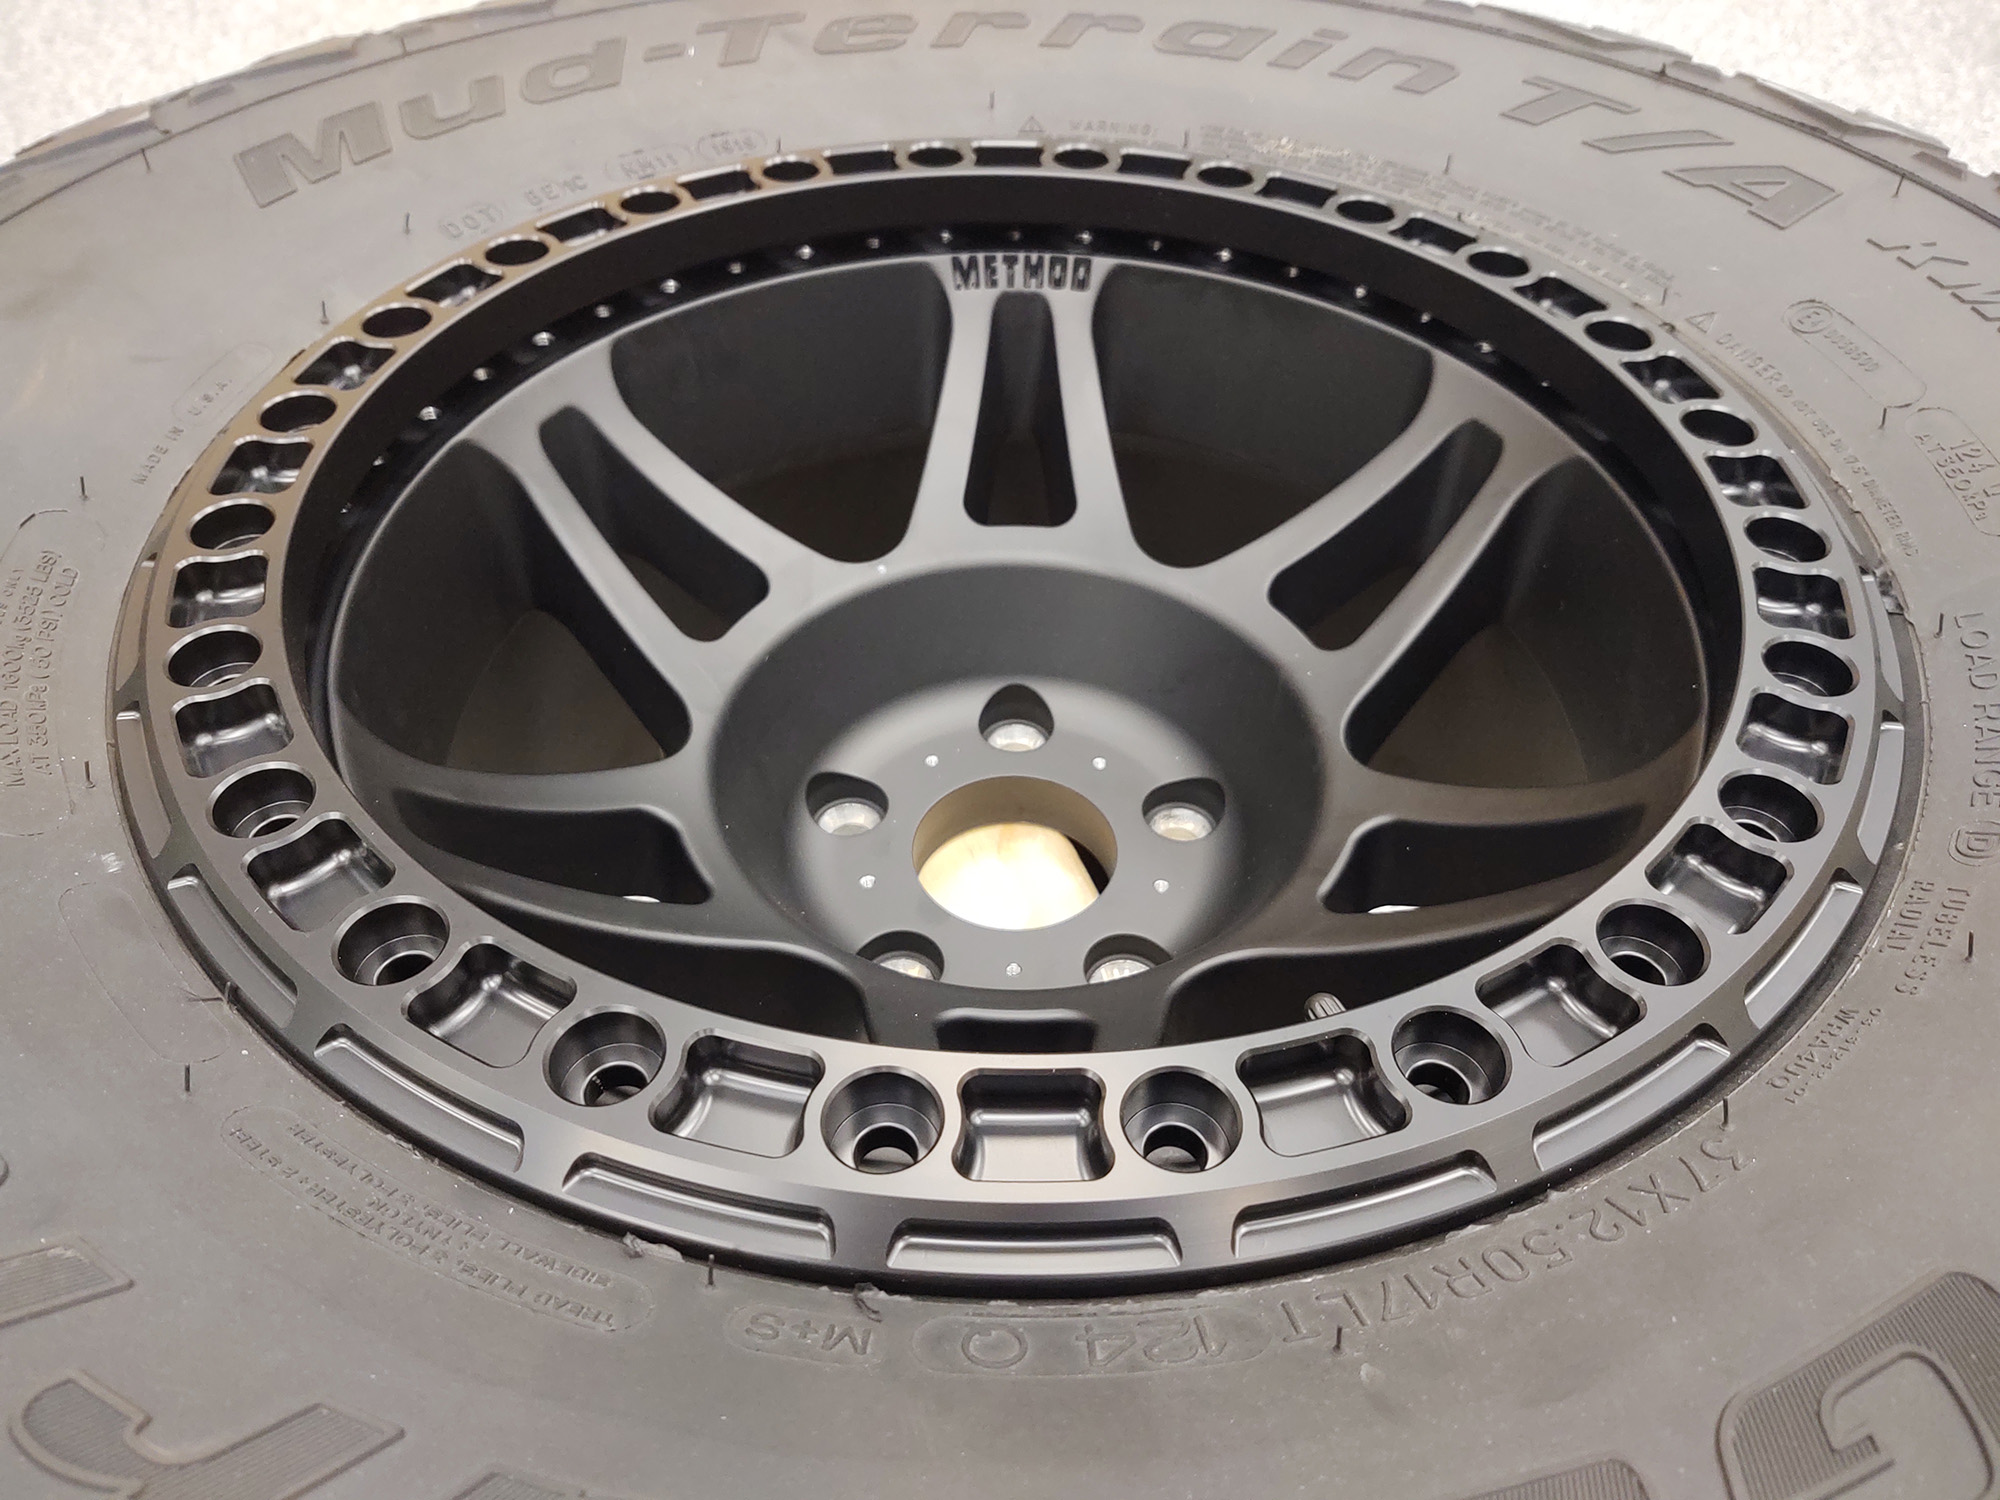
Although they are not legal for on-road use, I wanted a full beadlock wheel because running some seriously low tire pressure on the trail is a huge traction advantage with 37” mud terrain tires—as well as something with 3.5” backspace and a 9” width. After checking out everything on the market that offered the features I wanted, I settled on the newly released Method Race Wheels MR106.
I had already purchased 37" BF Goodrich KM3 Mud Terrain Tires, and knew they would work perfectly with this set up. When purchasing wheels, it is best to look towards what your eventual upgrade needs might be, so as to not waste money on a temporary solution. After axle reinforcement, these wheels, my suspension and fenders will allow me to use 39” BFG KM3 tires down the road if I choose.
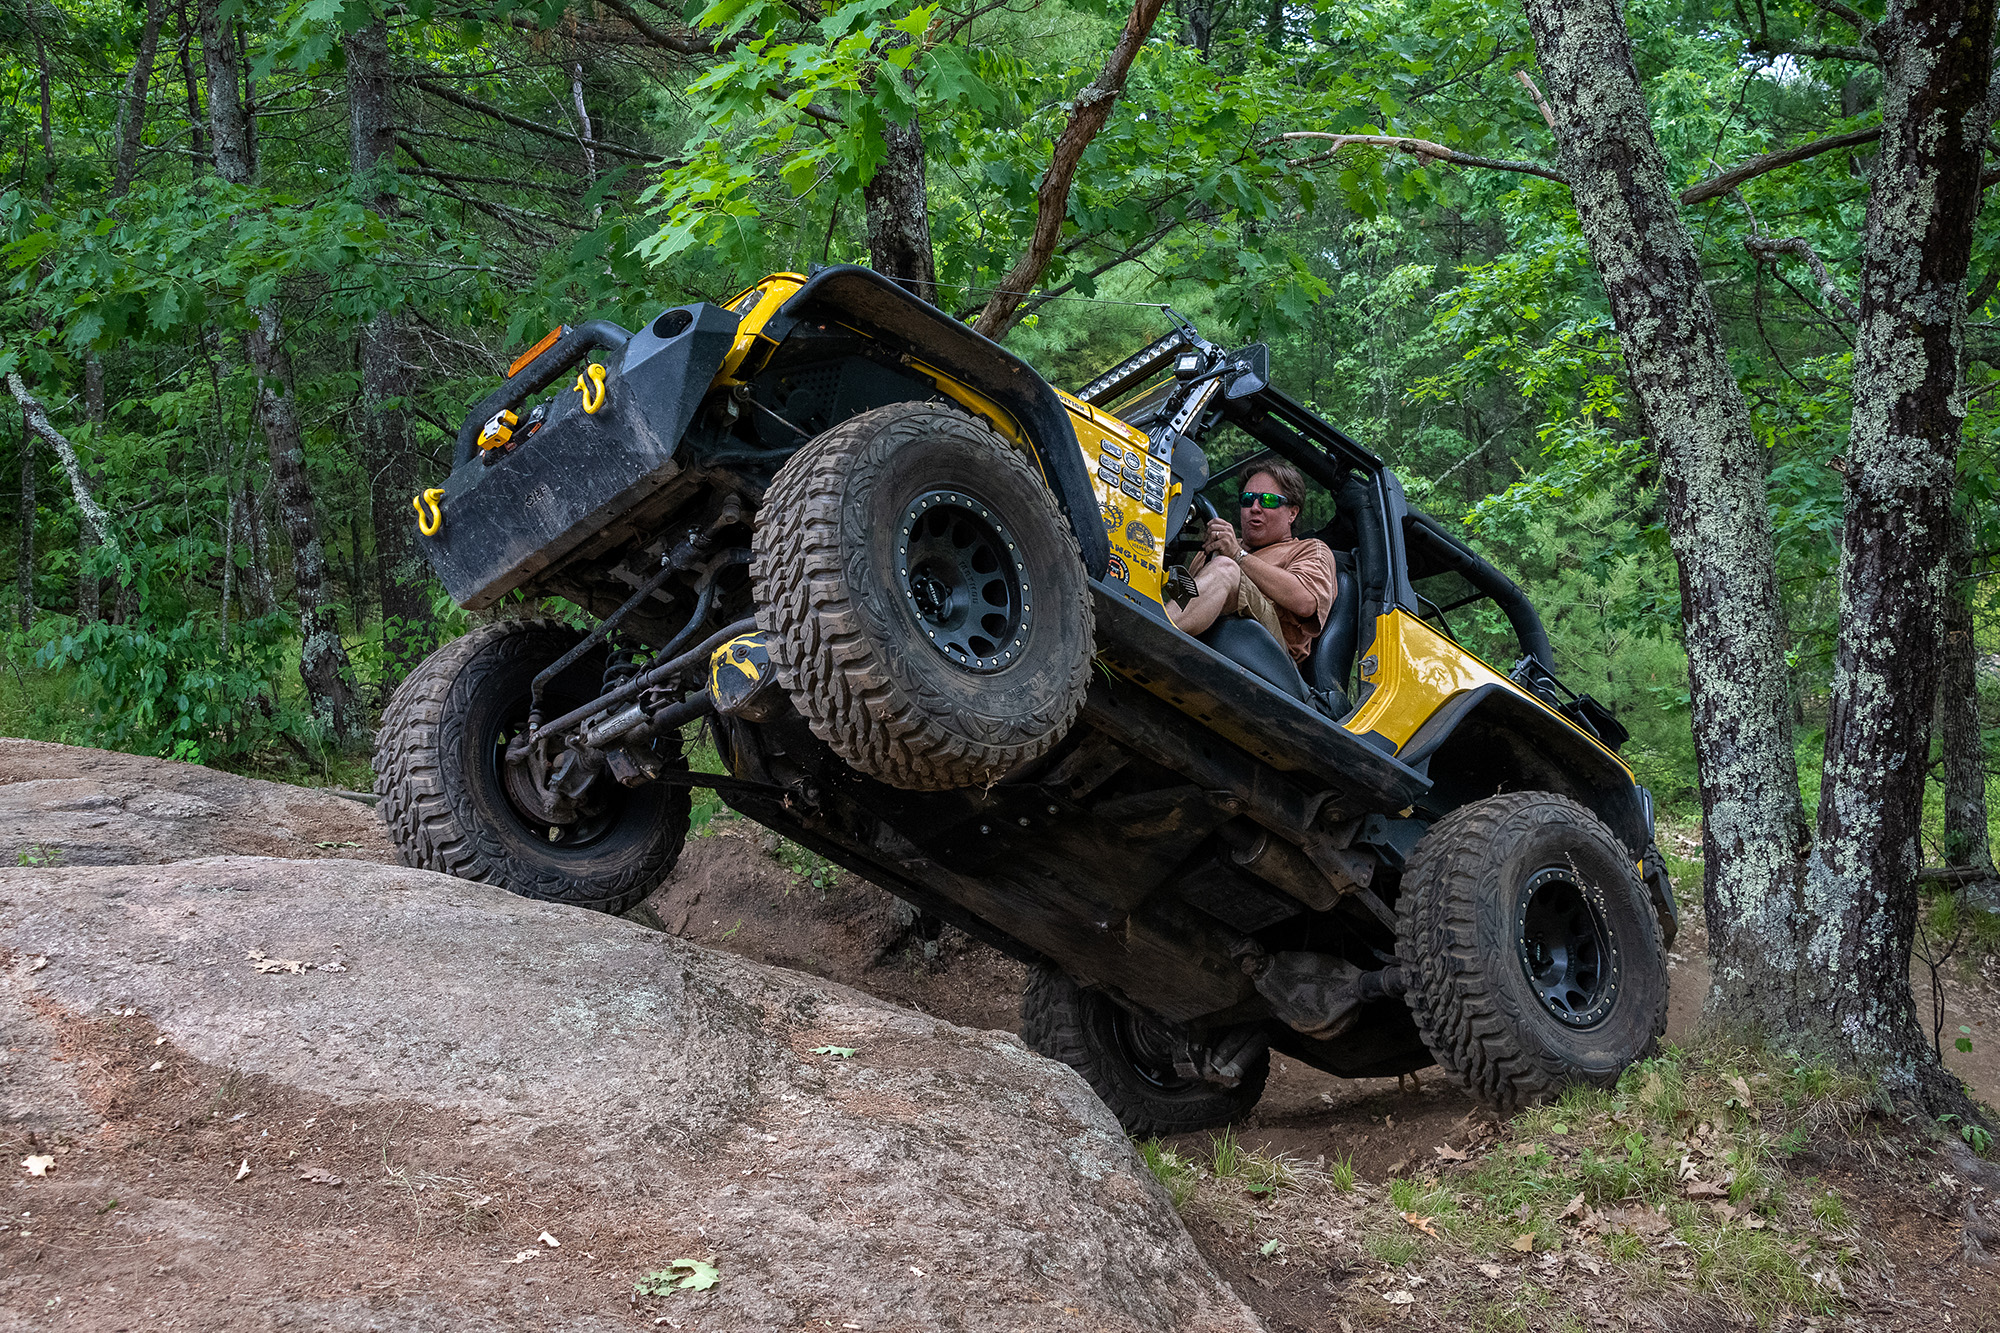
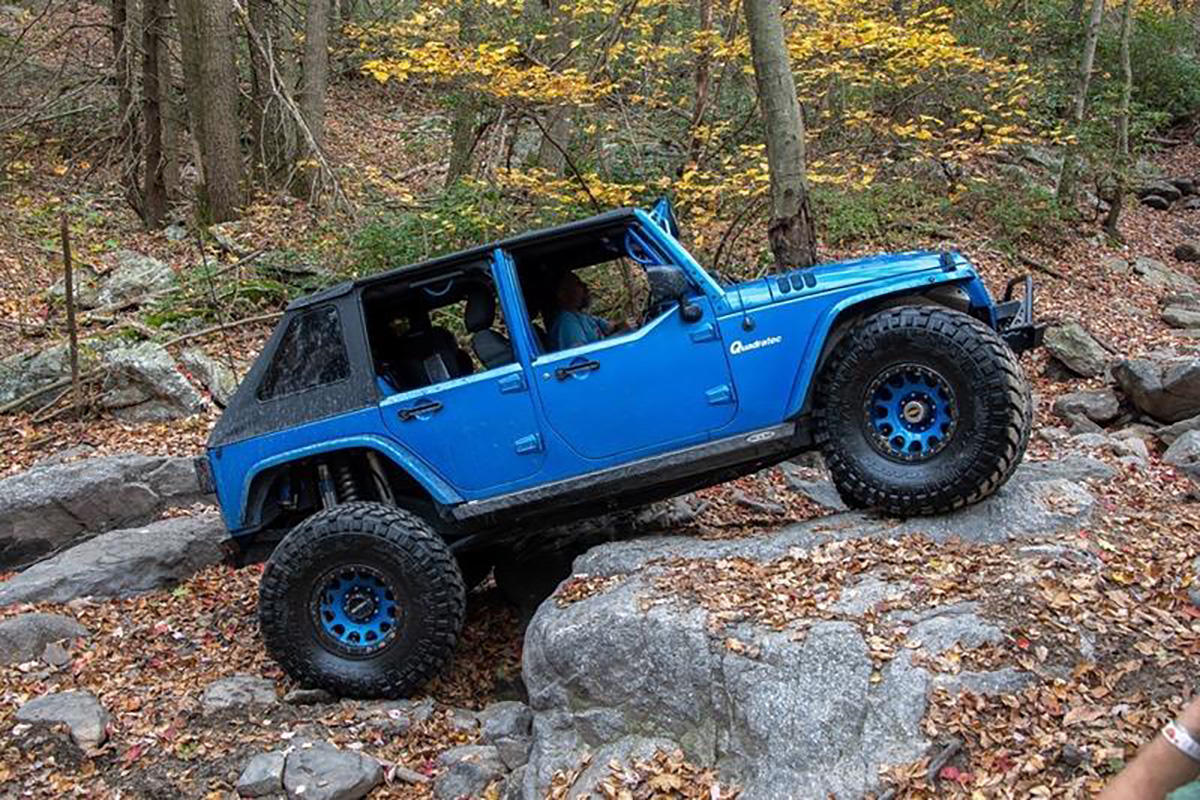
Photo Credit: Dalenda Estes
I have several friends who have run Method MR105s for years (including Quadratec’s own Project Overkill, in a different bolt pattern due to Dana Ultimate 60s), and they have been very happy with the wheels.
Why are Method Race Wheels the clear choice for so many purpose built Jeeps?

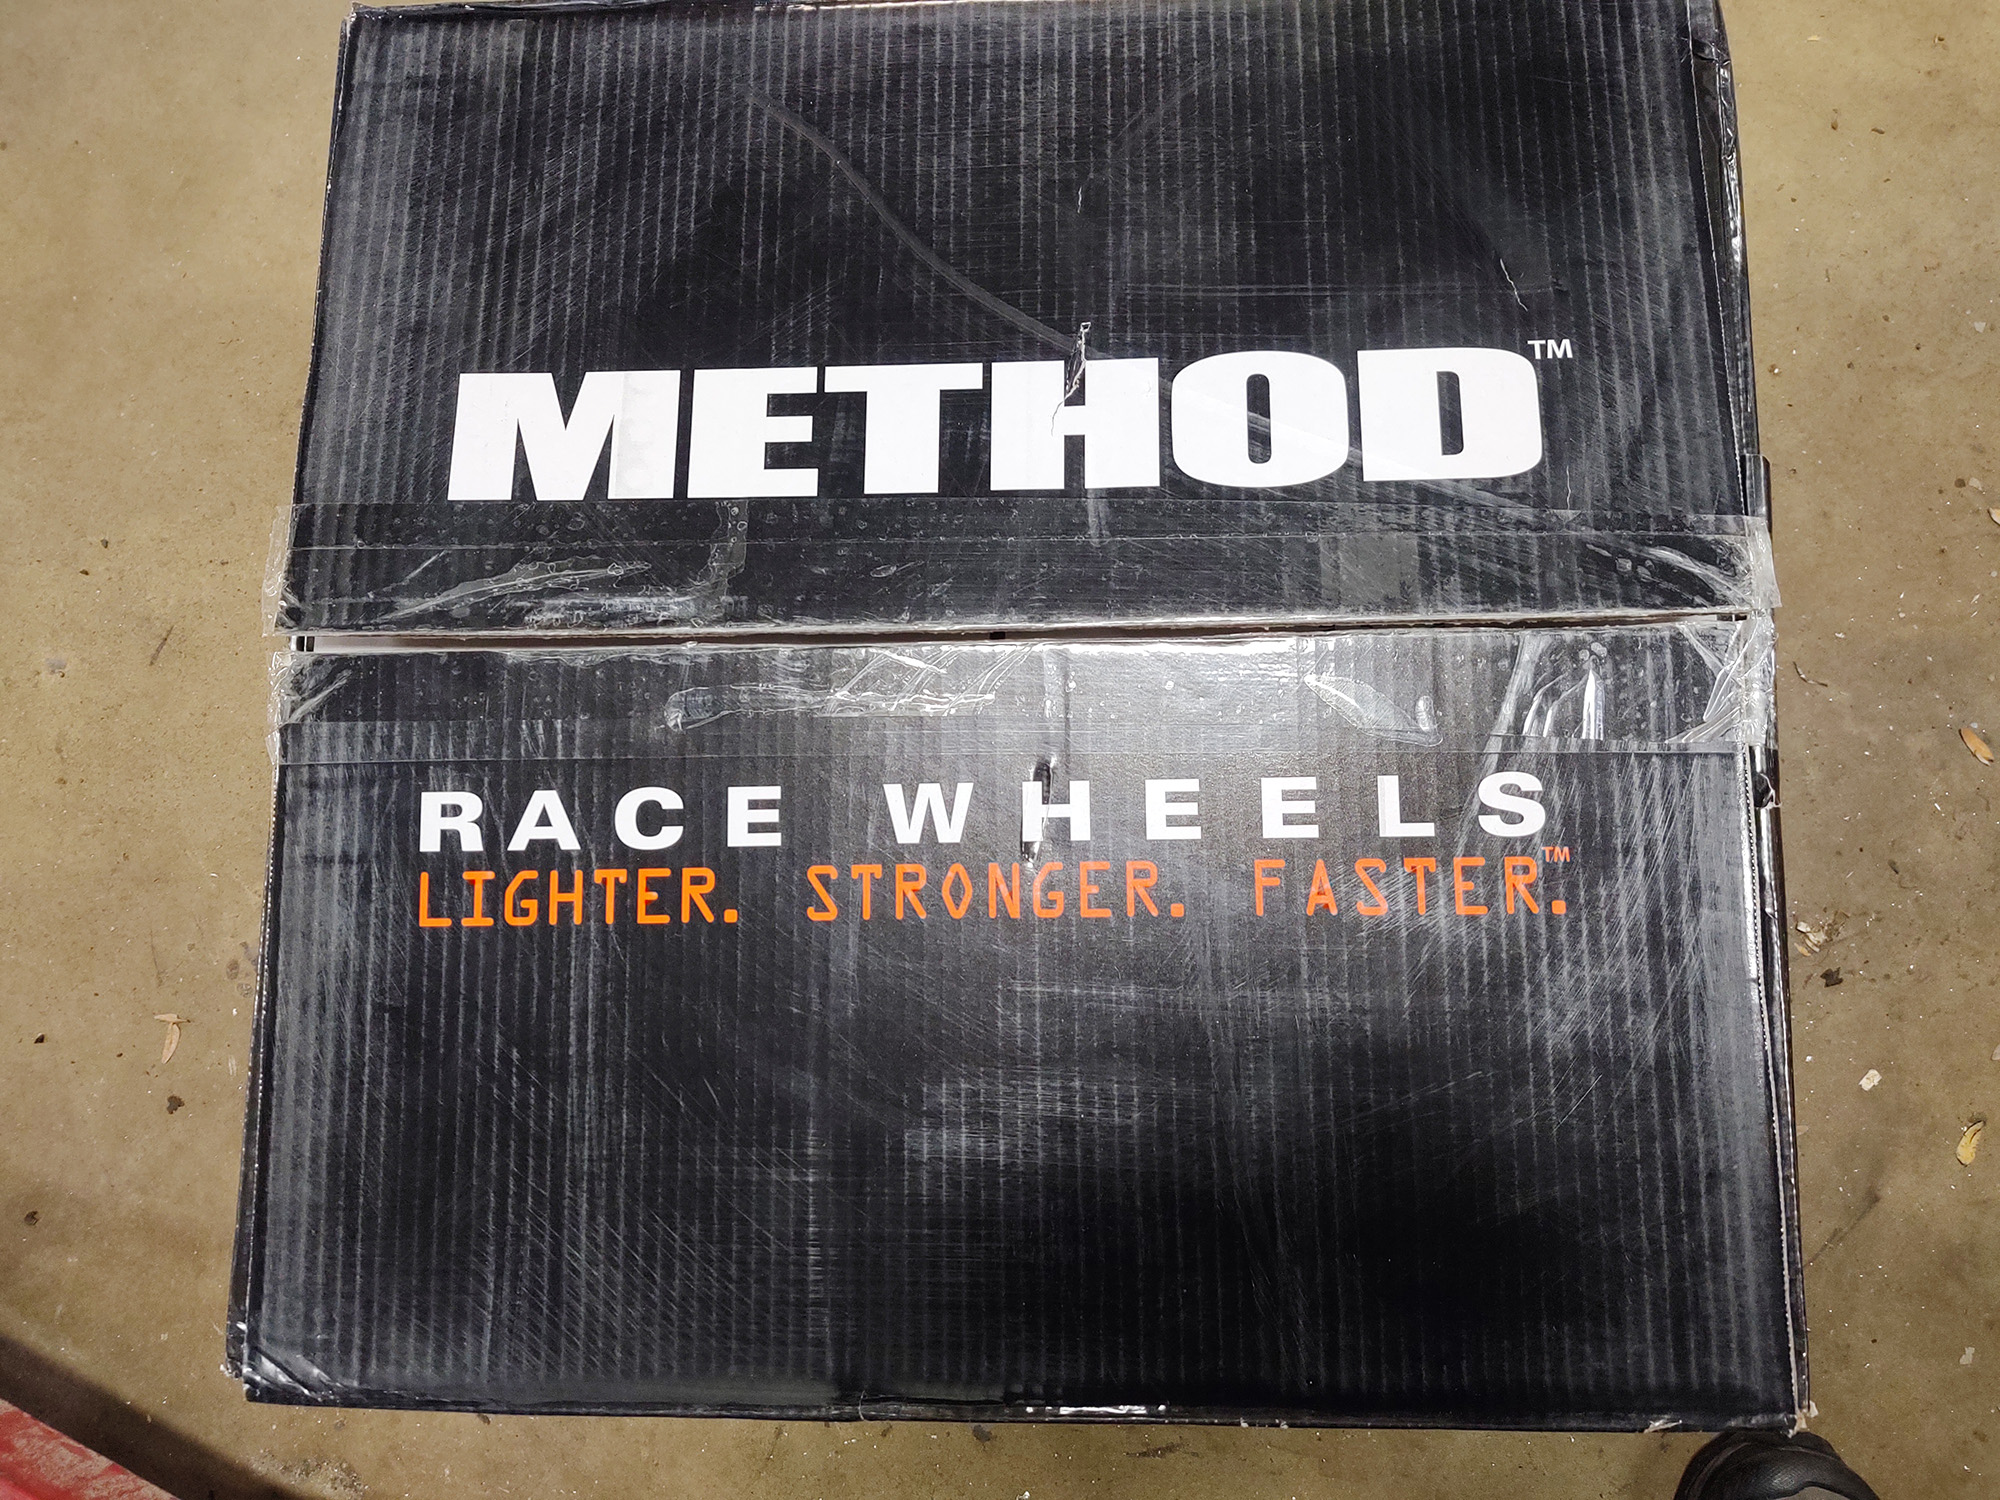
Method Race Wheels fully embodies three words in their logo—lighter, stronger, faster. This mentality has driven them to produce innovative and thoughtfully produced products that not only win races, but look exceptional during the process.
Lighter: Engineered to remove excess material while maintaining maximum strength.
Stronger: Highest certified load ratings, available up to 4,500 lbs. (the MR106 is 3600 lbs.)
Faster: Proven race winning performance across multiple motorsports disciplines.
What does this race winning product mean to you, as a Jeep owner? Everything they learn by creating high tech wheels for race vehicles transfers into every wheel they make—from street line to industry leading beadlock race wheels.
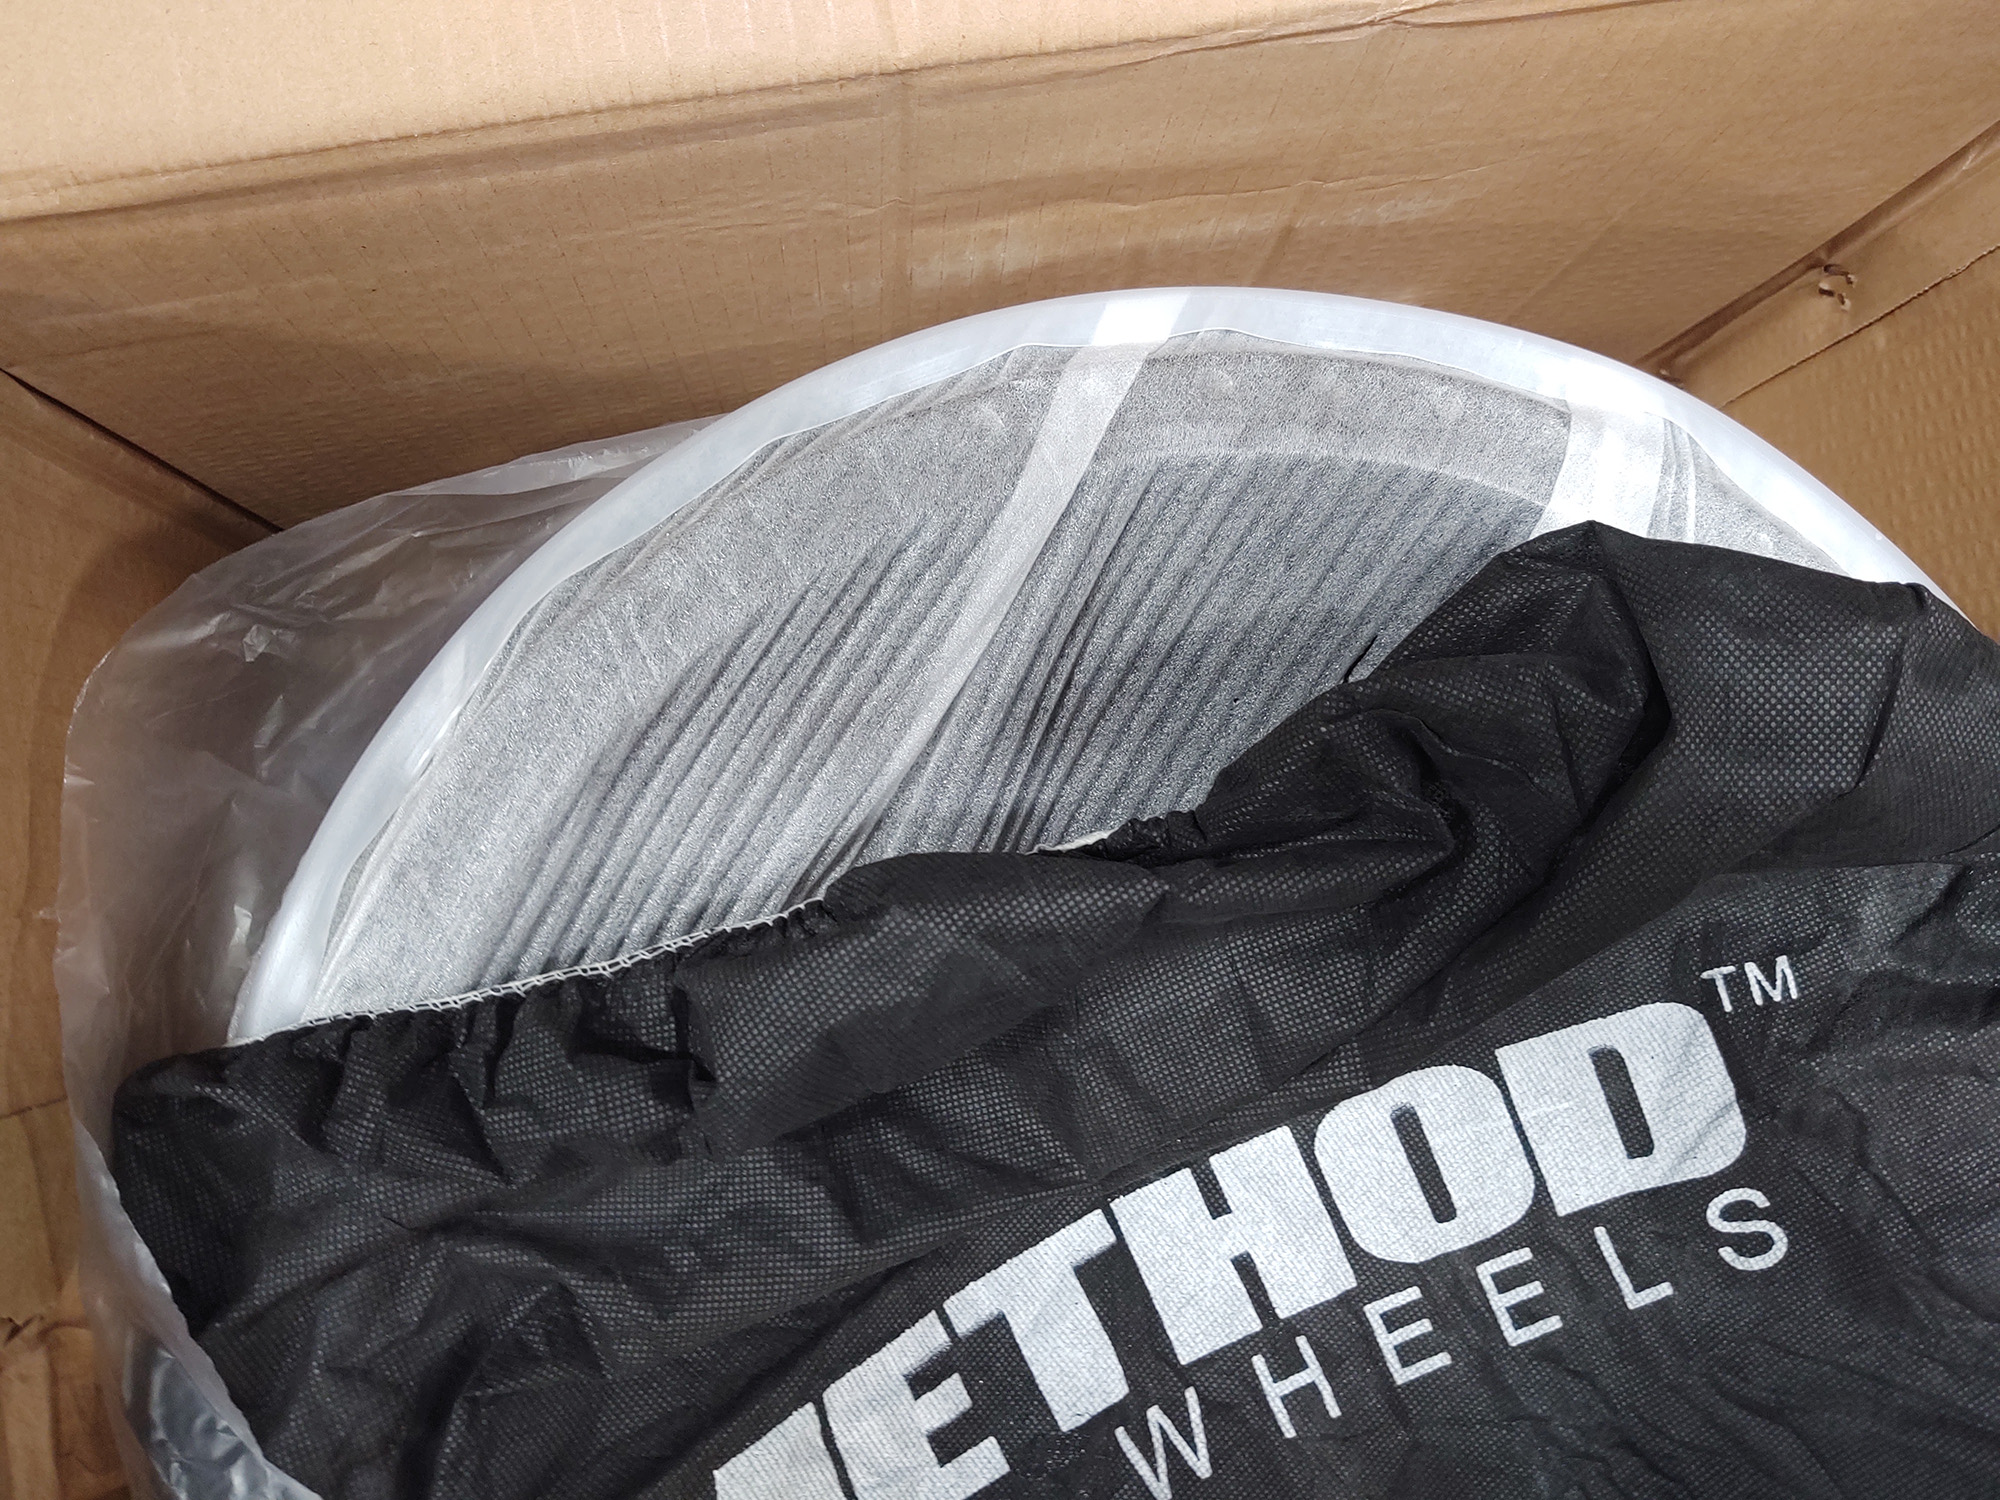
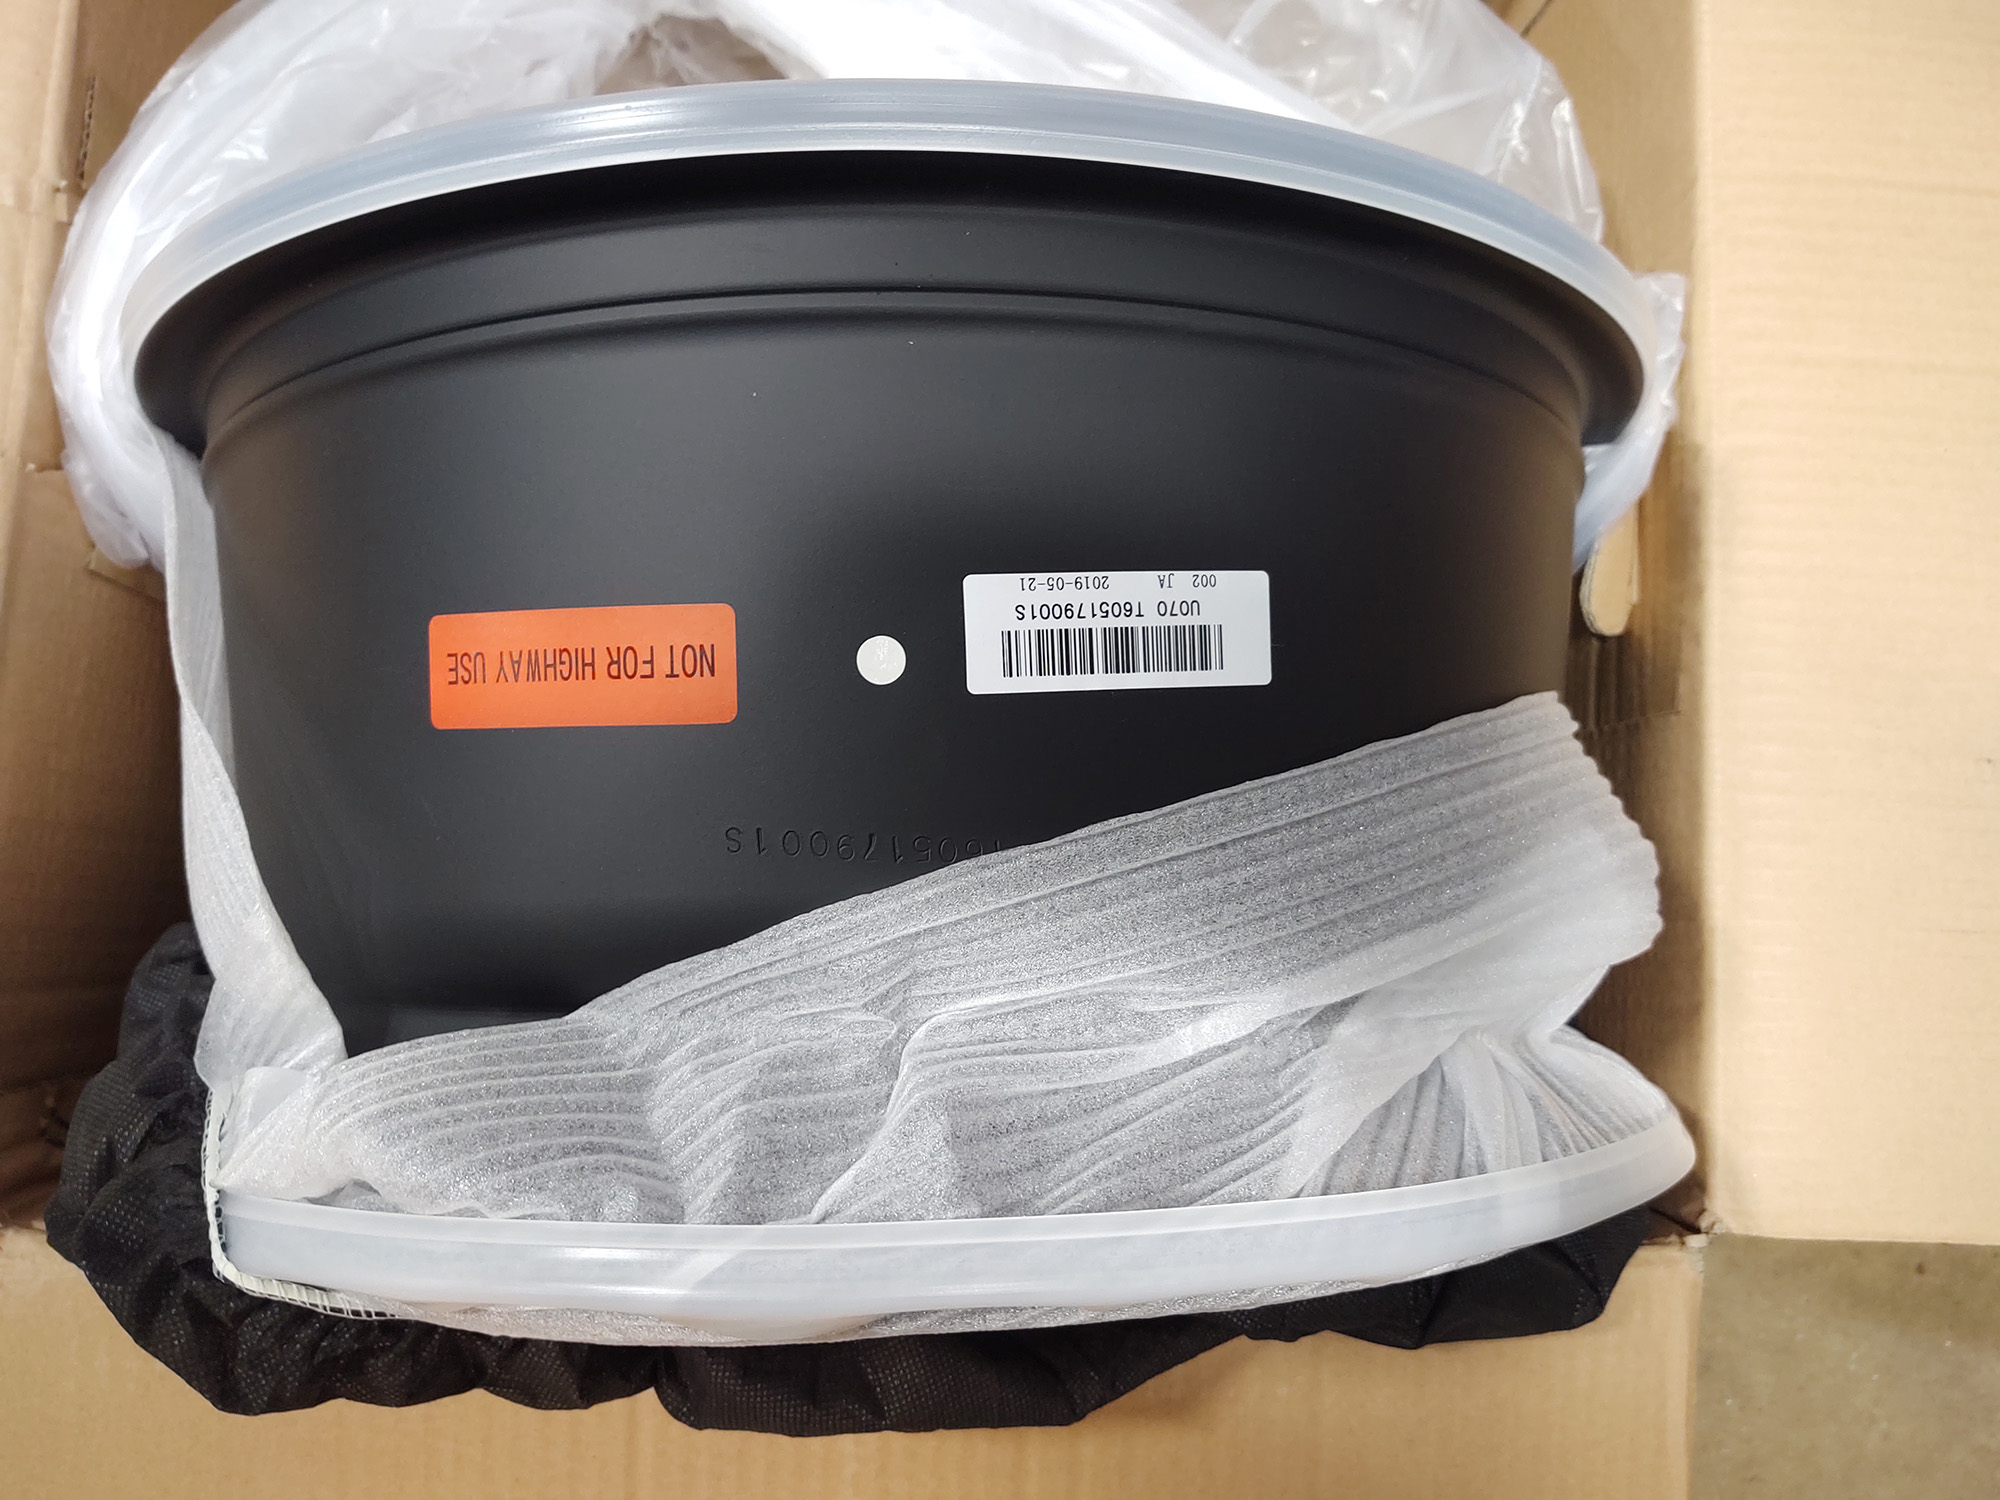
They arrive well packaged, which gives them excellent protection against any kind of mishandling while en route to you.
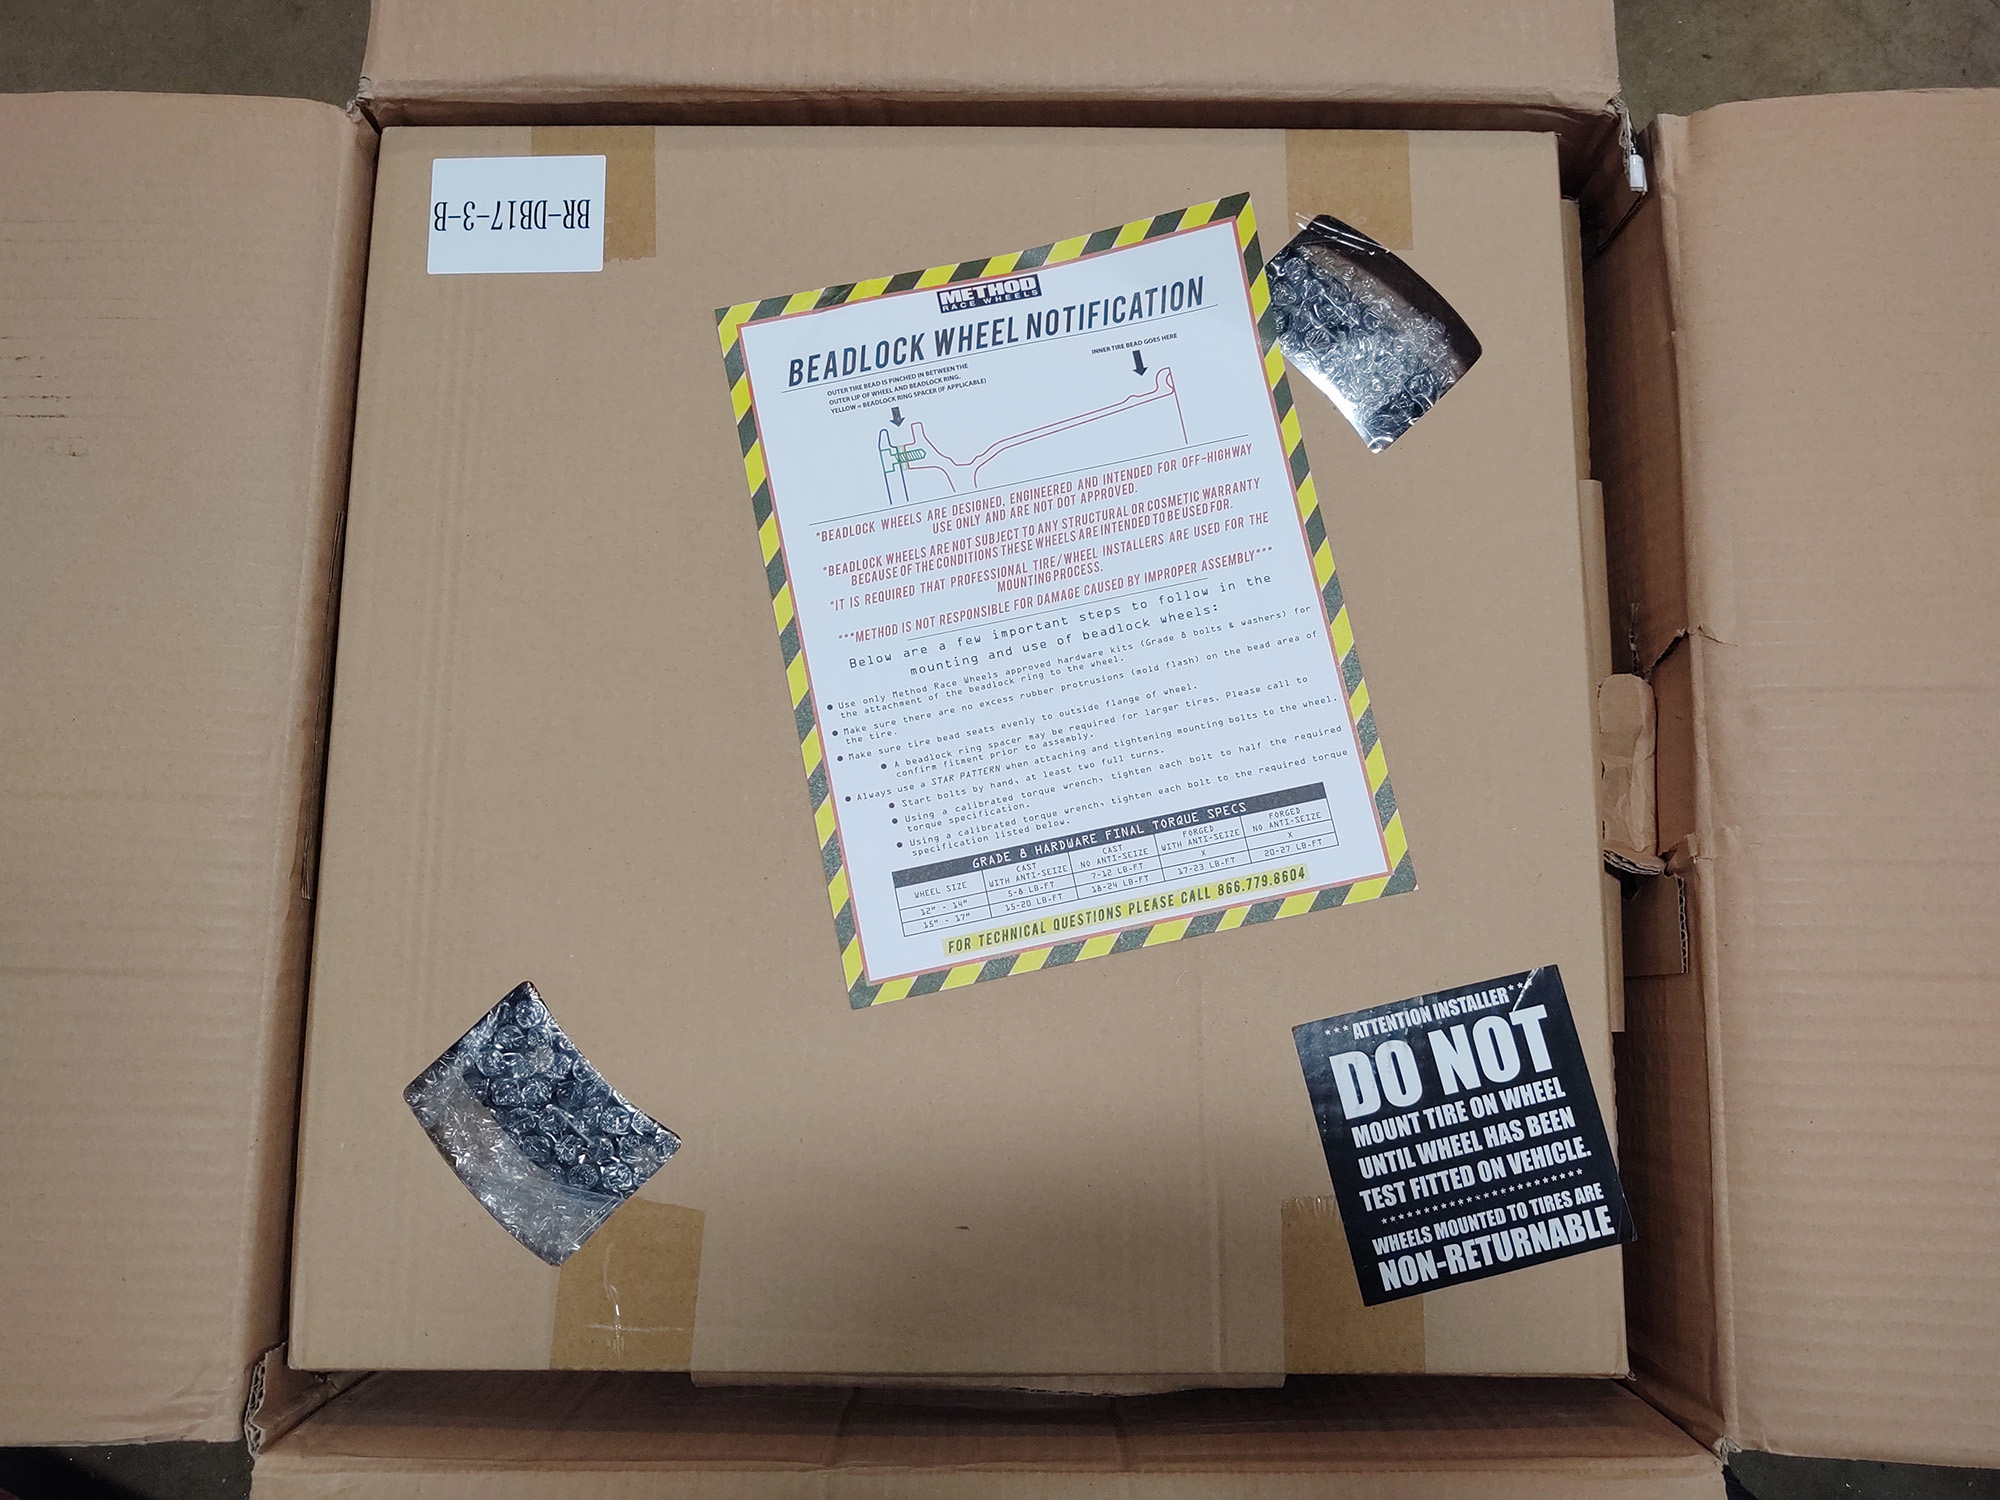
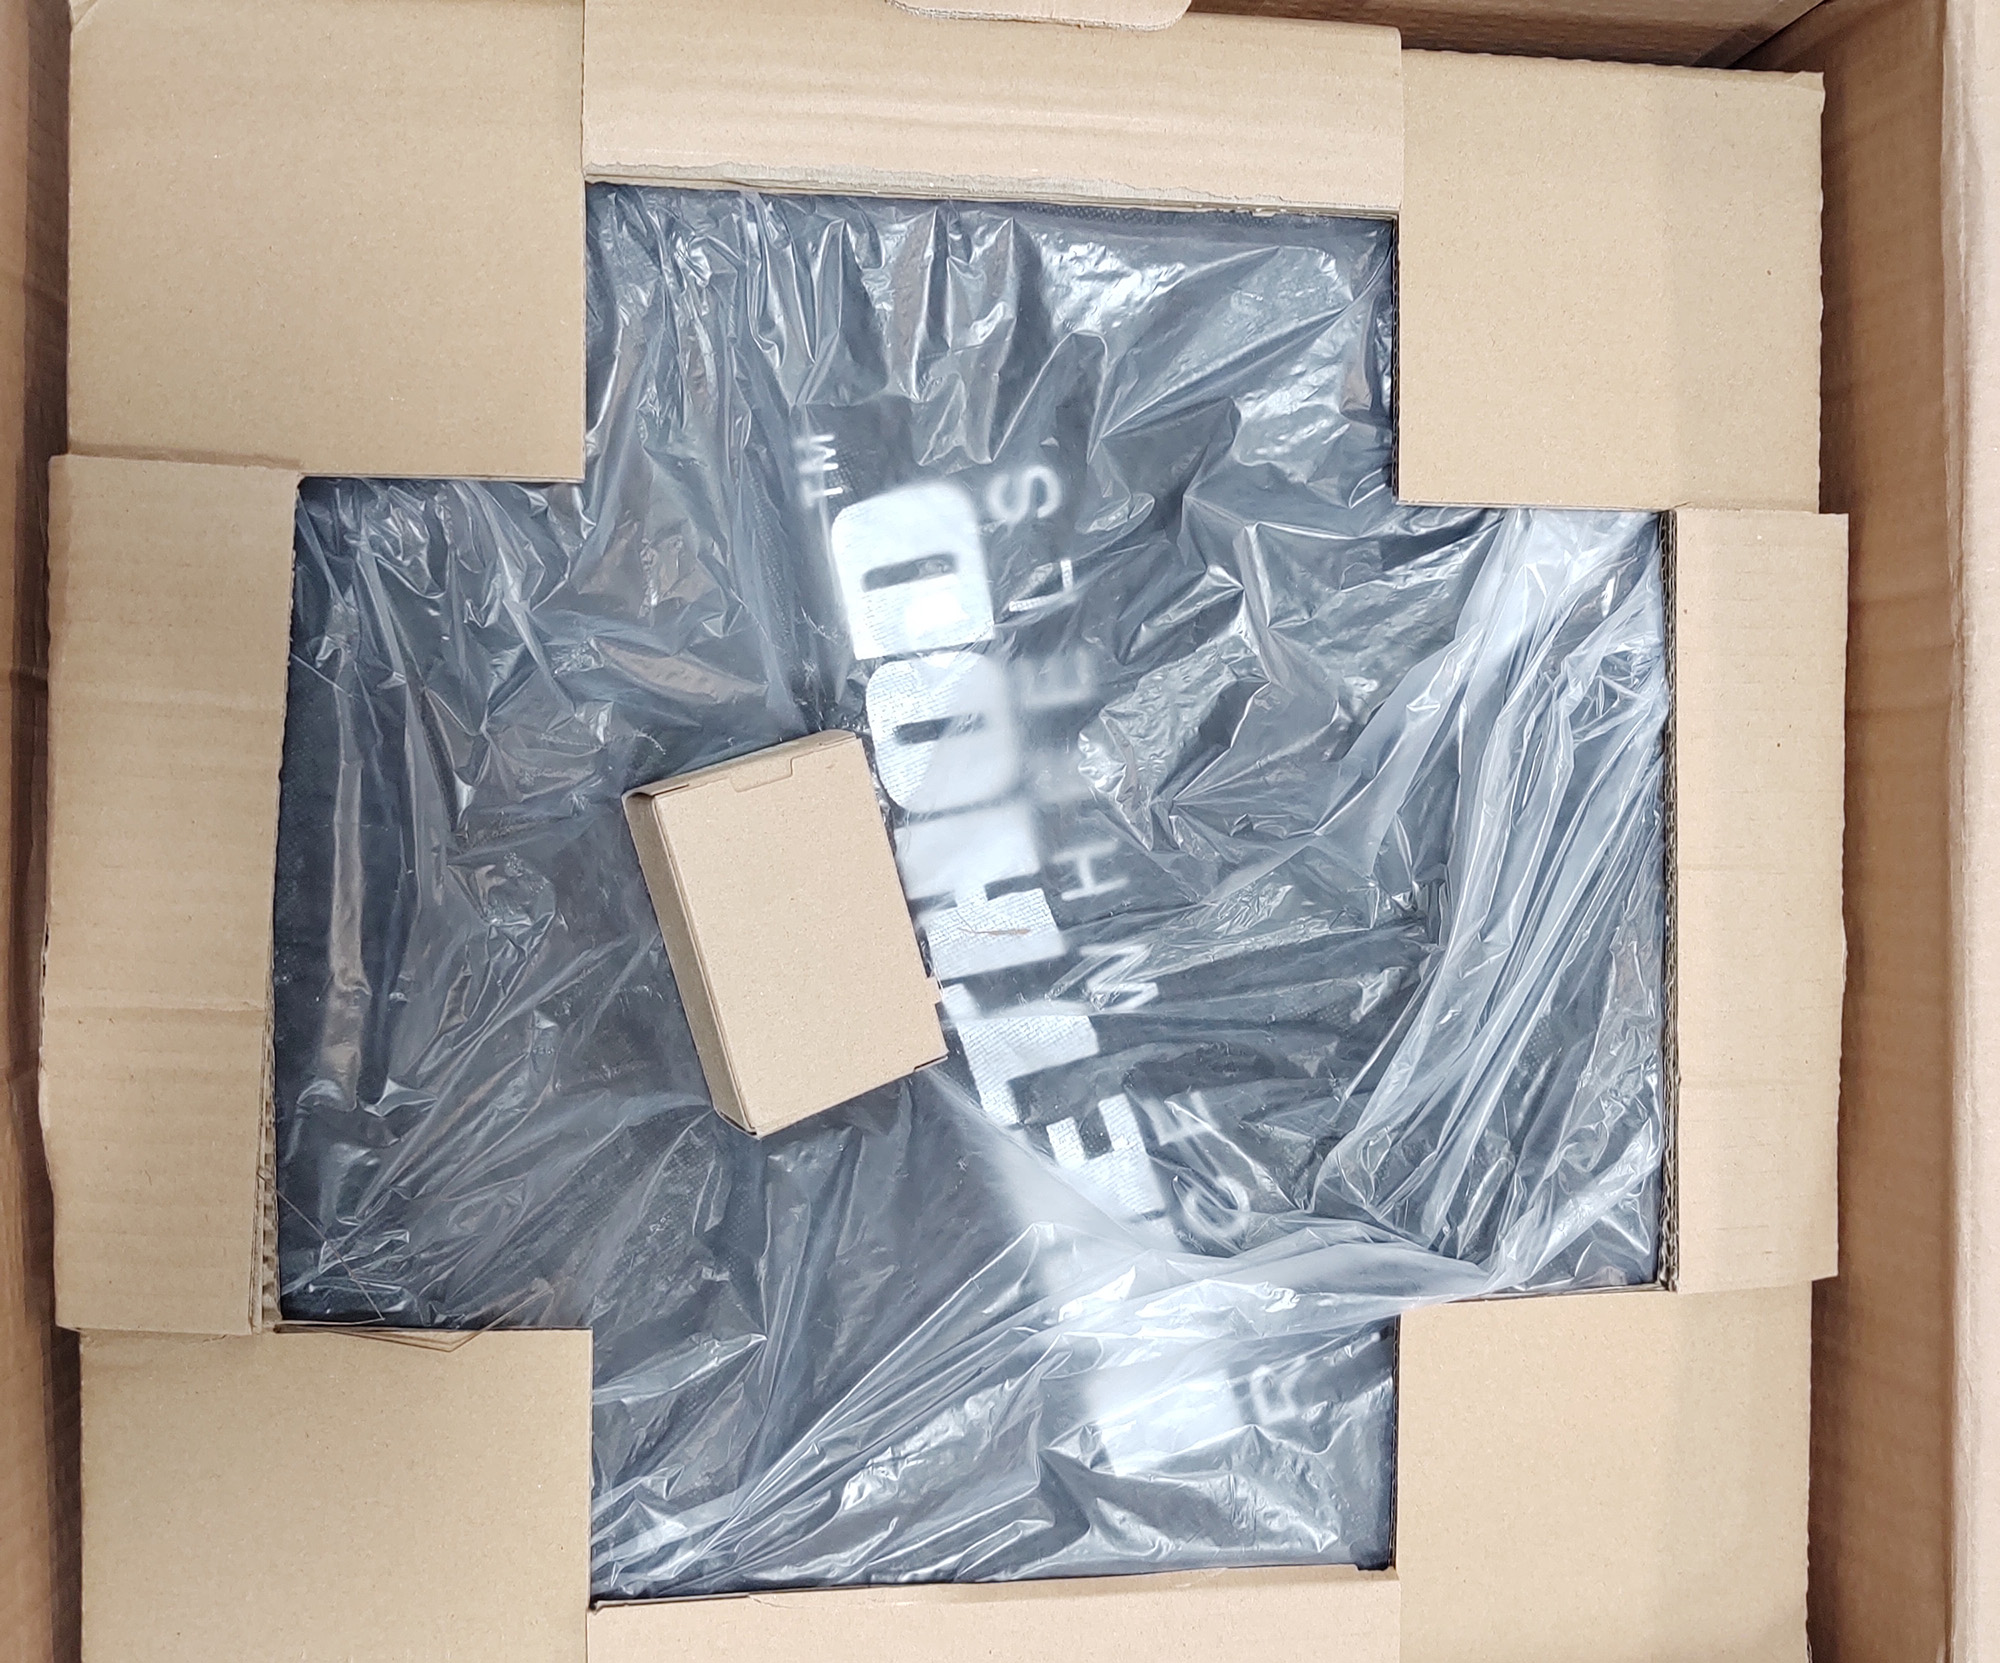
Even under the fabric abrasion cover, both the inner and outer lips are covered in plastic rings to shield them from potential damage.
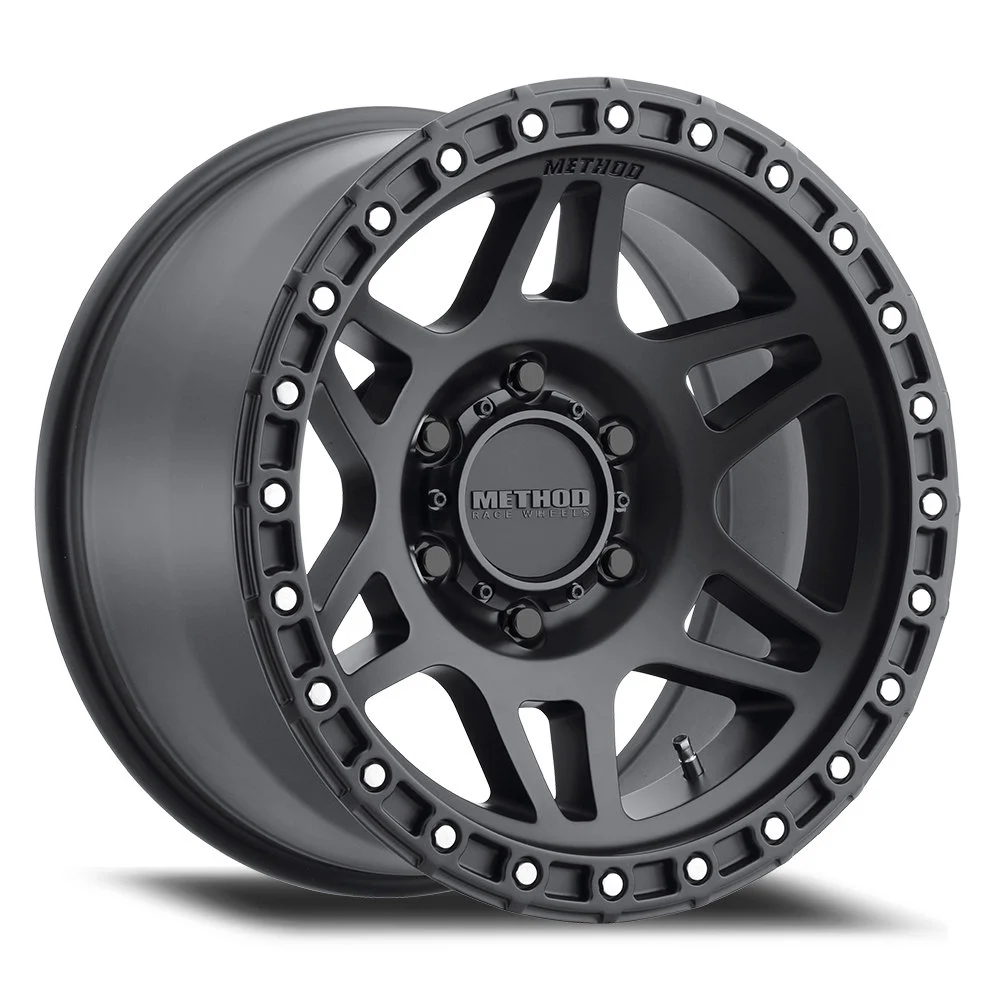
Method MR106 wheels are cast from solid A356 aluminum alloy, which was chosen for its low level of impurity, and has amazing casting and machining characteristics. It is then heat treated using Method’s proprietary T6 procedure for extreme strength to weight ratio, then finished with forged 6061 beadlock rings for maximum durability. I could go into great detail about aluminum alloys and manufacturing processes, but Method Race Wheels knows an awful lot more about it than I do, and has very clearly done their homework. In addition, they never stop collecting data and improving that product line because, just like a knife, that competitive edge goes dull if you don’t maintain the skill.

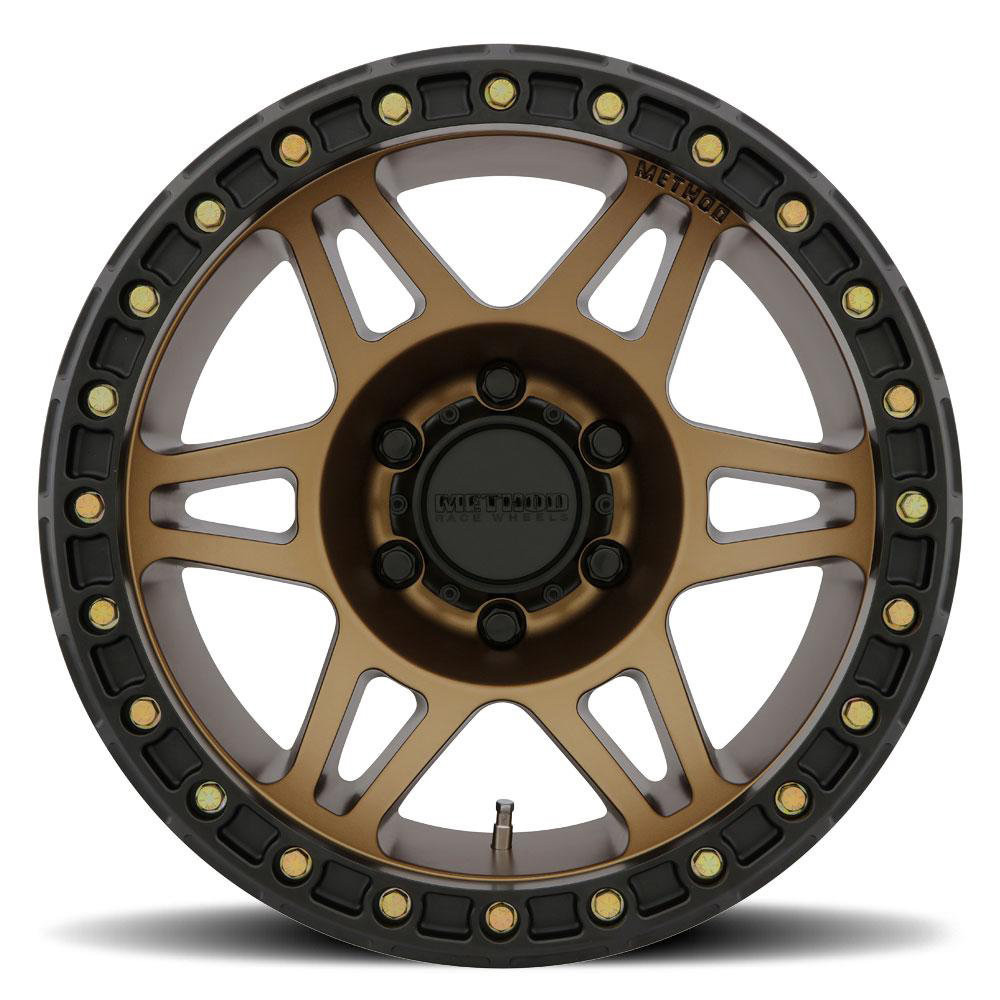
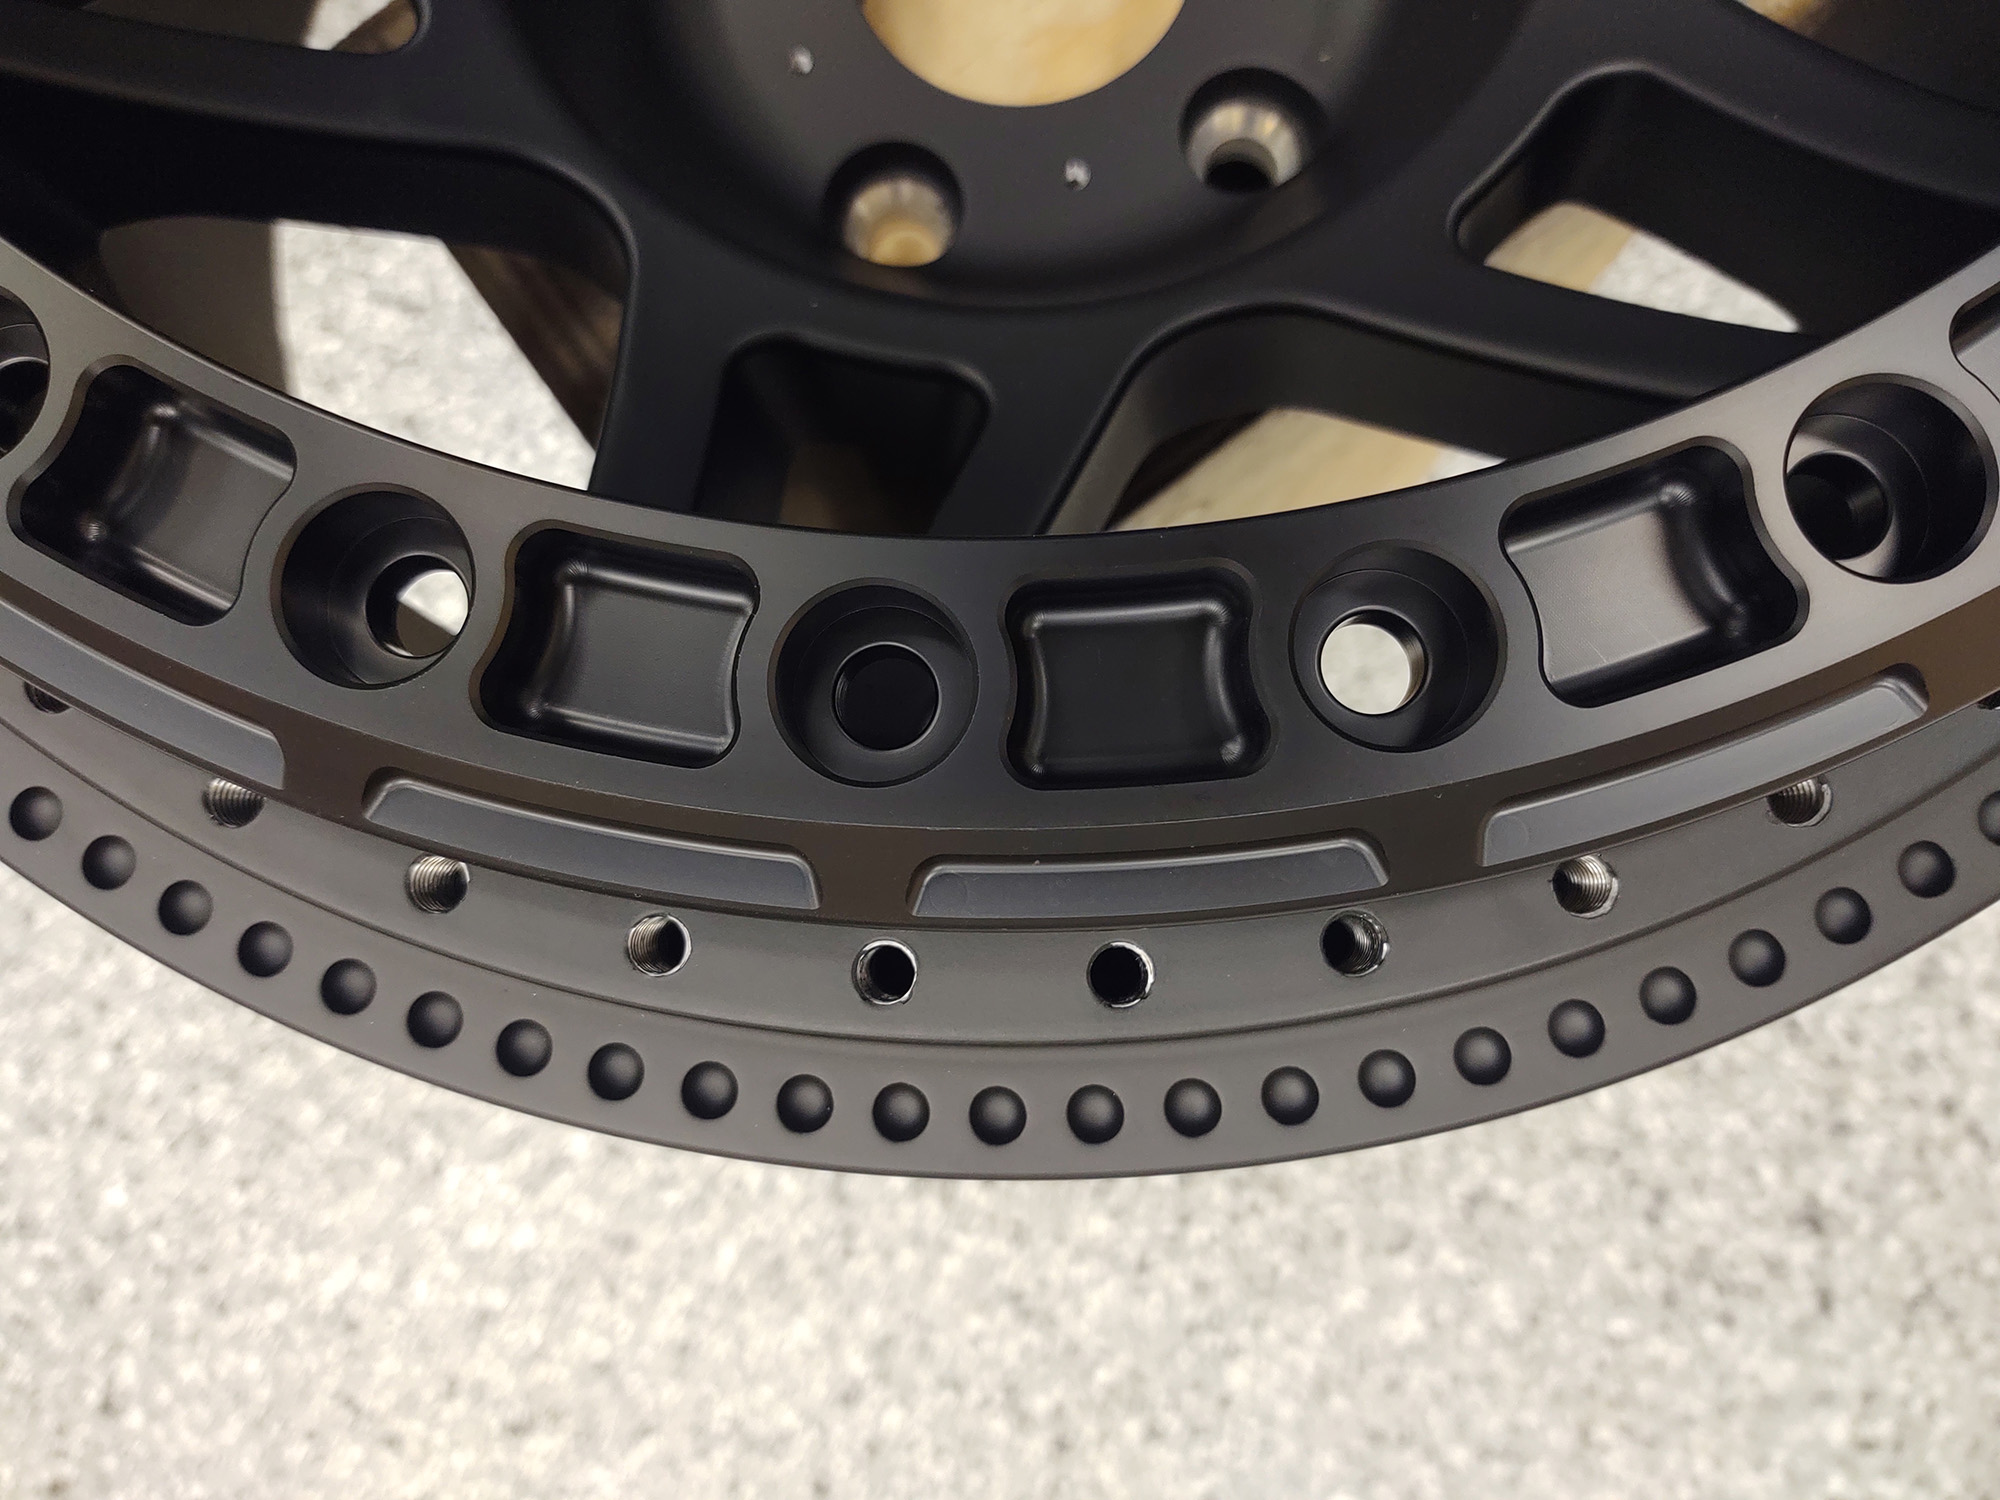
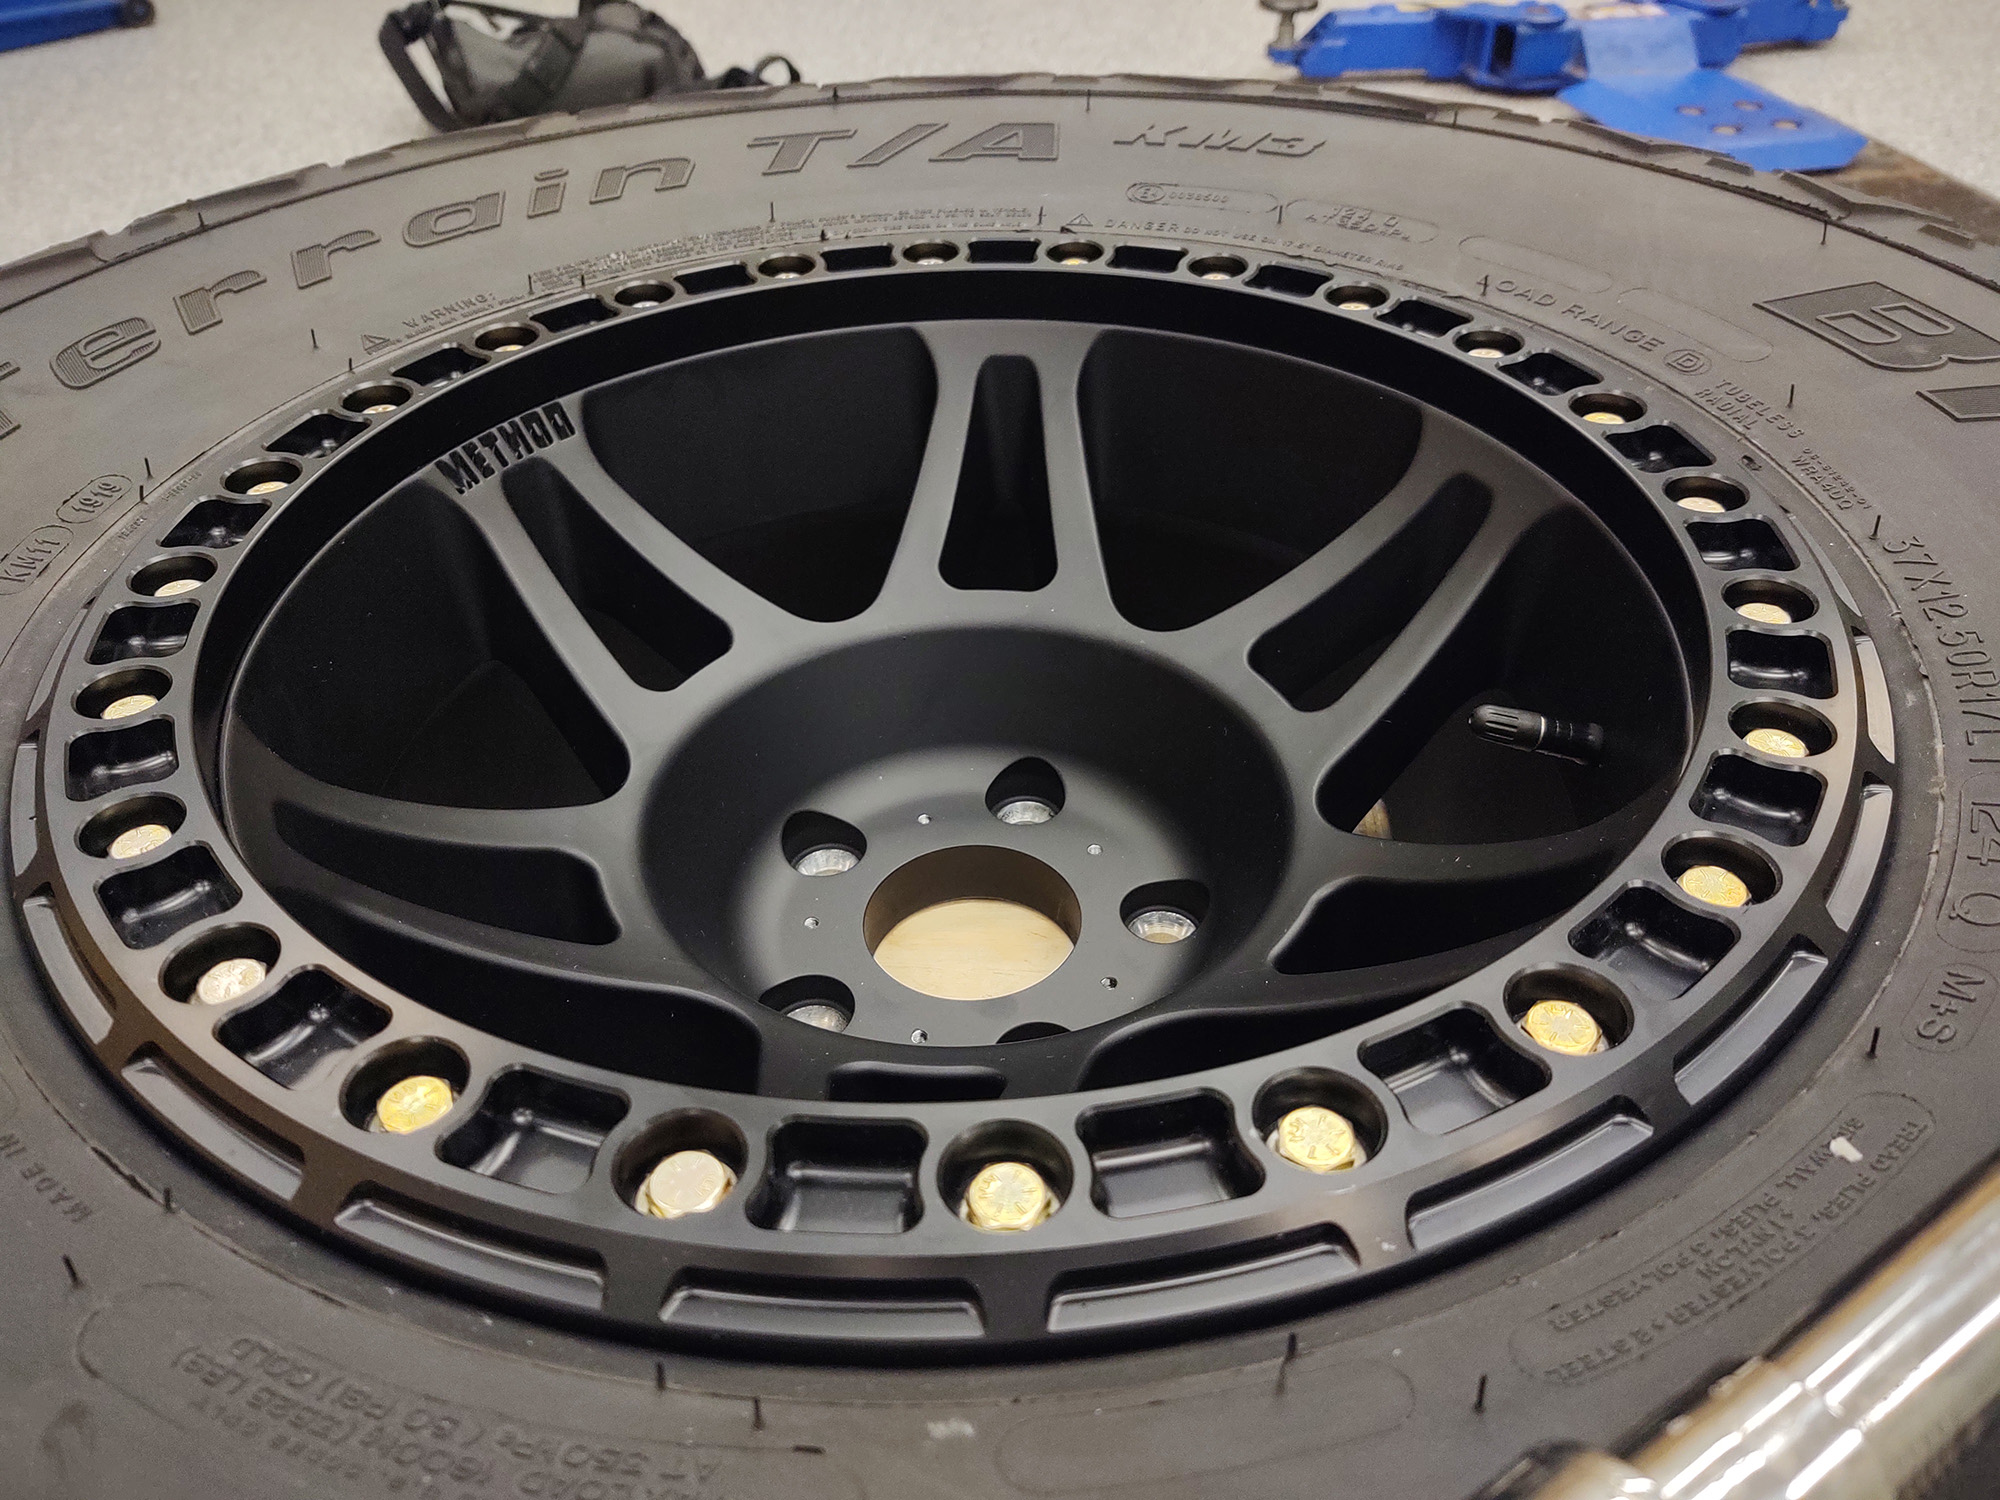
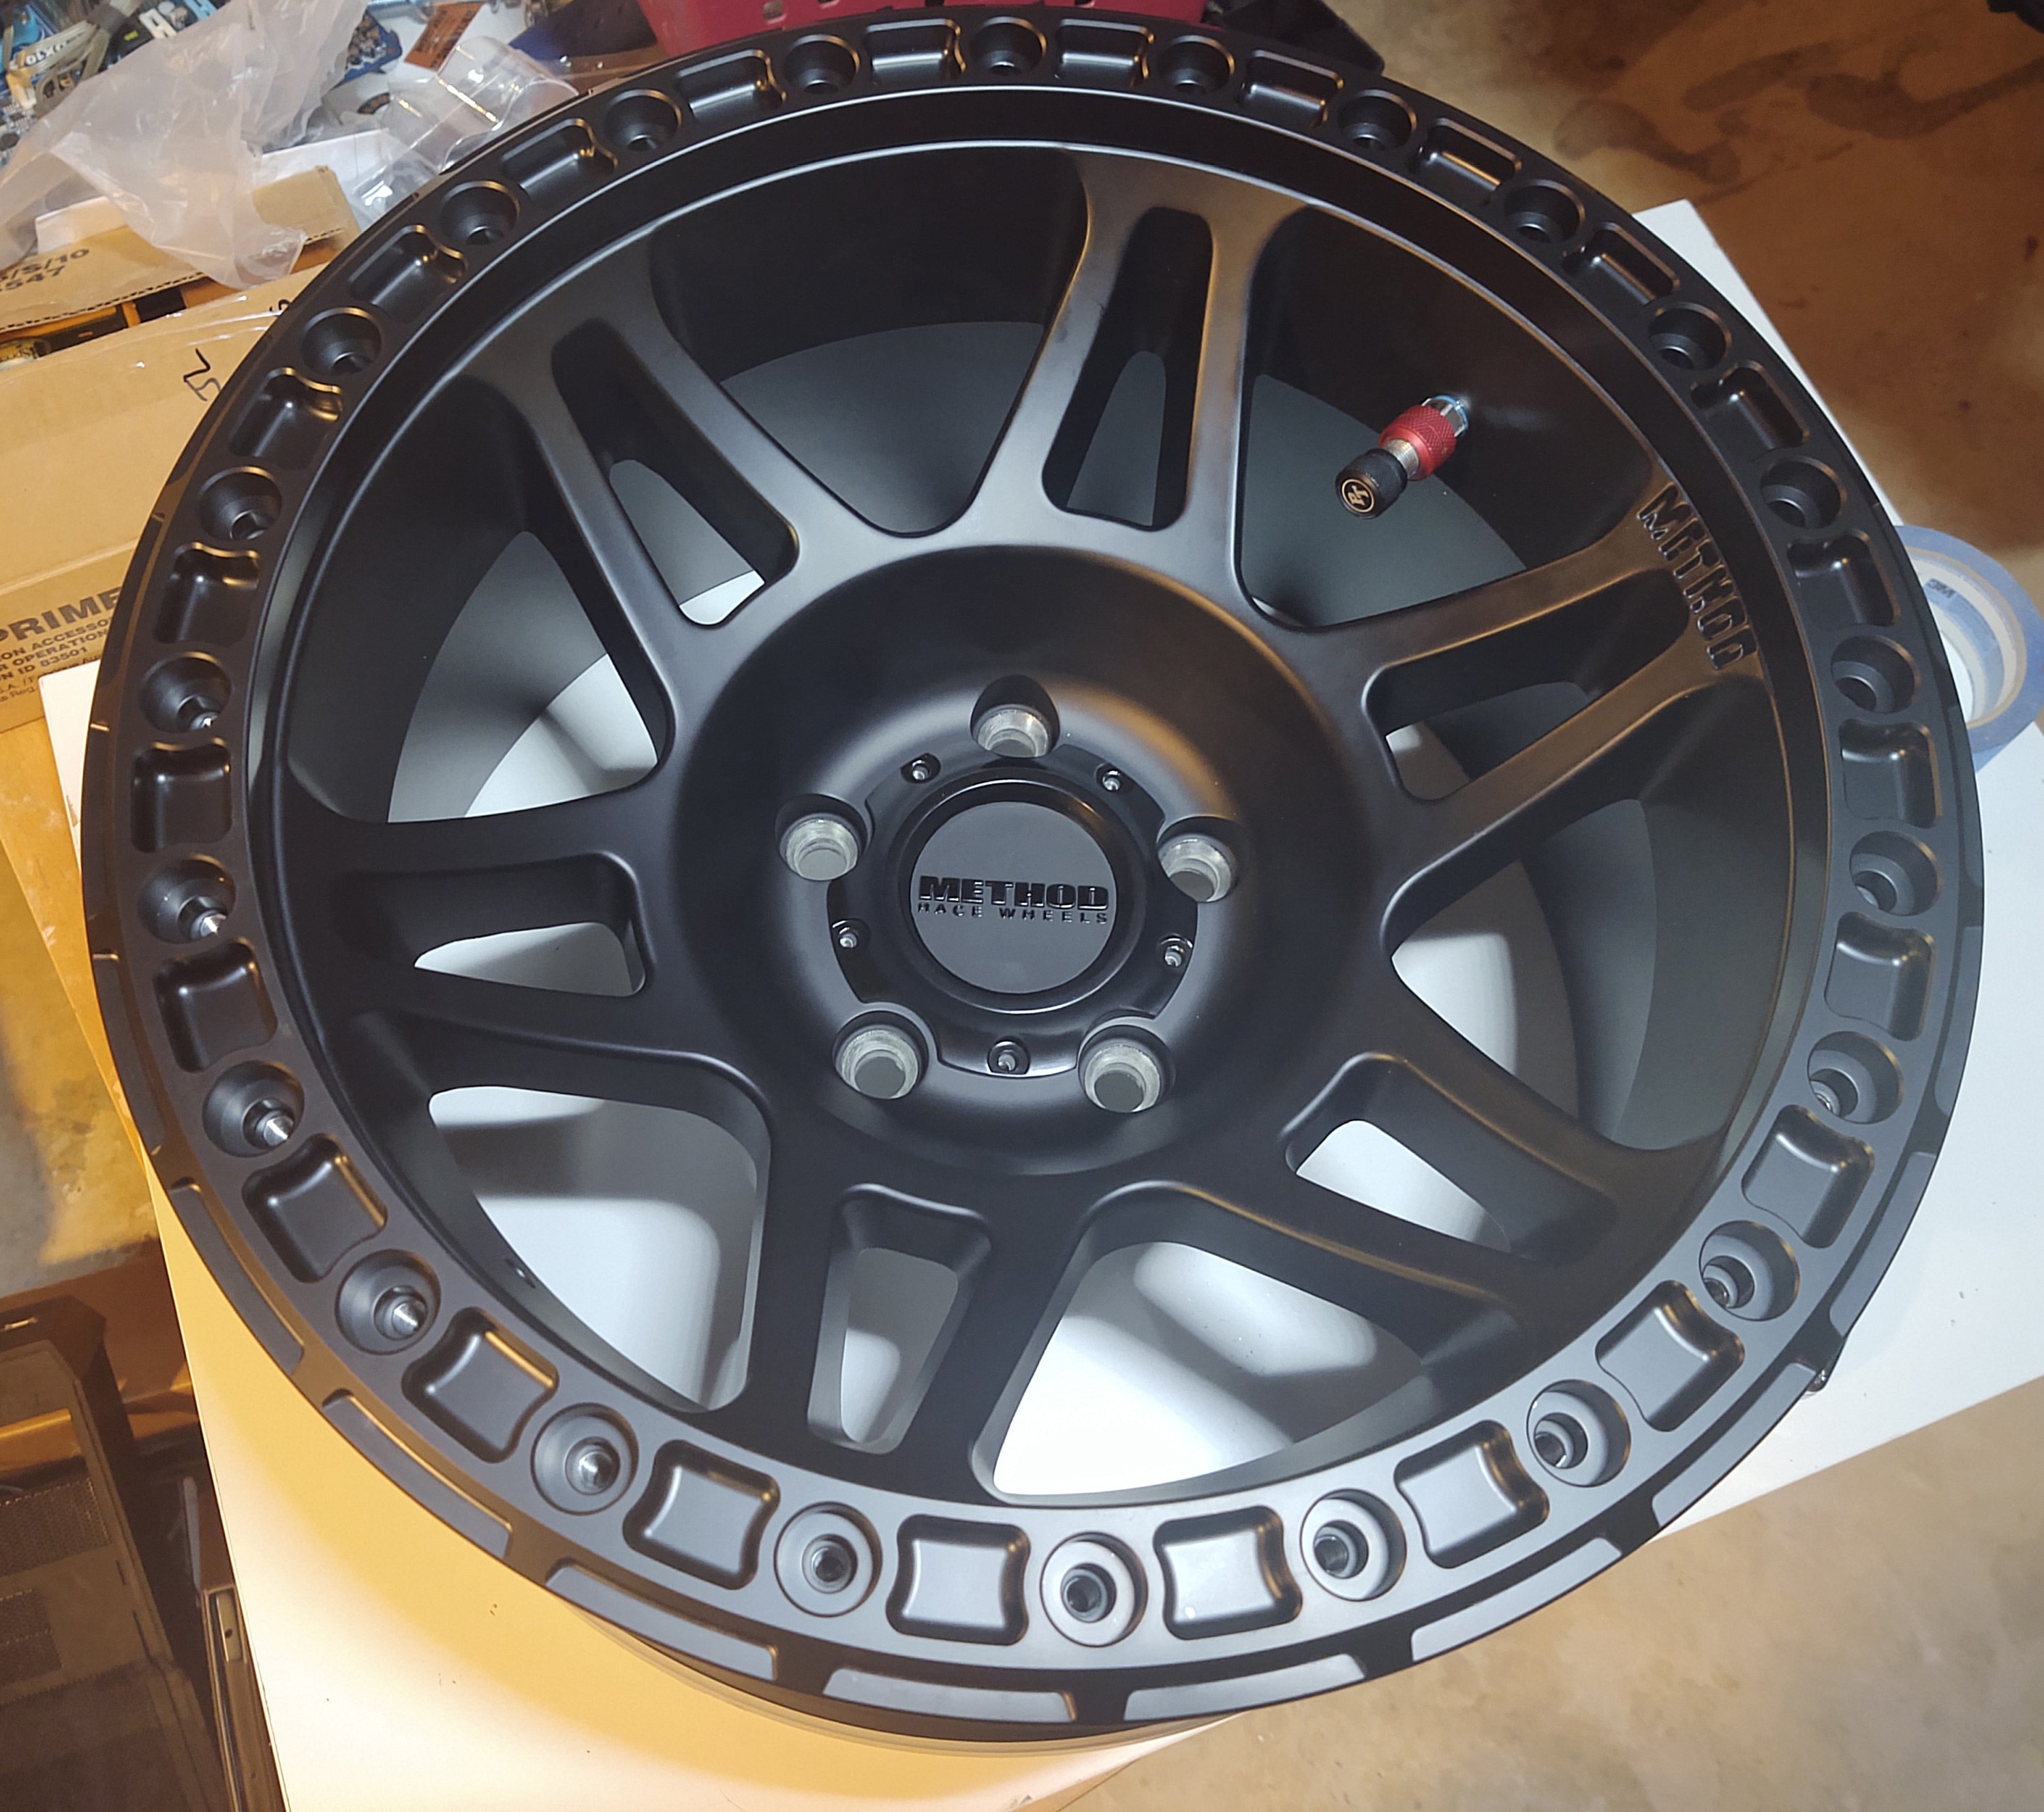
These fully fuctional beadlock wheels are available in black or bronze finishes, while minimal, clean and effective design elements really set these wheels apart from the competition, as does superior materials and manufacturing methods. The split six spoke design looks striking, even while covered in mud, and the debossed METHOD logo on one of the spokesets is a beautiful detail I often find myself admiring while dropping tire pressure before trail adventures.
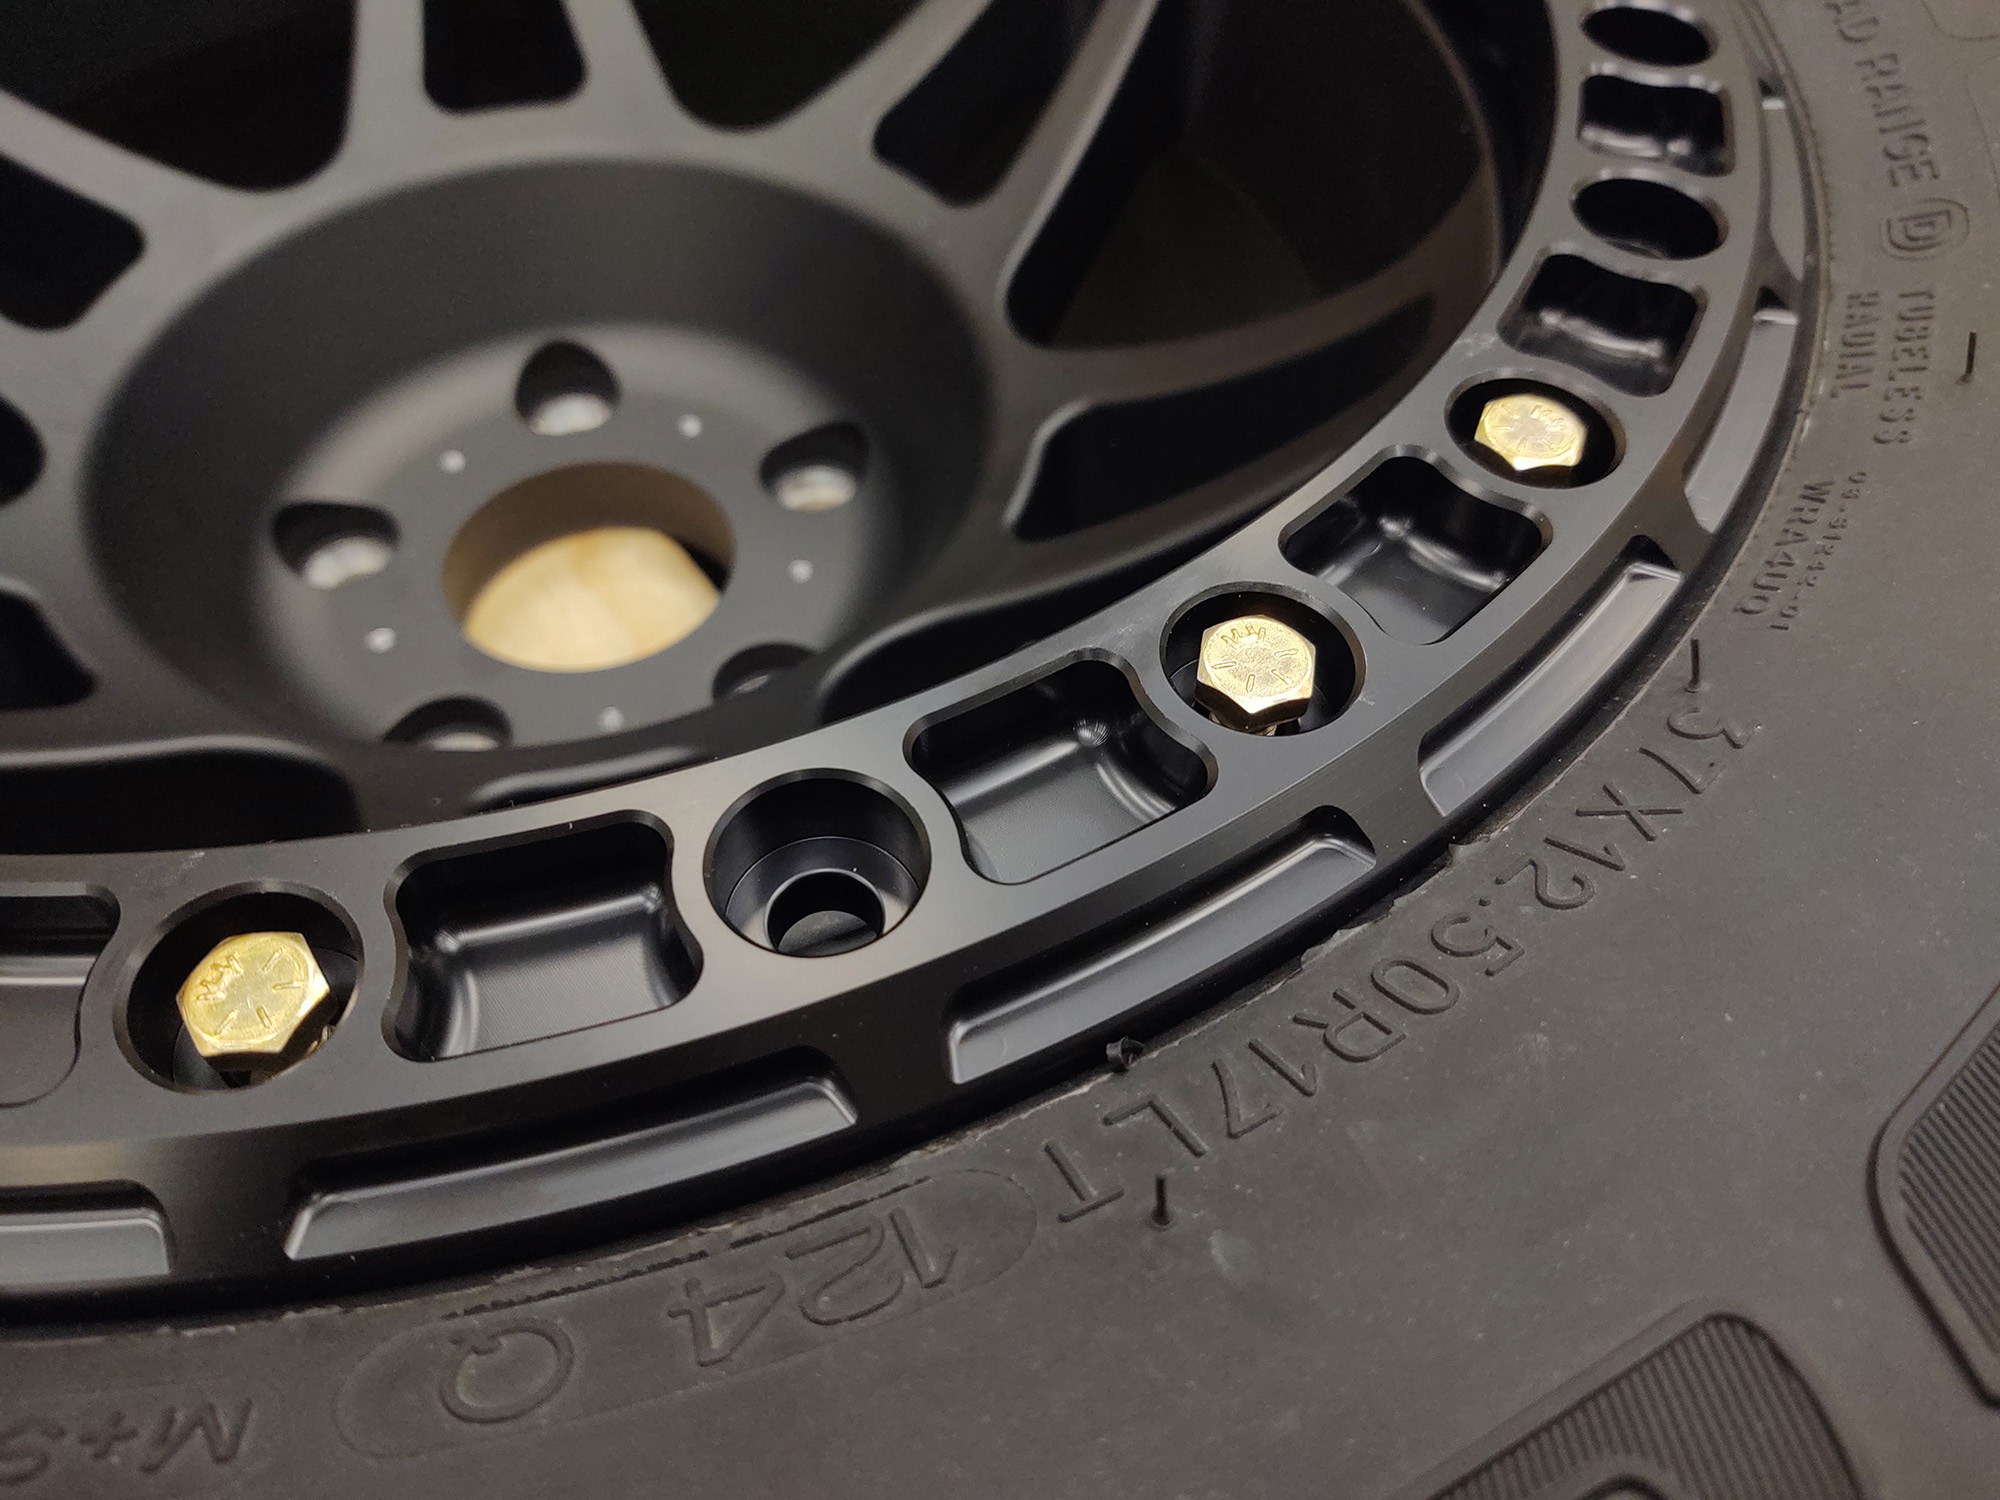
American made zinc plated grade 8 hardware holds the V.3 beadlock ring in place, and this newest incarnation of Method’s beadlock ring is 53 percent thicker than previous versions and reduces deflection. It also has 360-degree protection against bolt head shearing, due to the way the ring is designed with recessed cavities for the hardware.
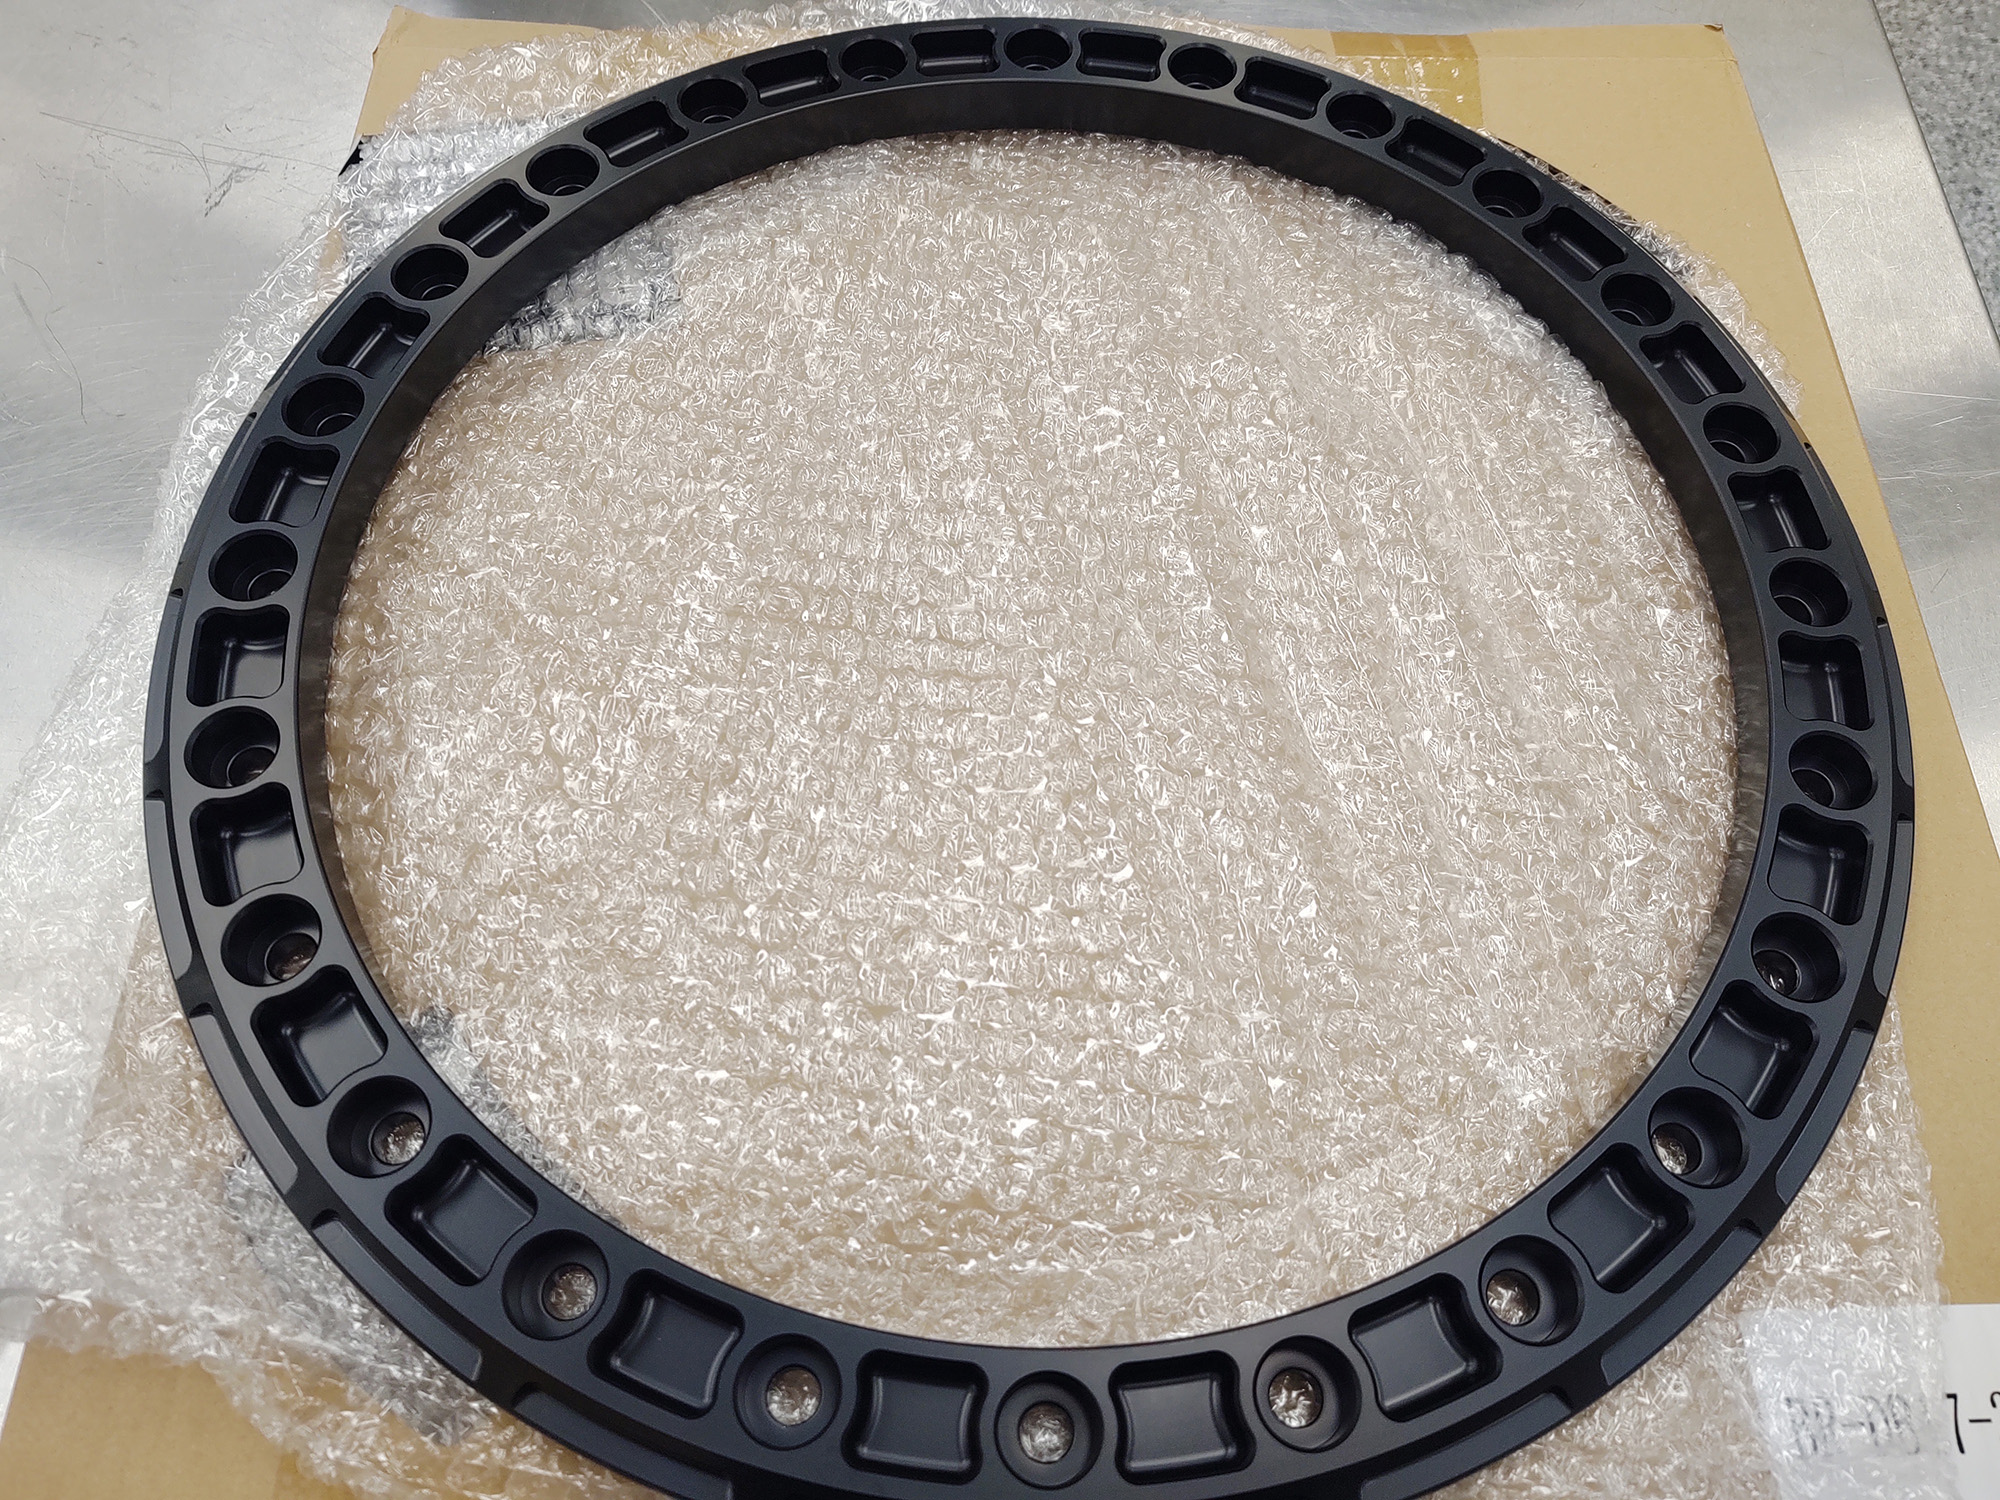
Another fantastic feature is the redundant sets of hardware holes. Should the unthinkable happen, such as a sheared off bolt or two, there is another full set of holes on the ready, just a slight rotation of the beadlock ring away.
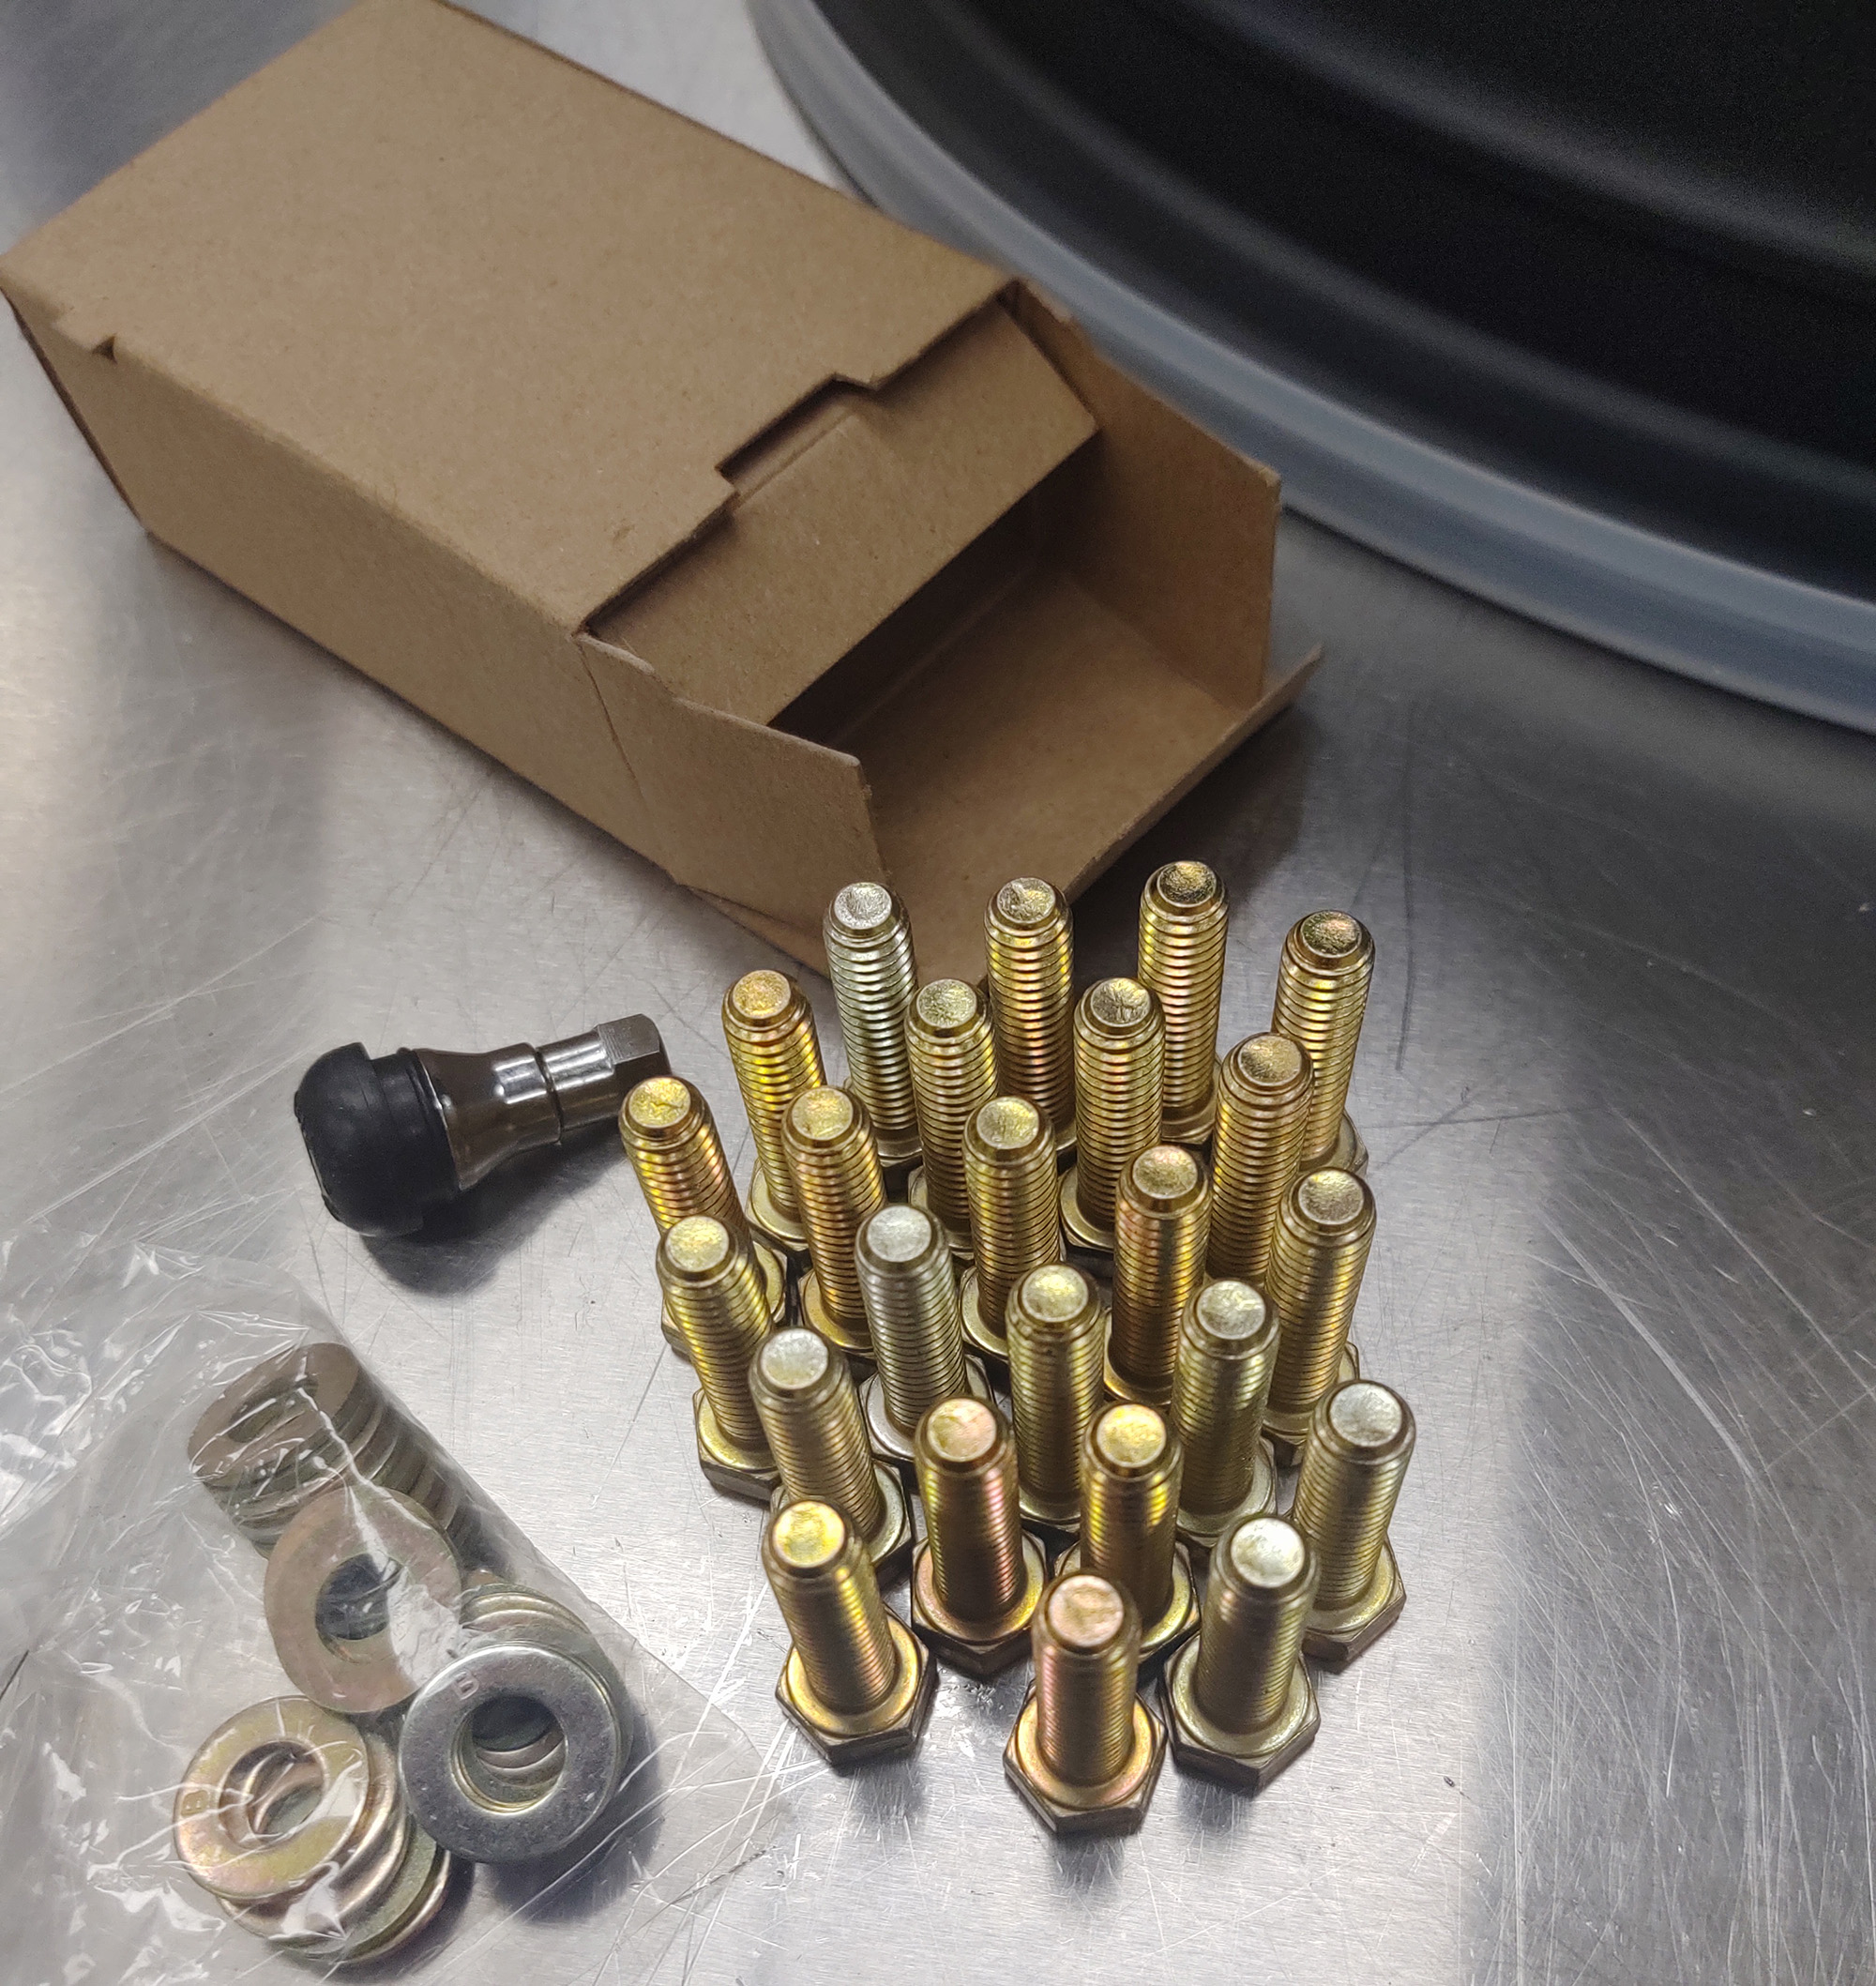
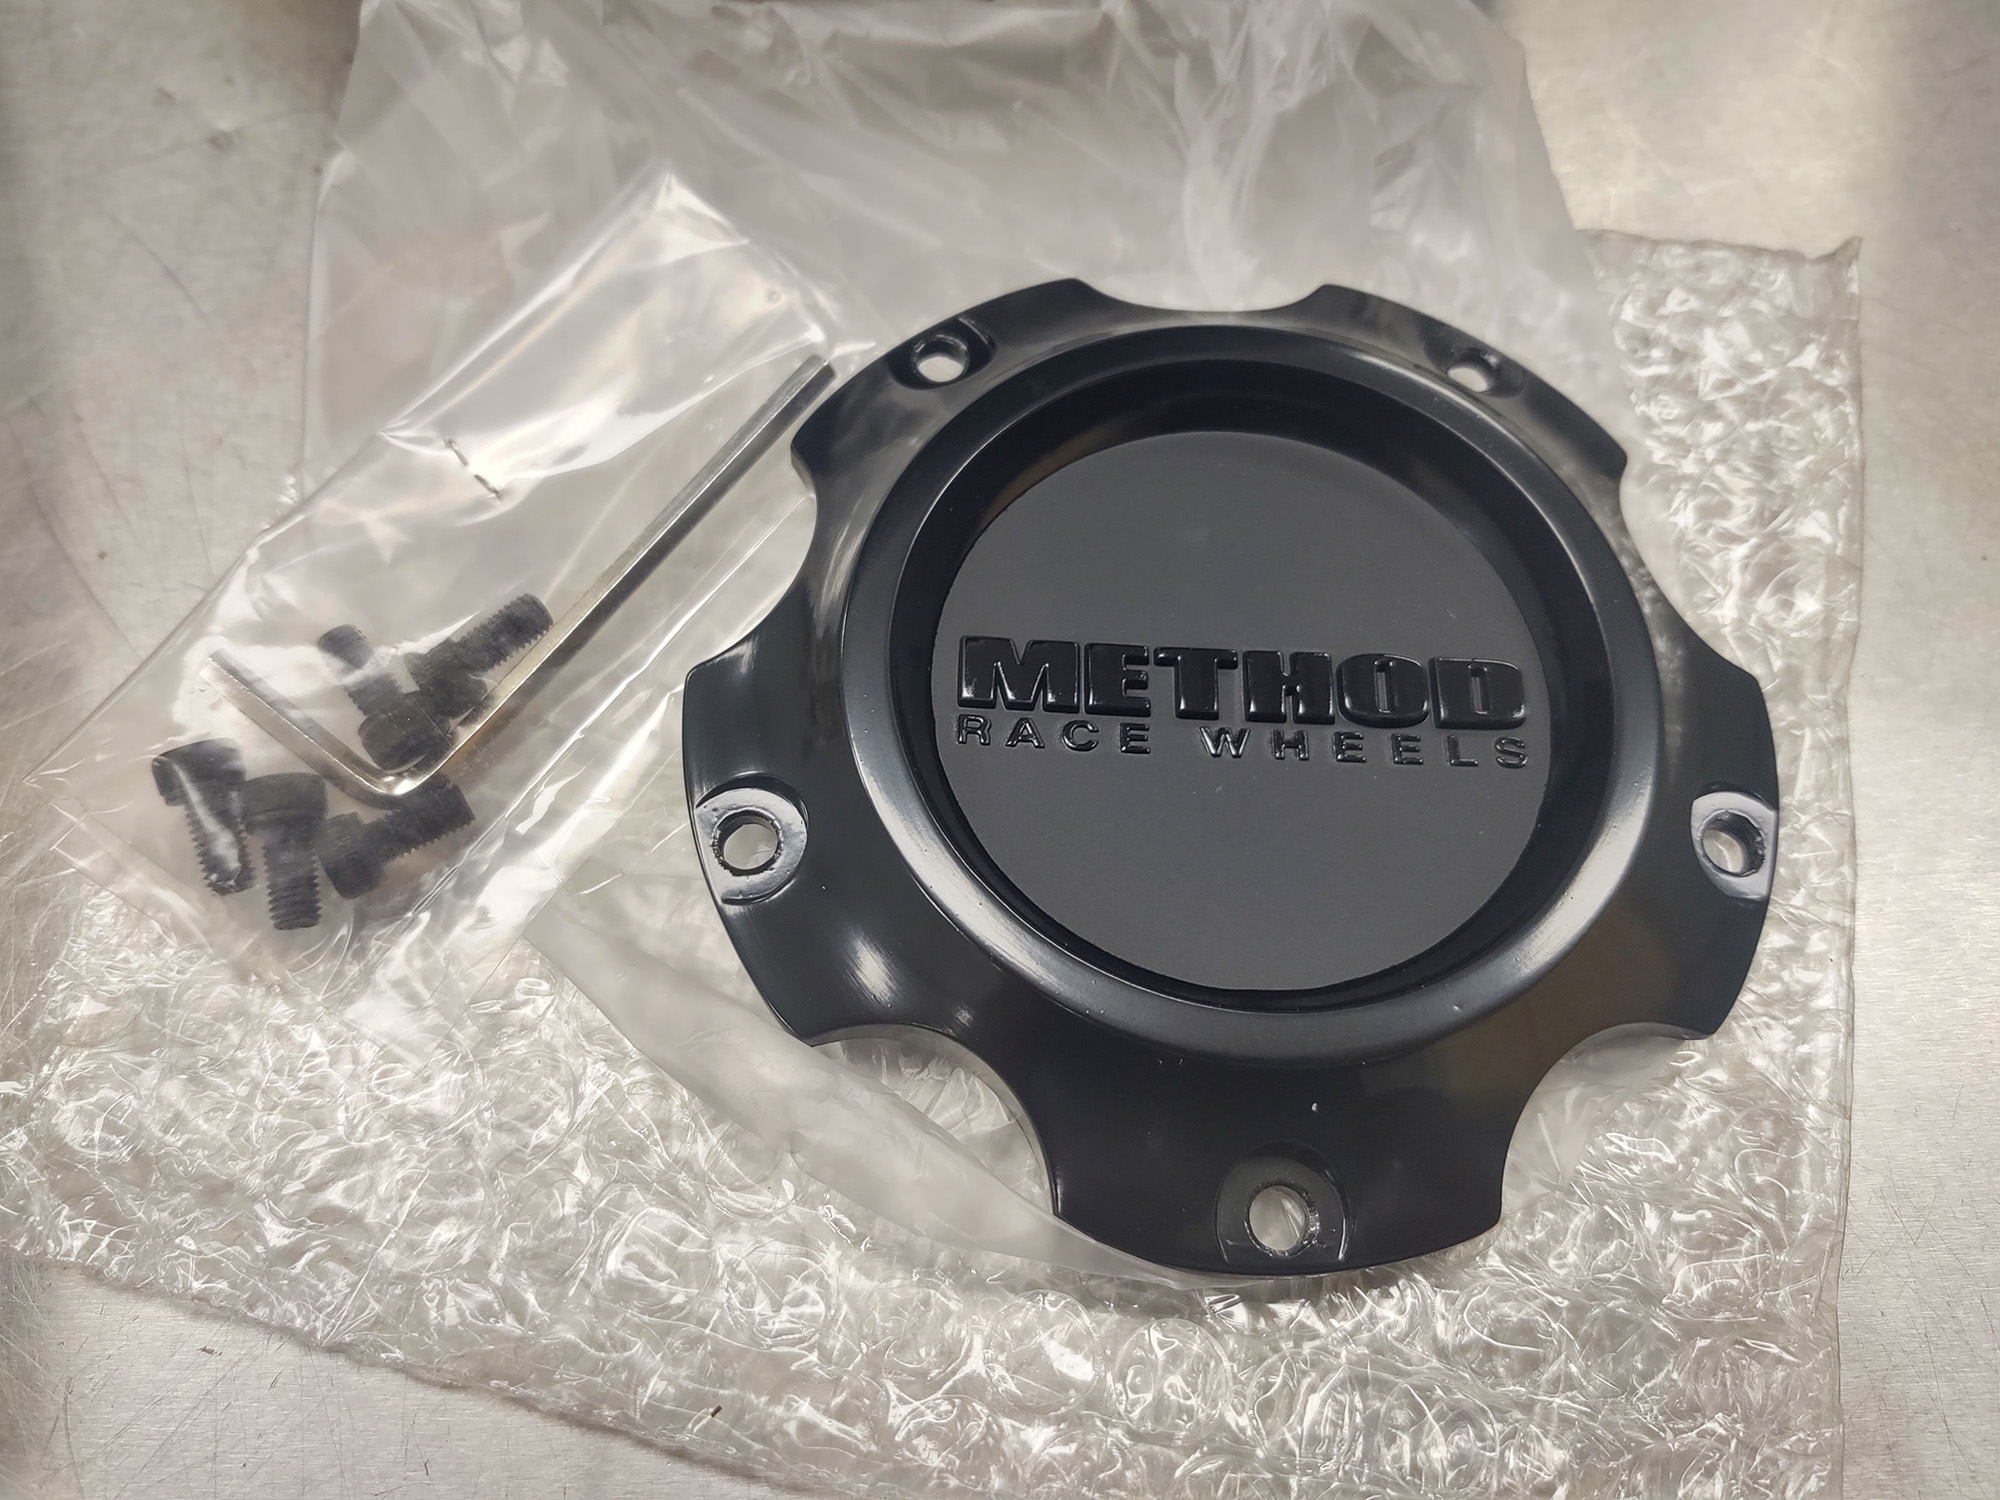
Each kit comes with the Beadlock Wheel Notification sheet, a sticker, a hardware pack with a polished stubby valve stem if you aren't using TPMS sensors, and a center cap box. Everything that could get loose and lost is packaged separately, which I certainly appreciated.
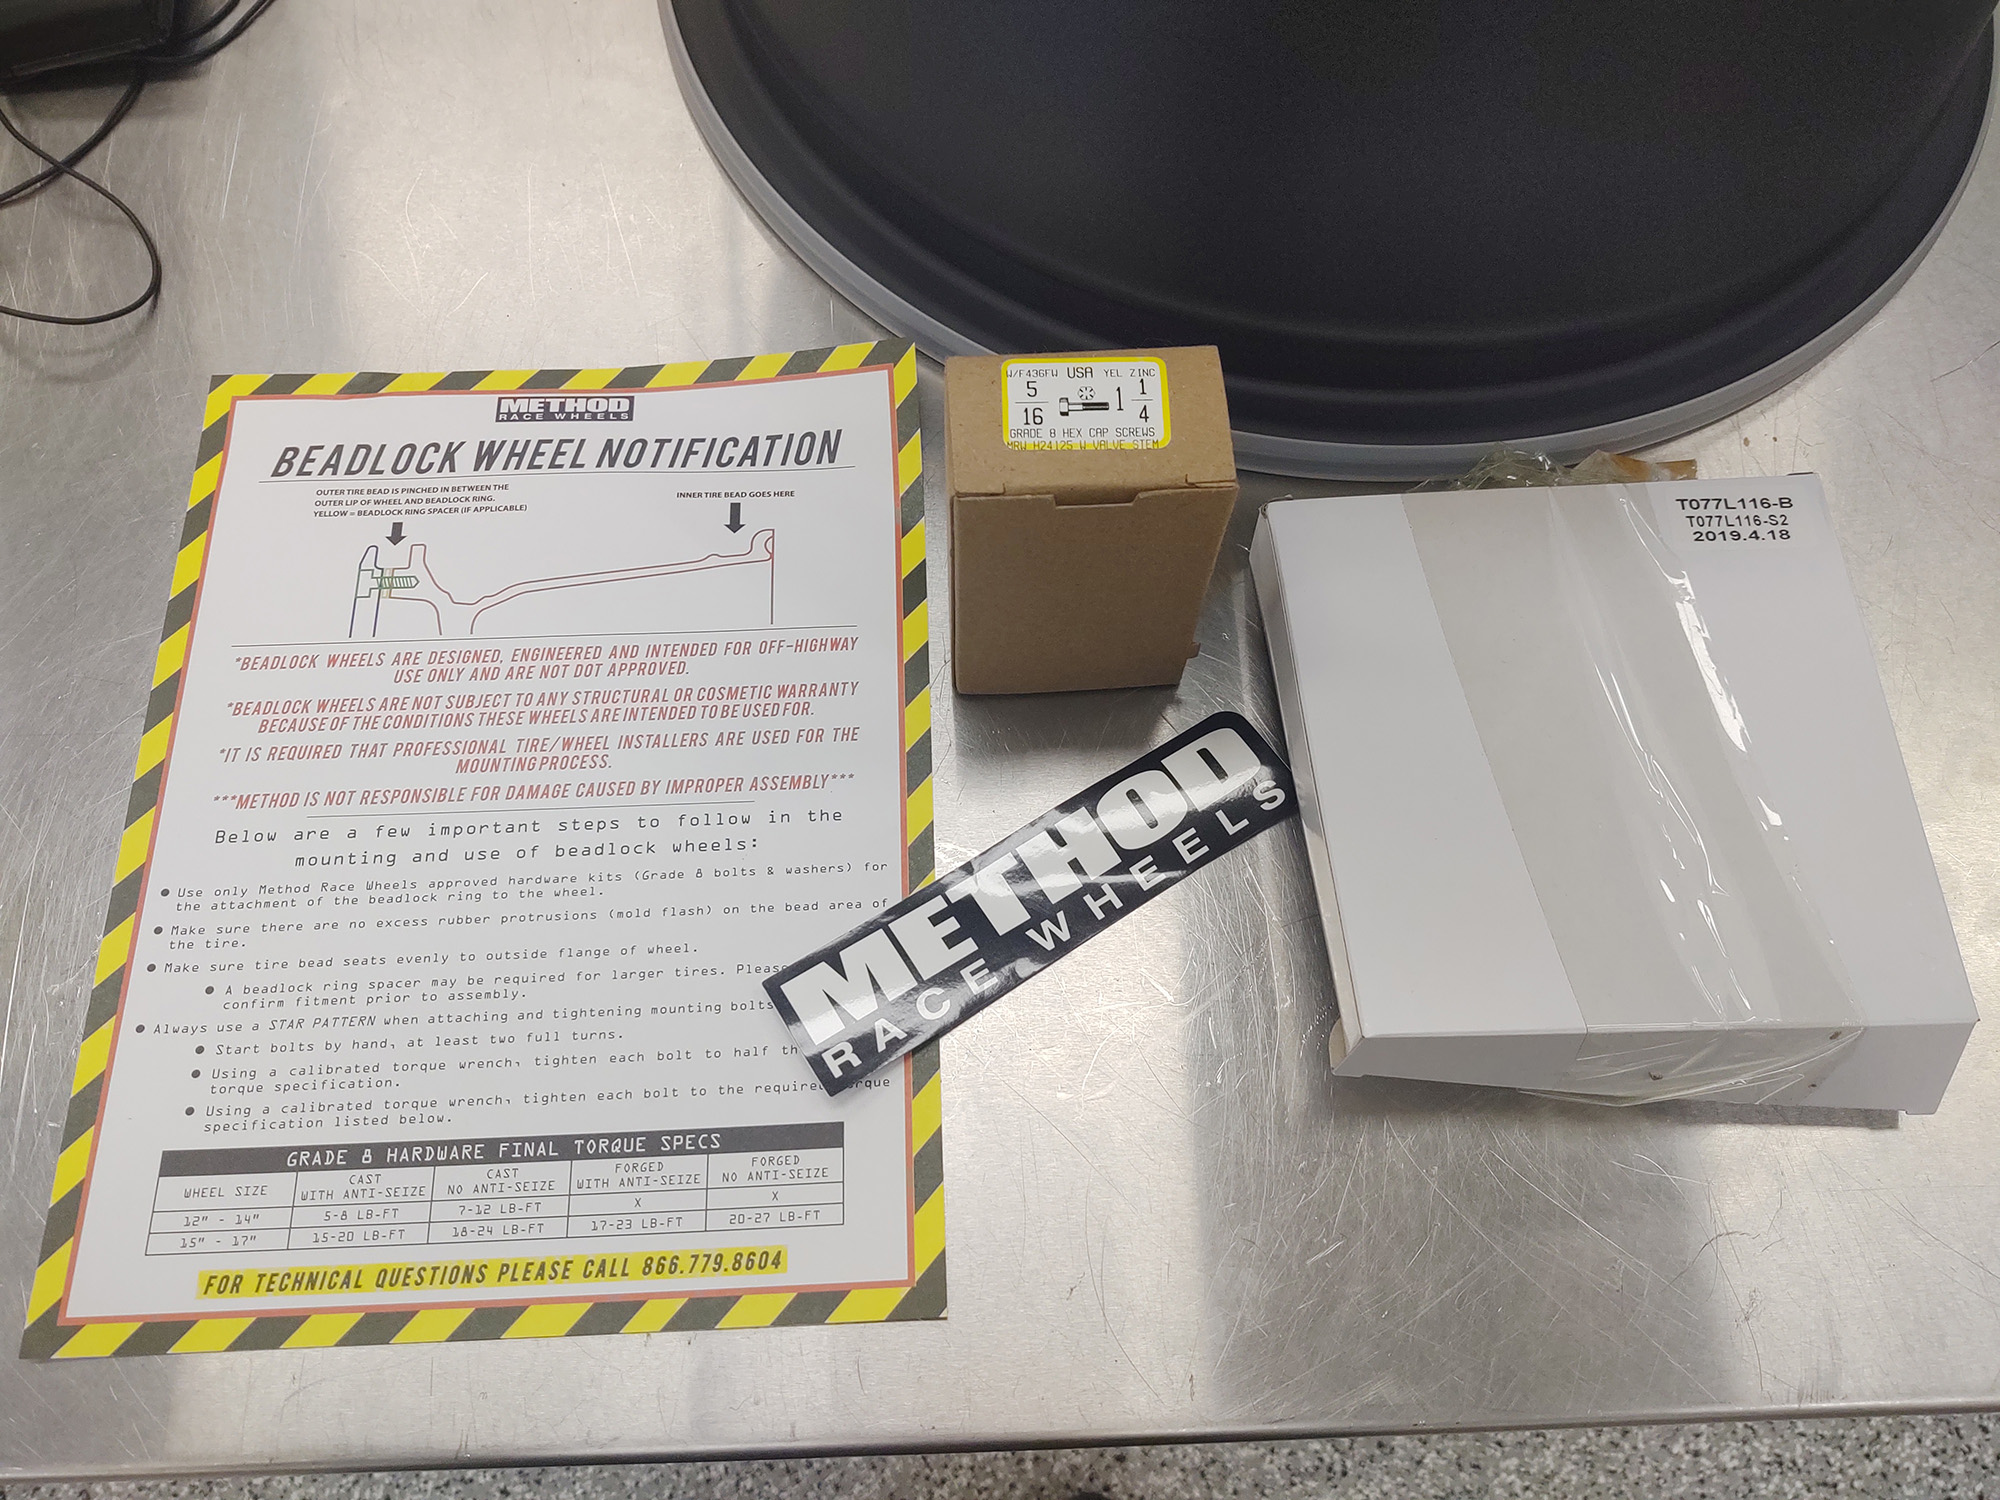
Each center cap kit comes with the mounting bolts and a hex key. Even if you have a hex key kit in your tool set up, I would recommend popping this in a plastic bag and adding in with your tire tools. If you have to remove the center cap by the side of the road (for example, if you have a spare tire mounted license plate), you’ll be glad to have the backup.
Note: Mounting your choice of tires to these wheels at home in a garage setting is within reach for anyone with above average mechanical skills, and only requires a few tools. It is, however, a very time-consuming process that will require a certain amount of precision—and very repetitive tasks. I highly recommend spending time creating a somewhat ergonomic work area, where you don’t have to reach too far for anything. If you are unsure of any of these steps, have a professional do it for you, or at the very least, have them check over your work when you’re done.
Additionally, I would recommend having your new wheels balanced before driving too far, but you can definitely save some money by mounting them yourself.

At minimum, per wheel, you will be tightening 24 bolts at least 4 times. That time is going to add up, especially if you are leaning over a tire the entire process.
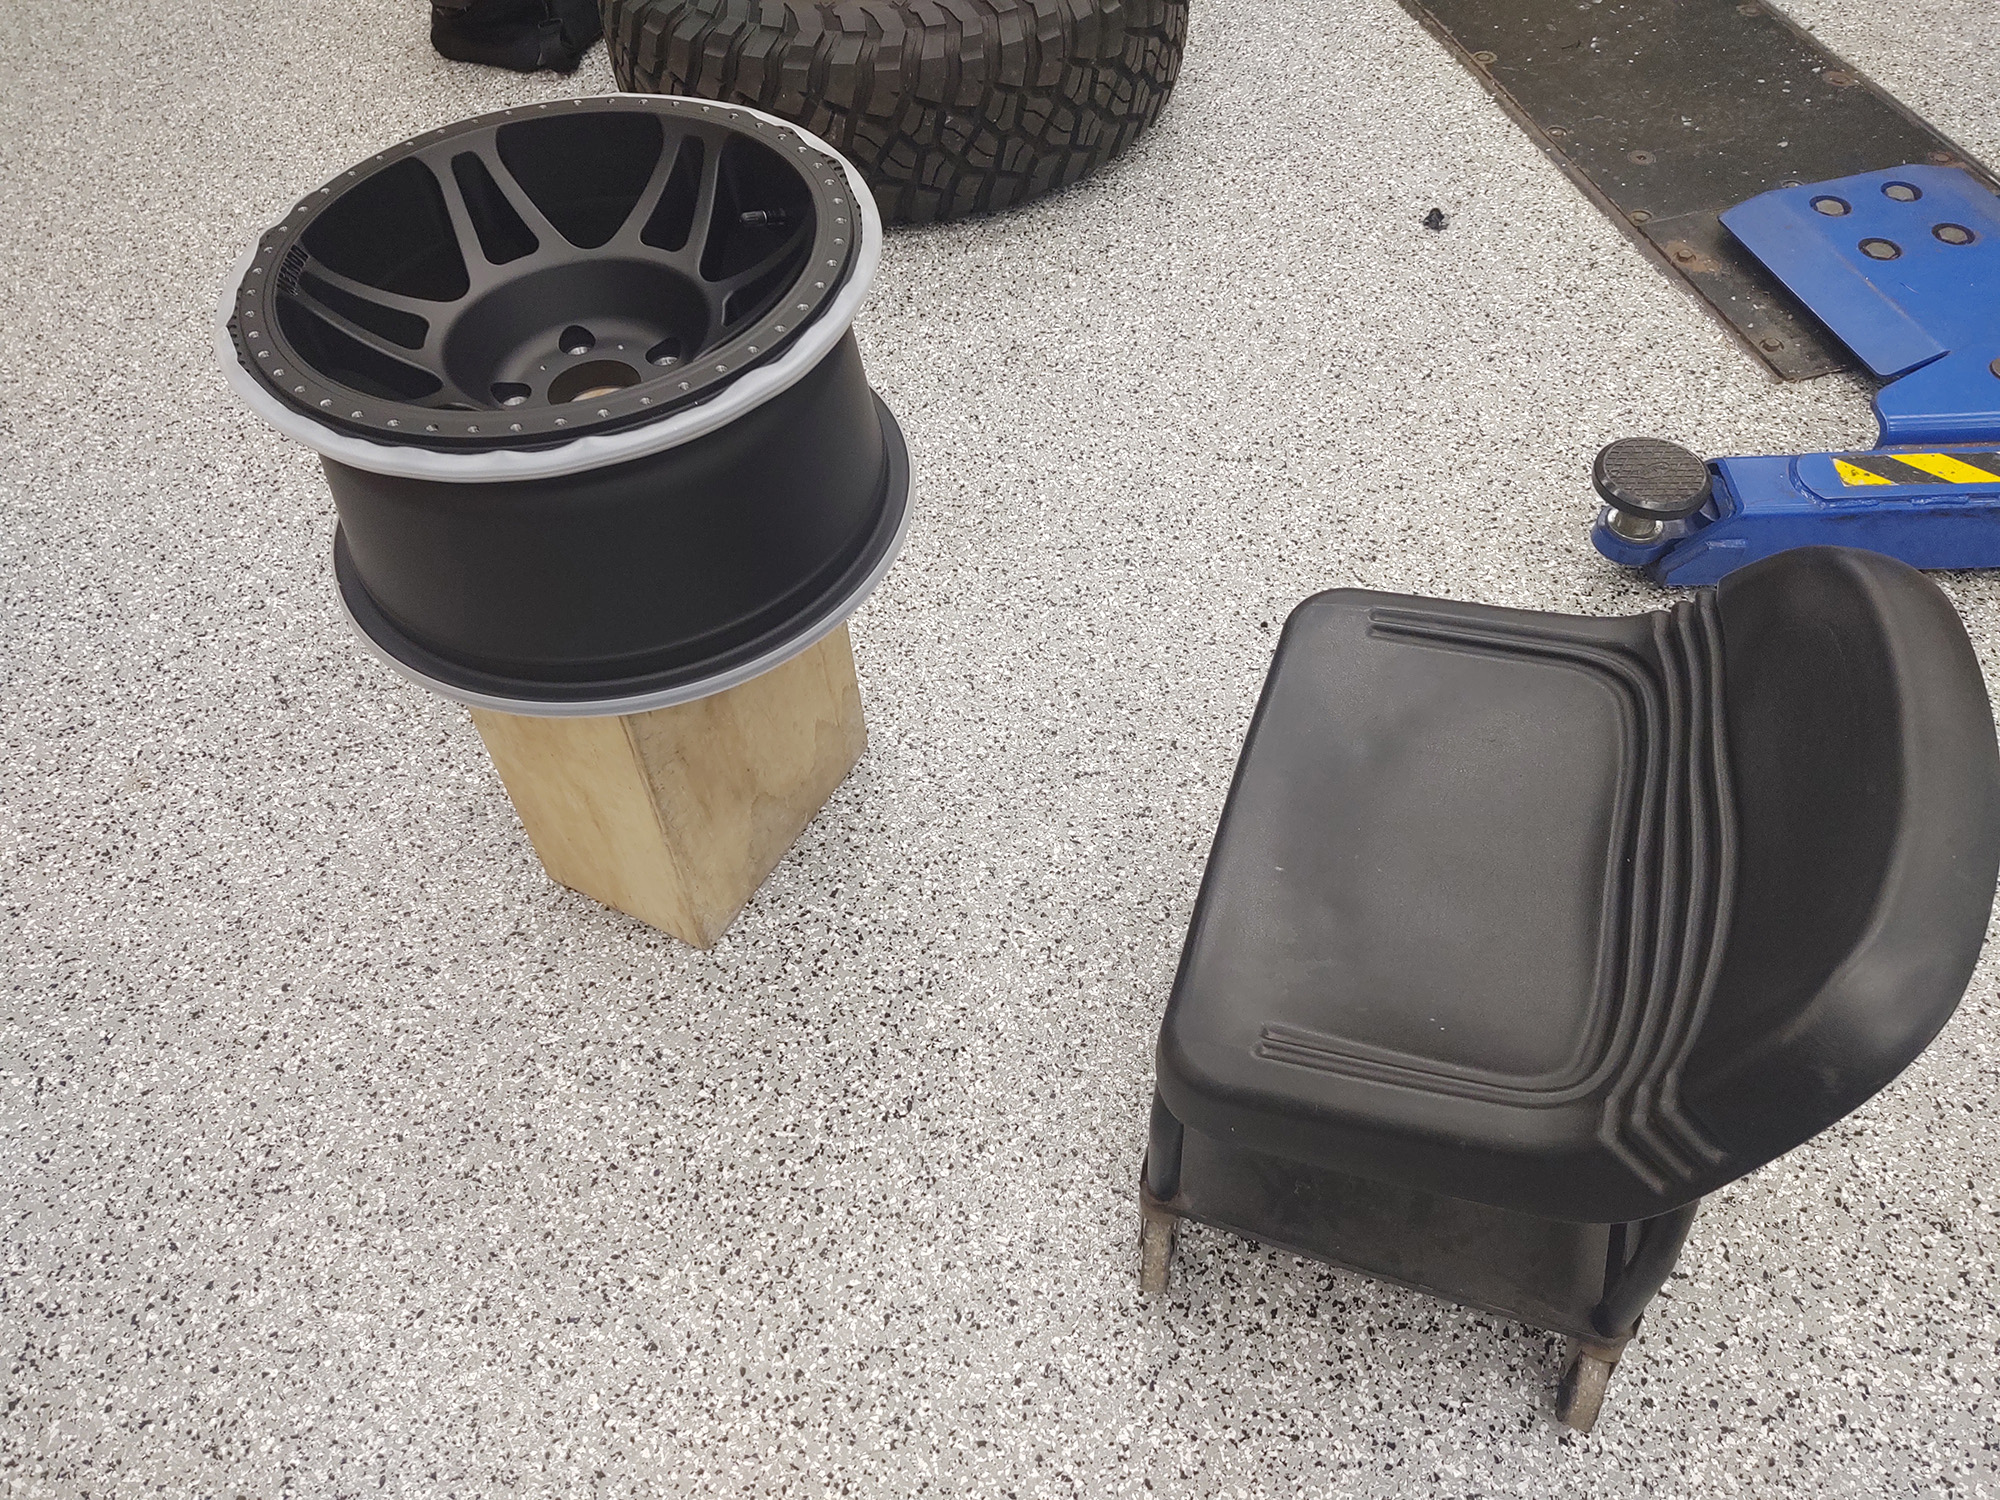
Just off camera is a low table where I set my tools. If this is your first time, plan on about 45-60 minutes per wheel.
What you need:
- A moving blanket or similar padding
- A torque wrench capable of going as low as 10 ft lbs.
- A 1/2" socket
- A 3" extension
- Anti seize (not required, but advisable)
- Some type of sturdy elevated platform
- A stool to save your back (you're gonna be at this a while)
- A valve stem core removal tool
- A valve stem installation tool, or whatever your TPMS sensor uses
Set the moving blanket down and put your tire on top of it; this is to prevent potential damage to the wheel if it goes through the tire and hits the ground. At about a 45-degree angle, get the bead of the tire on the narrowest part of the rim and spin the wheel into the tire. If it seems to be stuck, you can apply some soapy water to allow it to slide more easily. This doesn't take too much effort, but watch out for the tire pressure monitoring sensor (if equipped) so you don’t hang it up and damage it during this process. I have them removed, and installed them after the wheel was on the rim, but before torqueing down the bead lock ring.
Now, with the wheel inserted in the tire, flip it over onto your elevated work surface. We used this box as a platform, as it must support the weight of the wheel and the tire, but only touch the inner part of the wheel. You could also use a five gallon bucket if that's what you have.
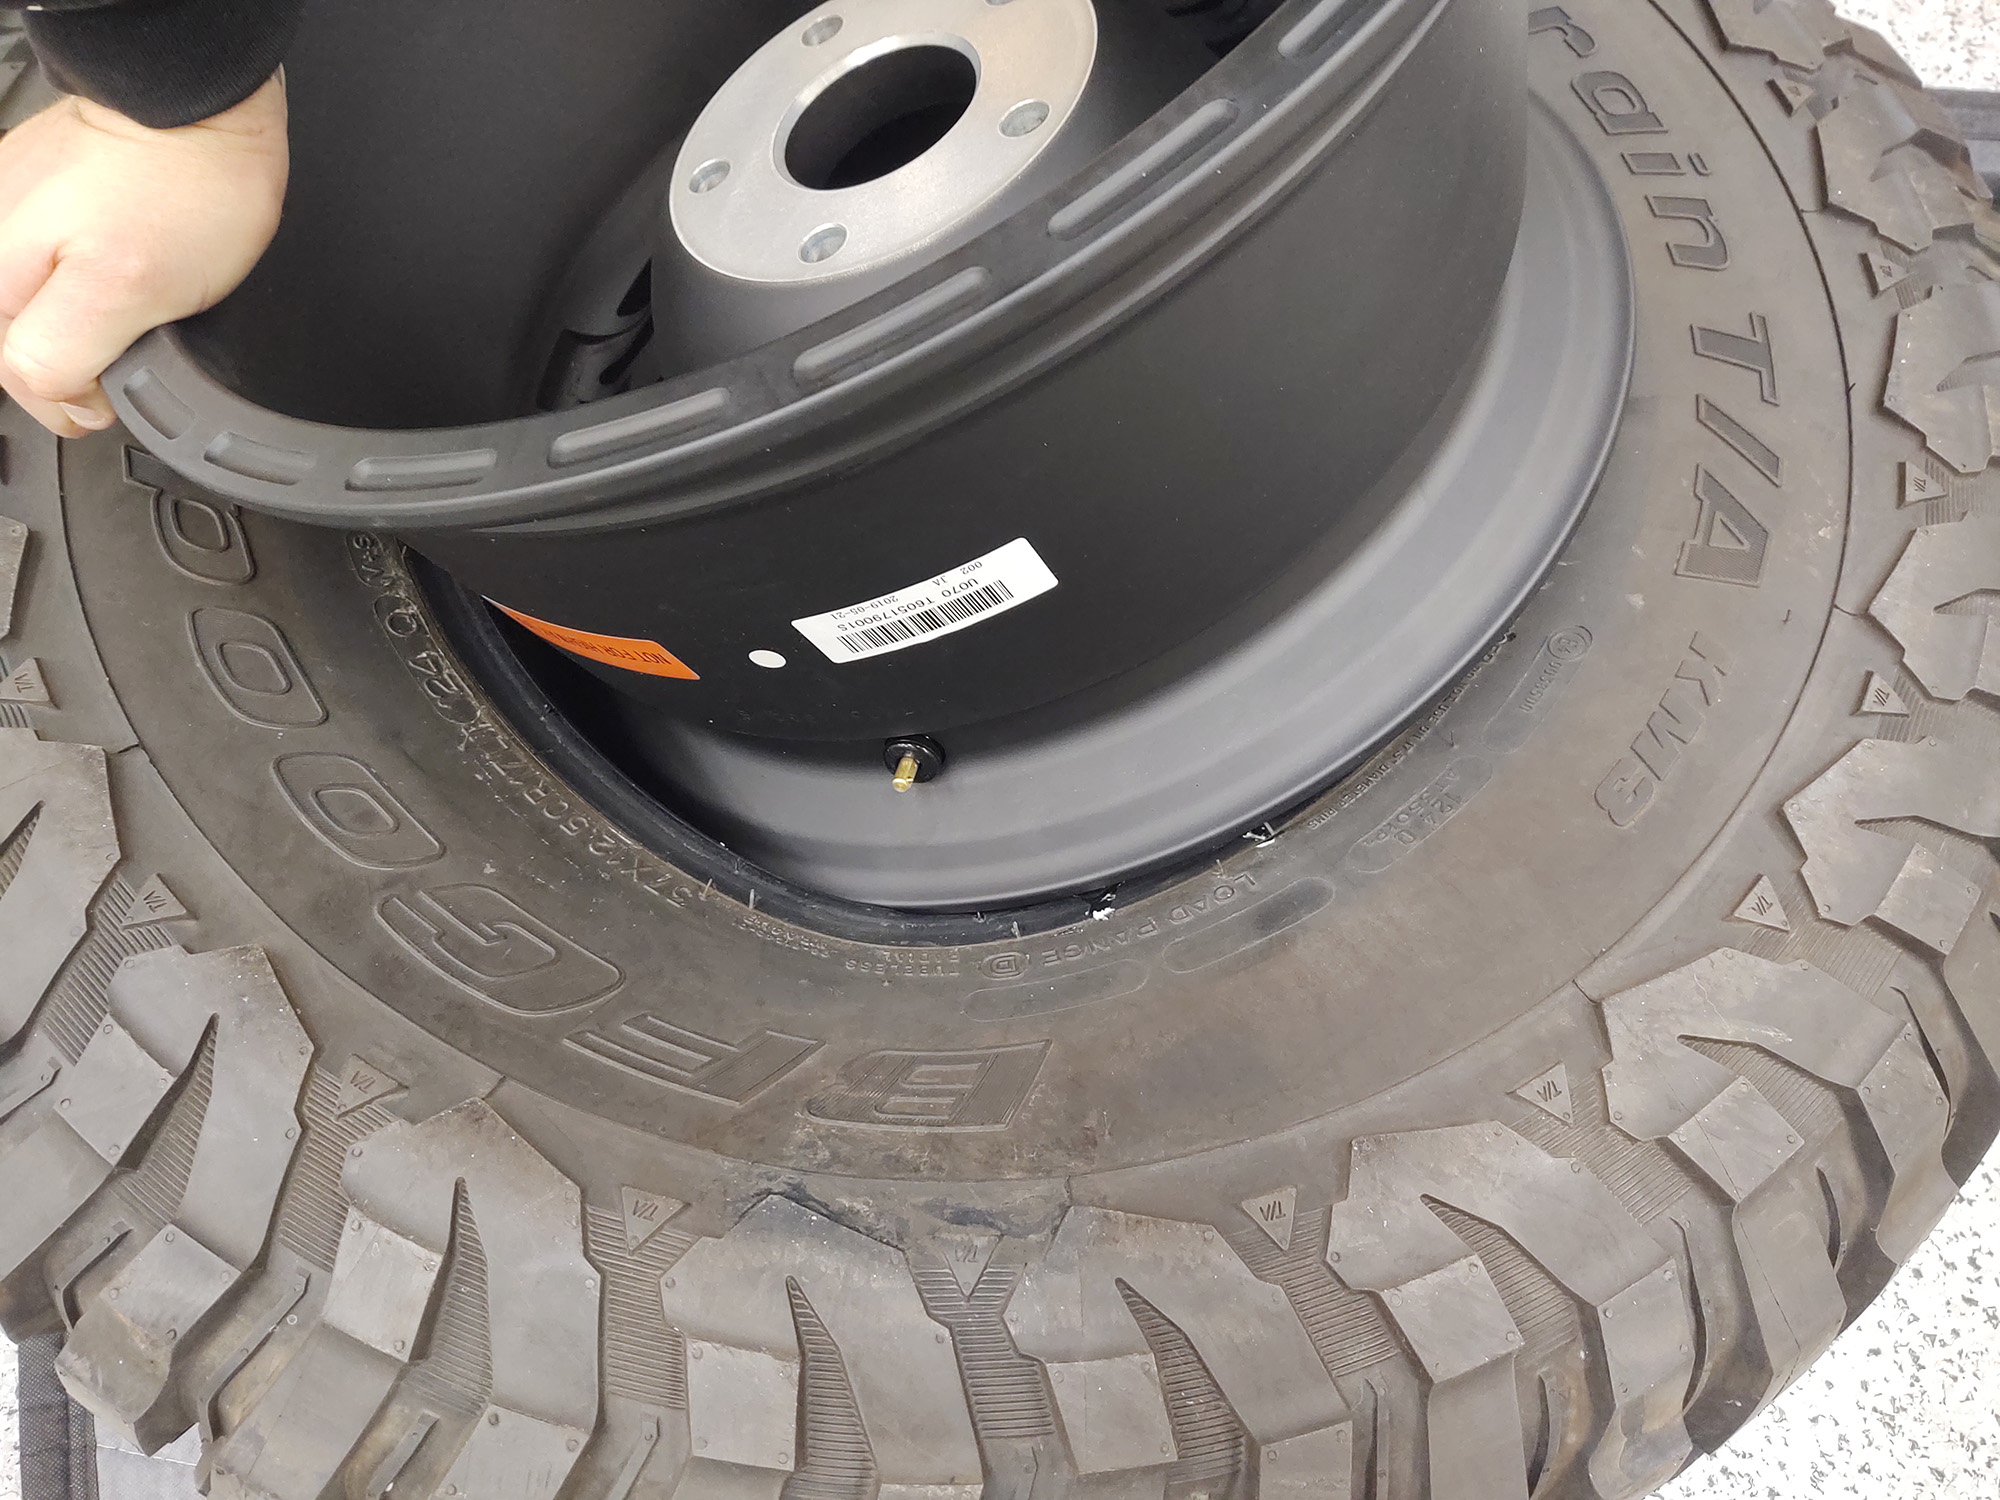
With the tire free-floating and centered, the outer bead of the tire will rest on the bead lock rim of the wheel. With this particular BFGoodrich tire, it sat in there very clean without having to be forced. I have mounted other beadlock wheels that required constant pressure to sit in that groove.
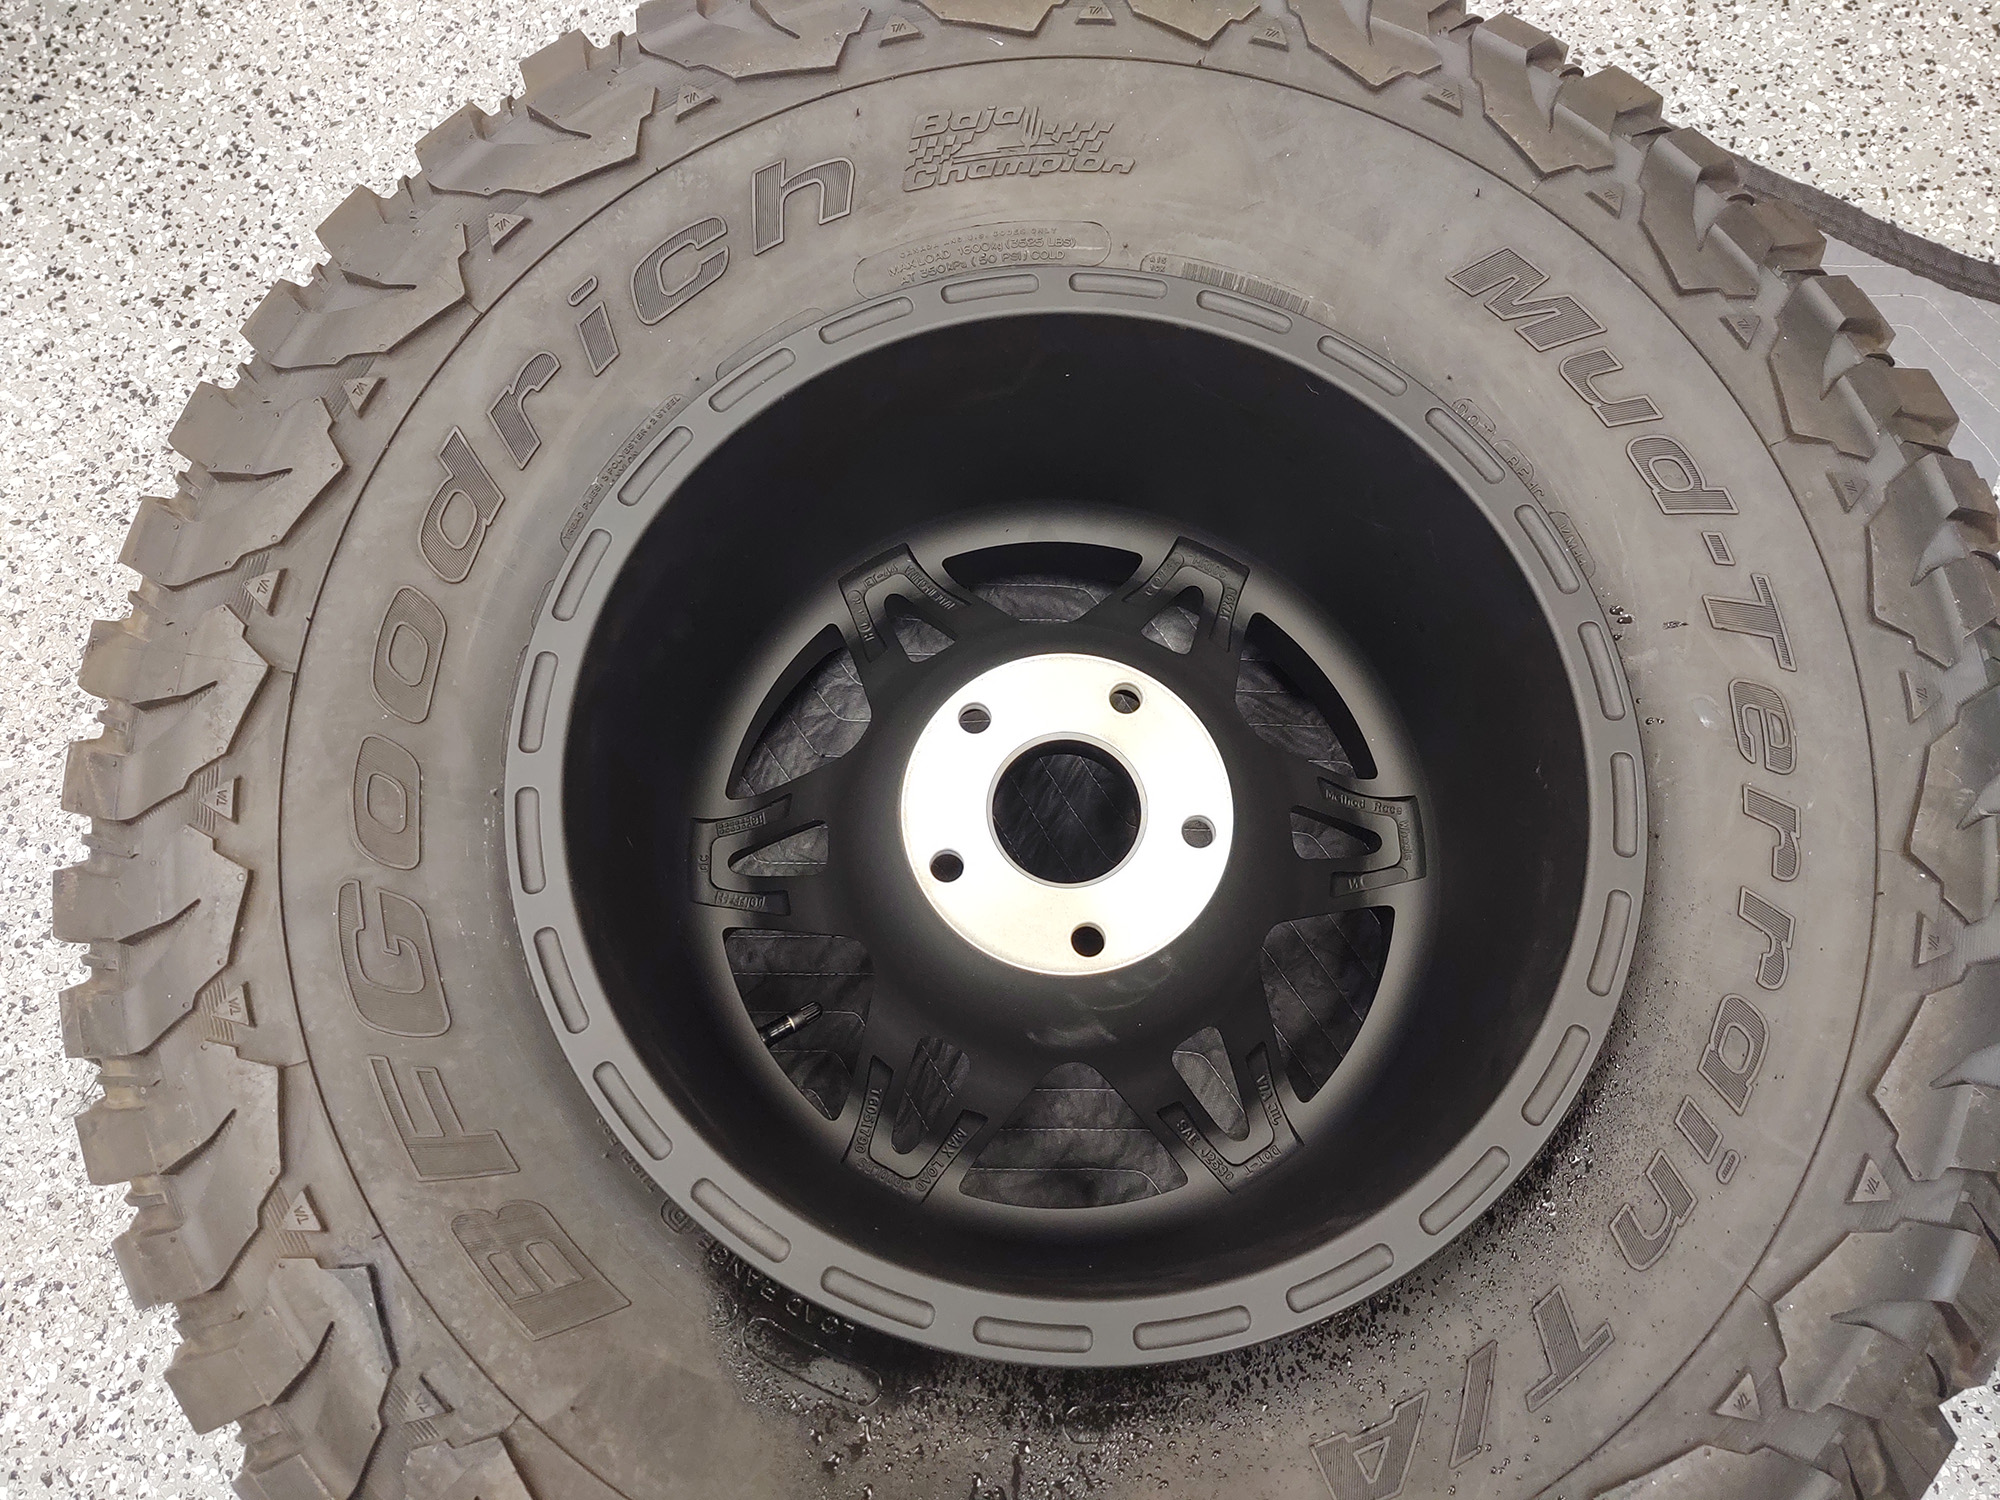
Set the beadlock ring on top of the wheel and line up the hardware holes.
As you can see, there isn't much of a gap. The trick is to evenly tighten the fasteners so as not to create a pinch in the bead of the tire.
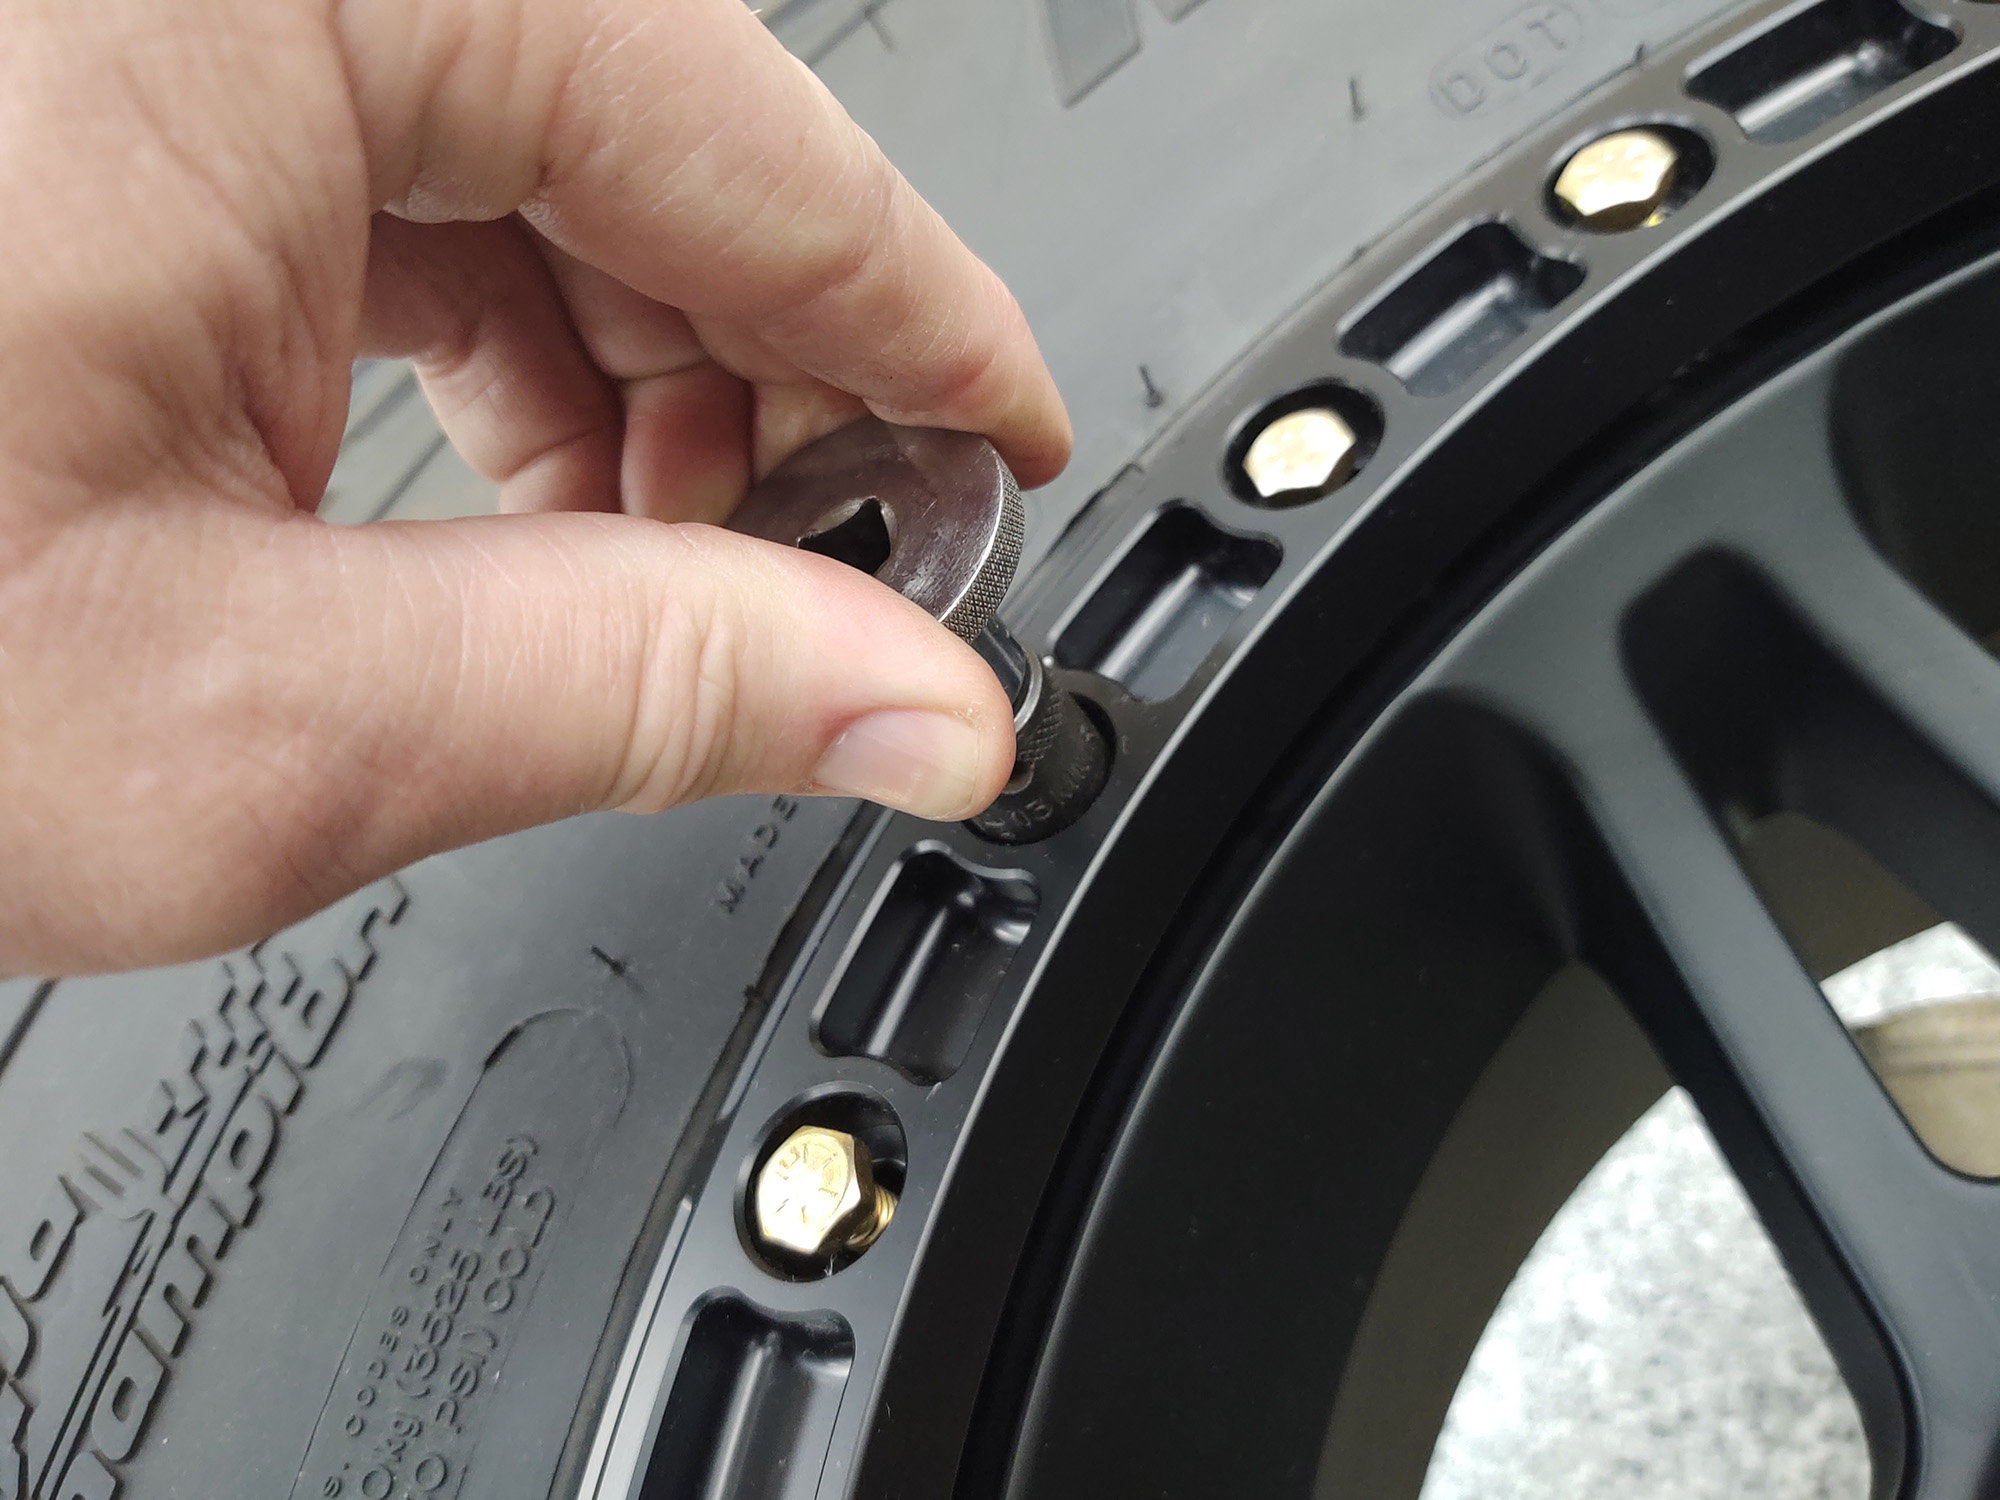
Using a small amount of anti-seize lubricant on each bolt, install them by hand at least two full turns, then snug all bolts gently by hand-tightening with a ratchet.
Now, using your torque wrench in a crisscross pattern, torque all fasteners' initial value according to the guideline specs. I went to 10 lb-ft for this first stage (half of the final value of cast with anti seize at 15-20 lb-ft).
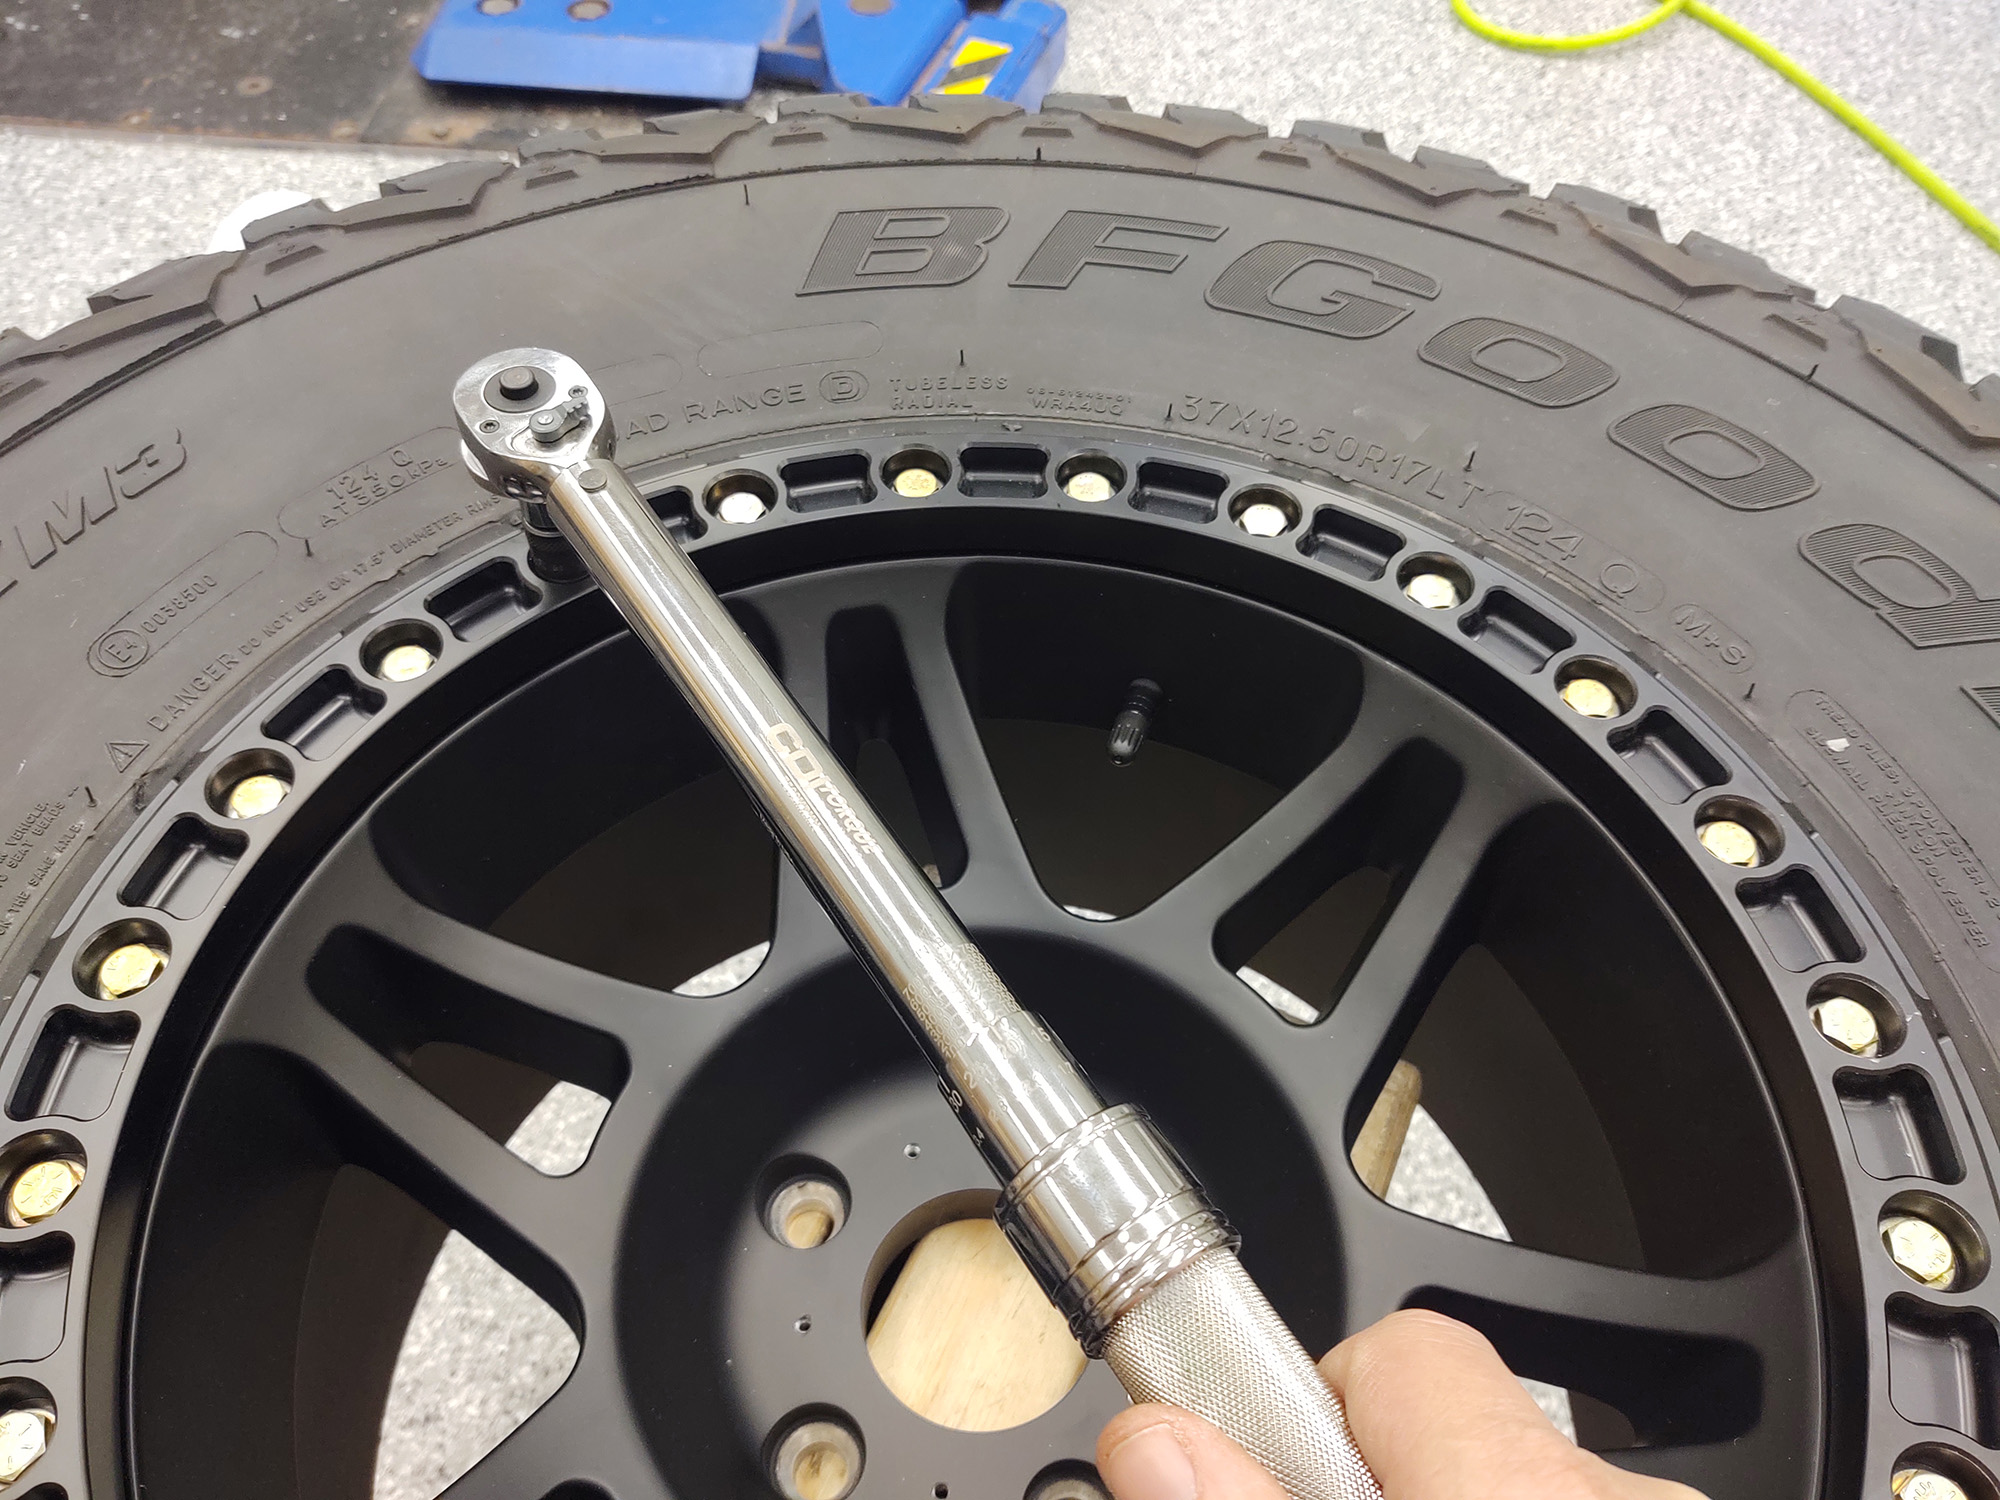
I found it useful to go back around in a circle again before increasing torque, just to make sure no bolts were missed.
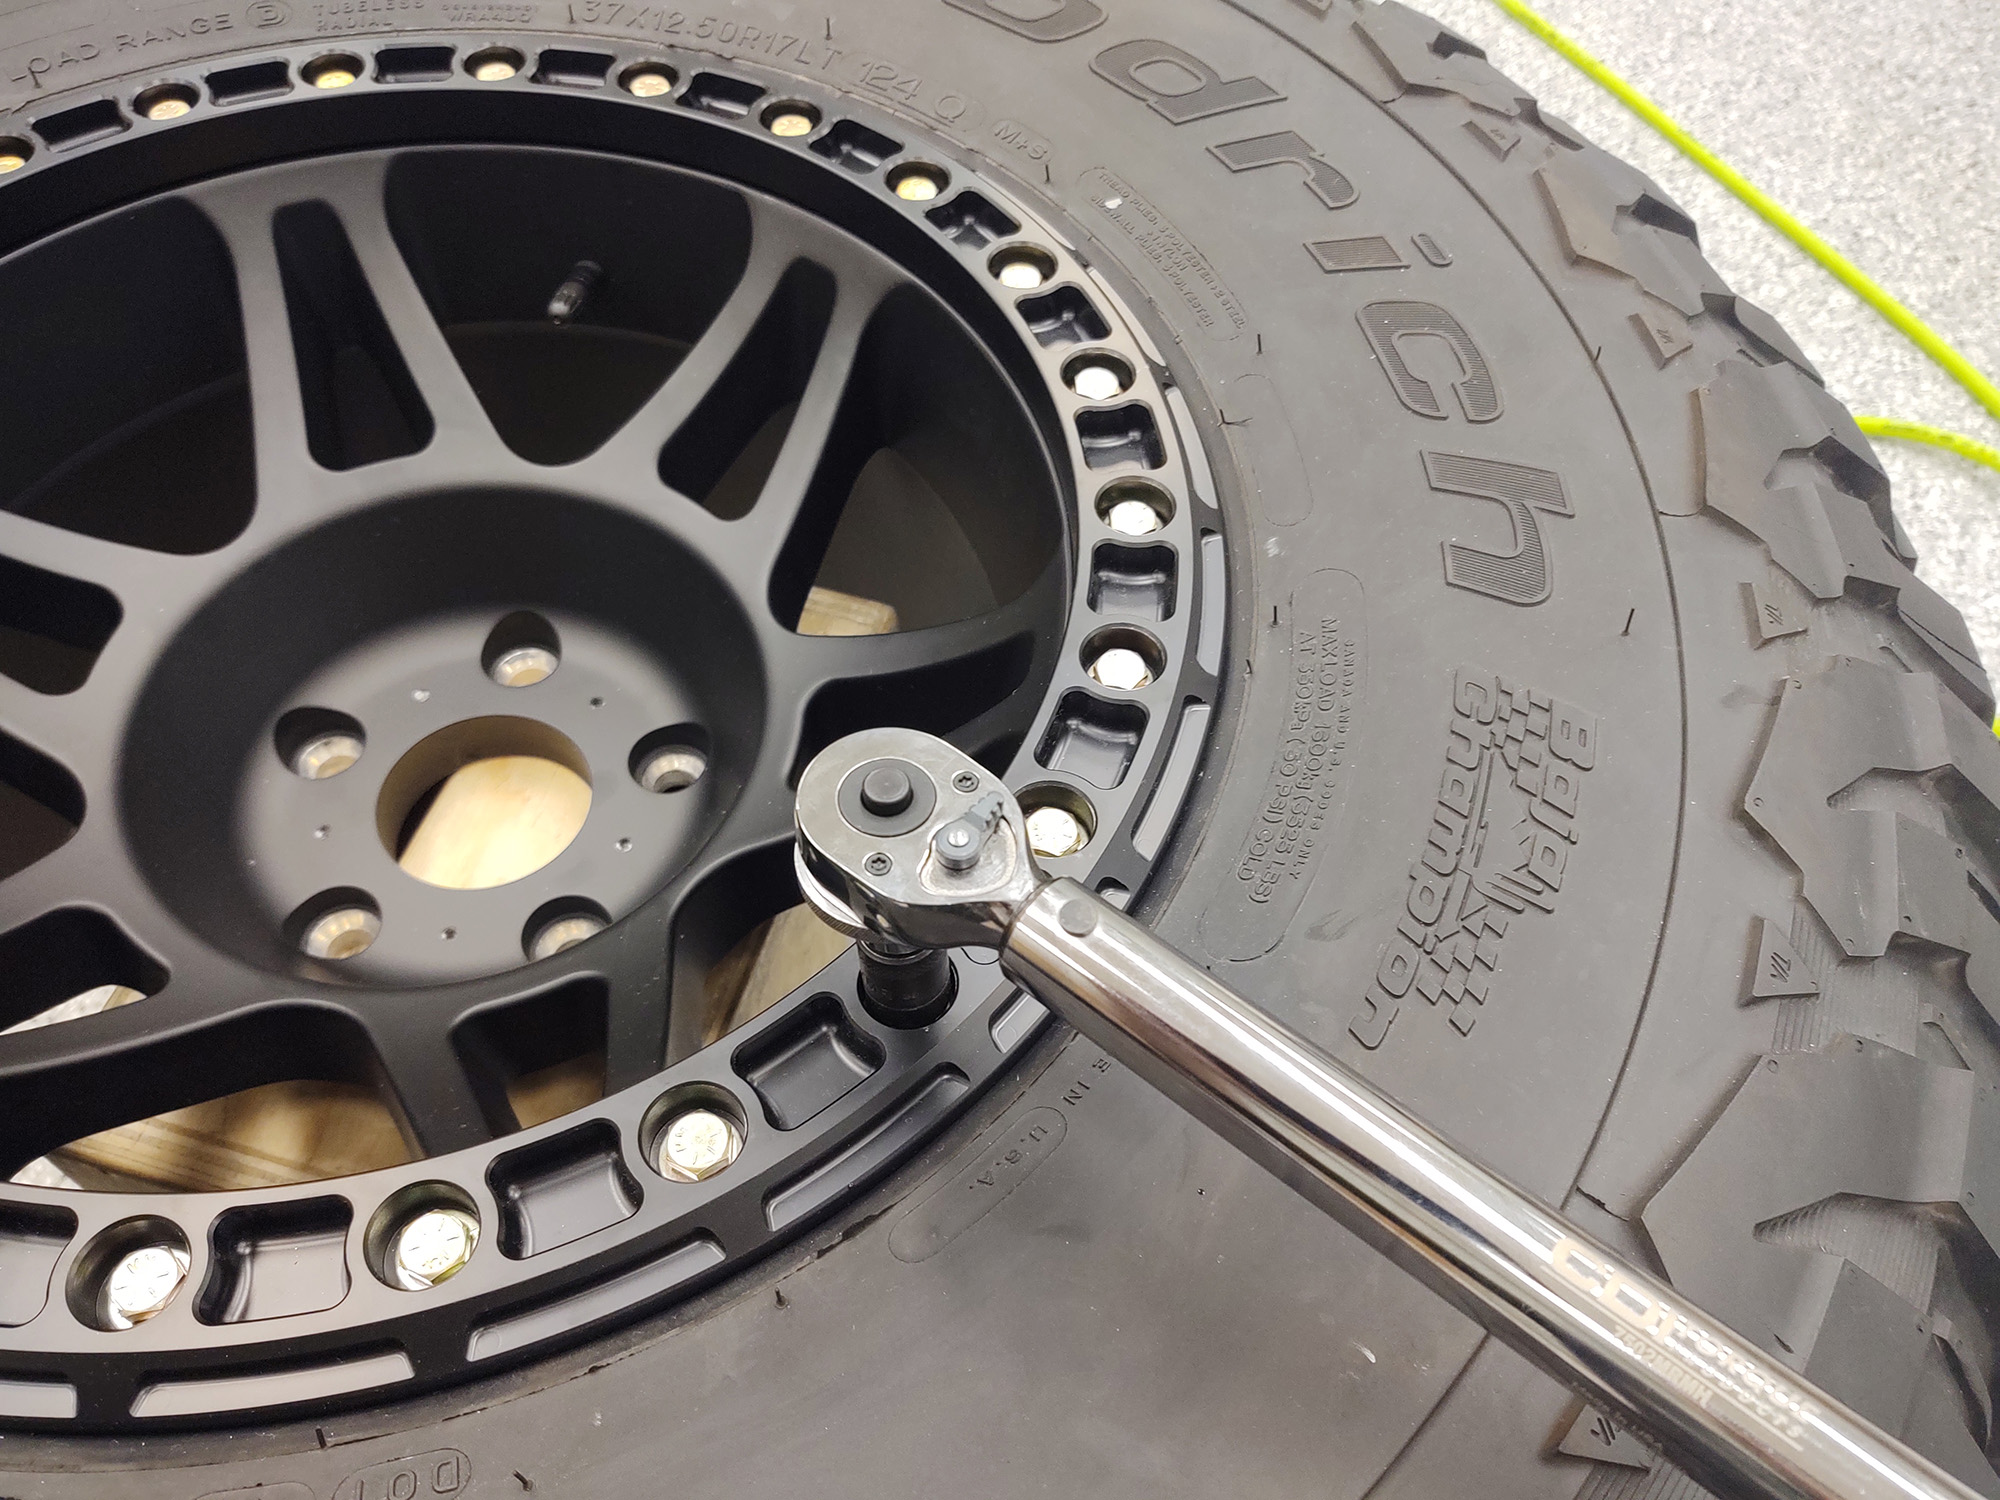
I then did the final torque to 20 lb-ft.
Remember, each time through is 24 bolts. This is why it makes sense to go out of your way to create a comfortable work area. The first time I did this, it was outdoors—at around 90 degrees and (what felt like) 175% humidity. Needless to say, I highly recommend not doing this under those conditions unless absolutely necessary.
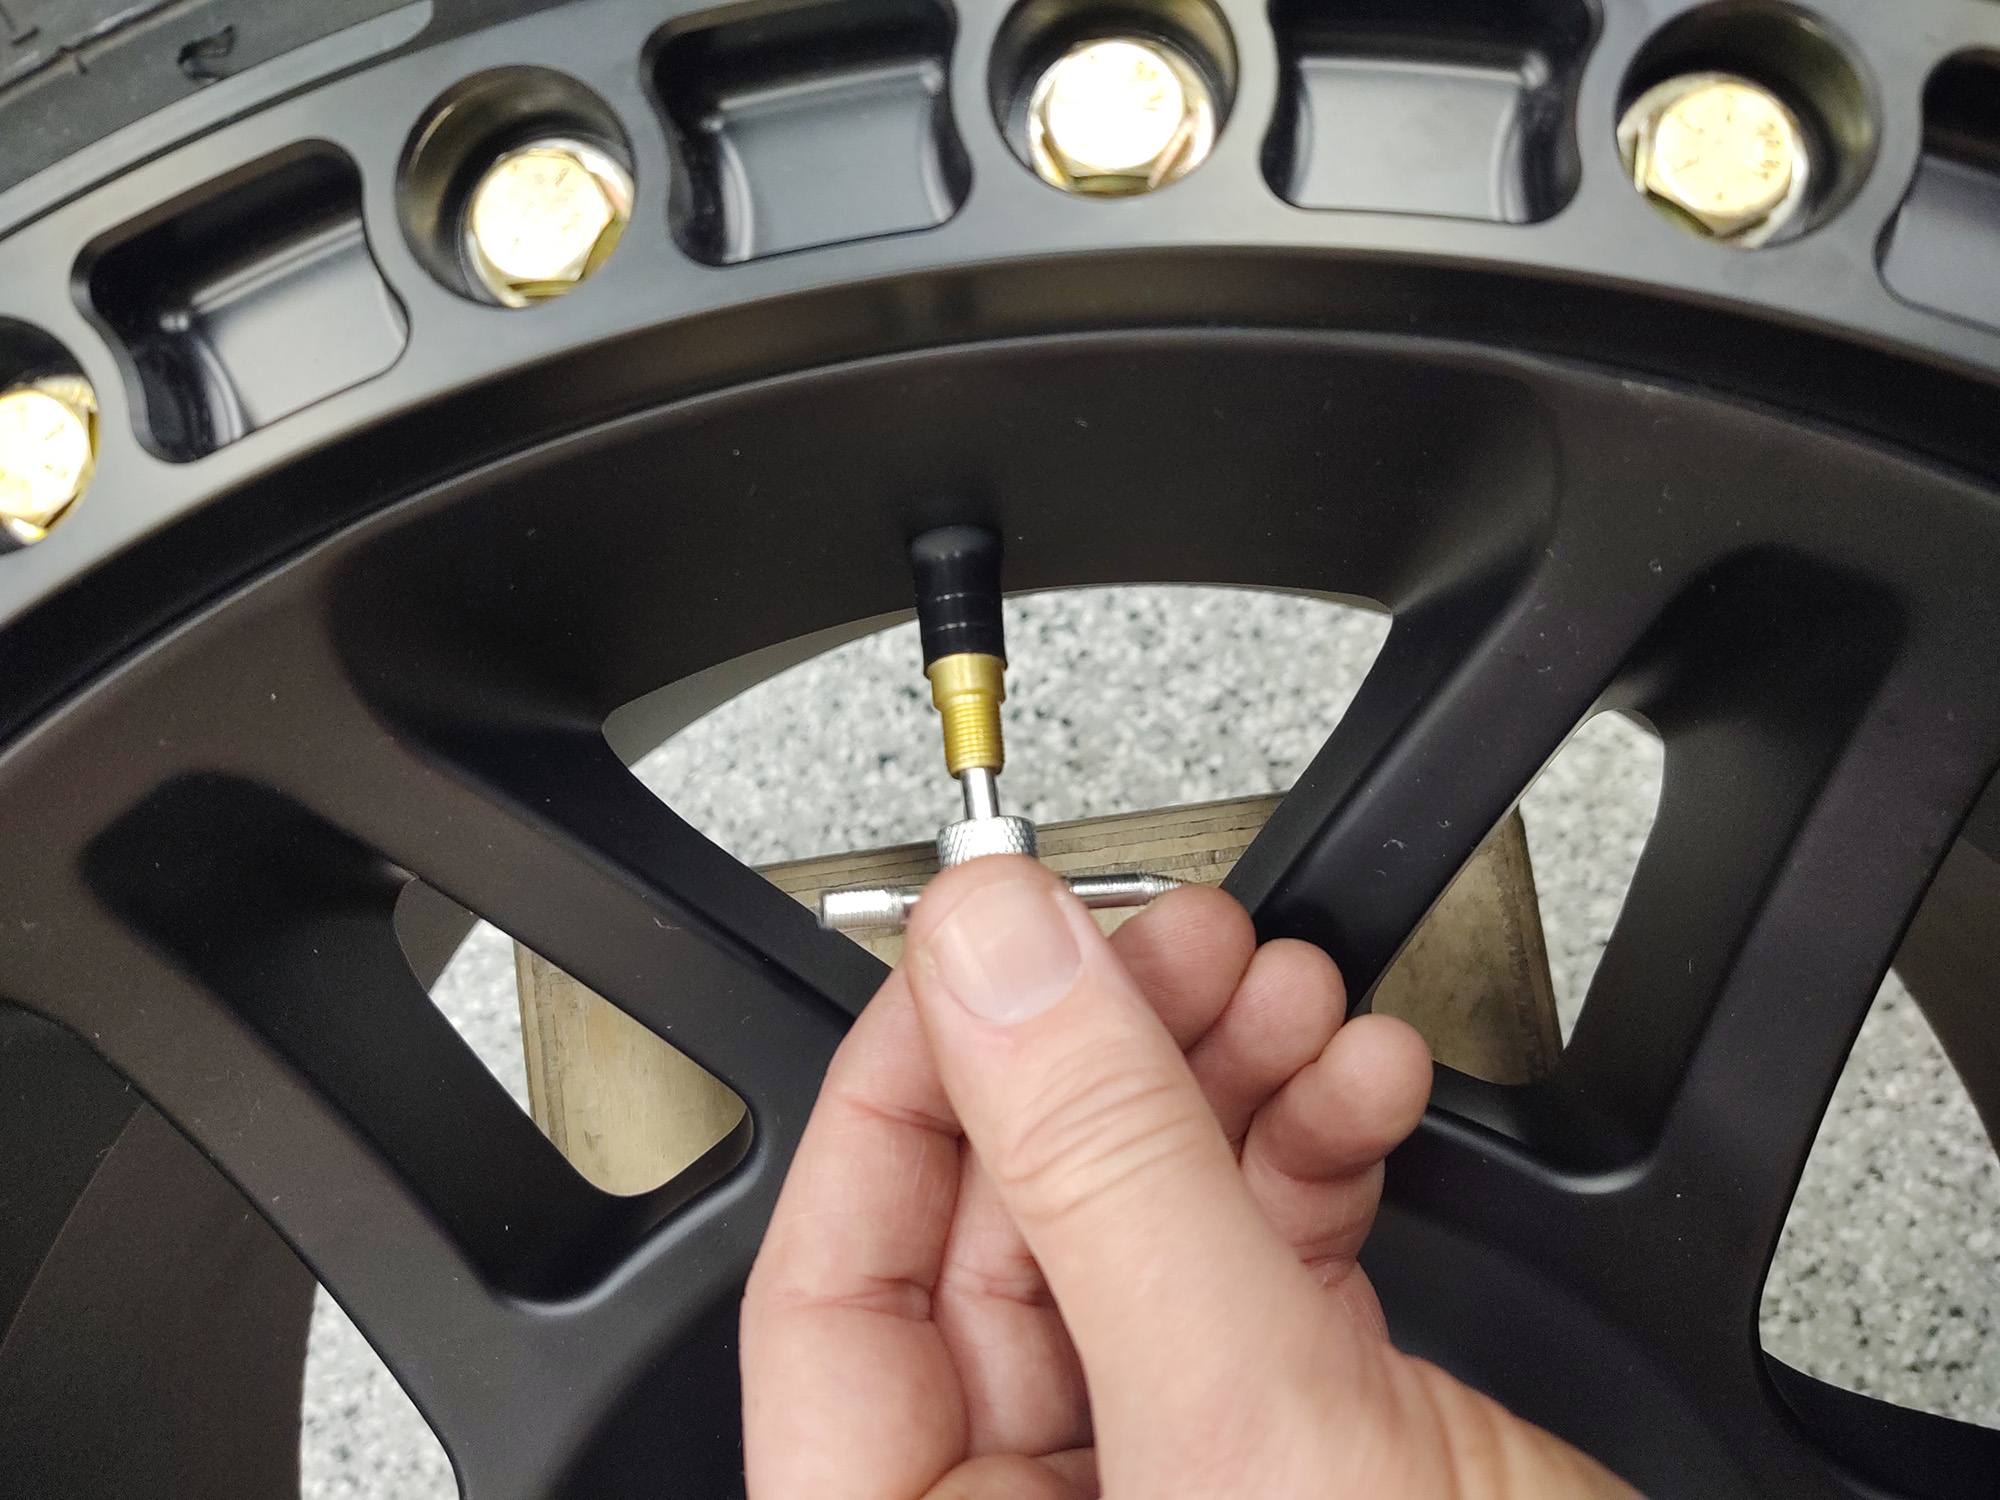
After everything is torqued properly, it is time to seat the inner bead. Remove the valve stem core from the stem with a removal tool. and wet the inner lip of the wheel with some soapy water to allow it to slide more easily. Please keep in mind—to prevent the possibility of injury, make sure you use an inflator that allows you to inflate the tire from the side of the lock ring, in the unlikely event of a material failure.
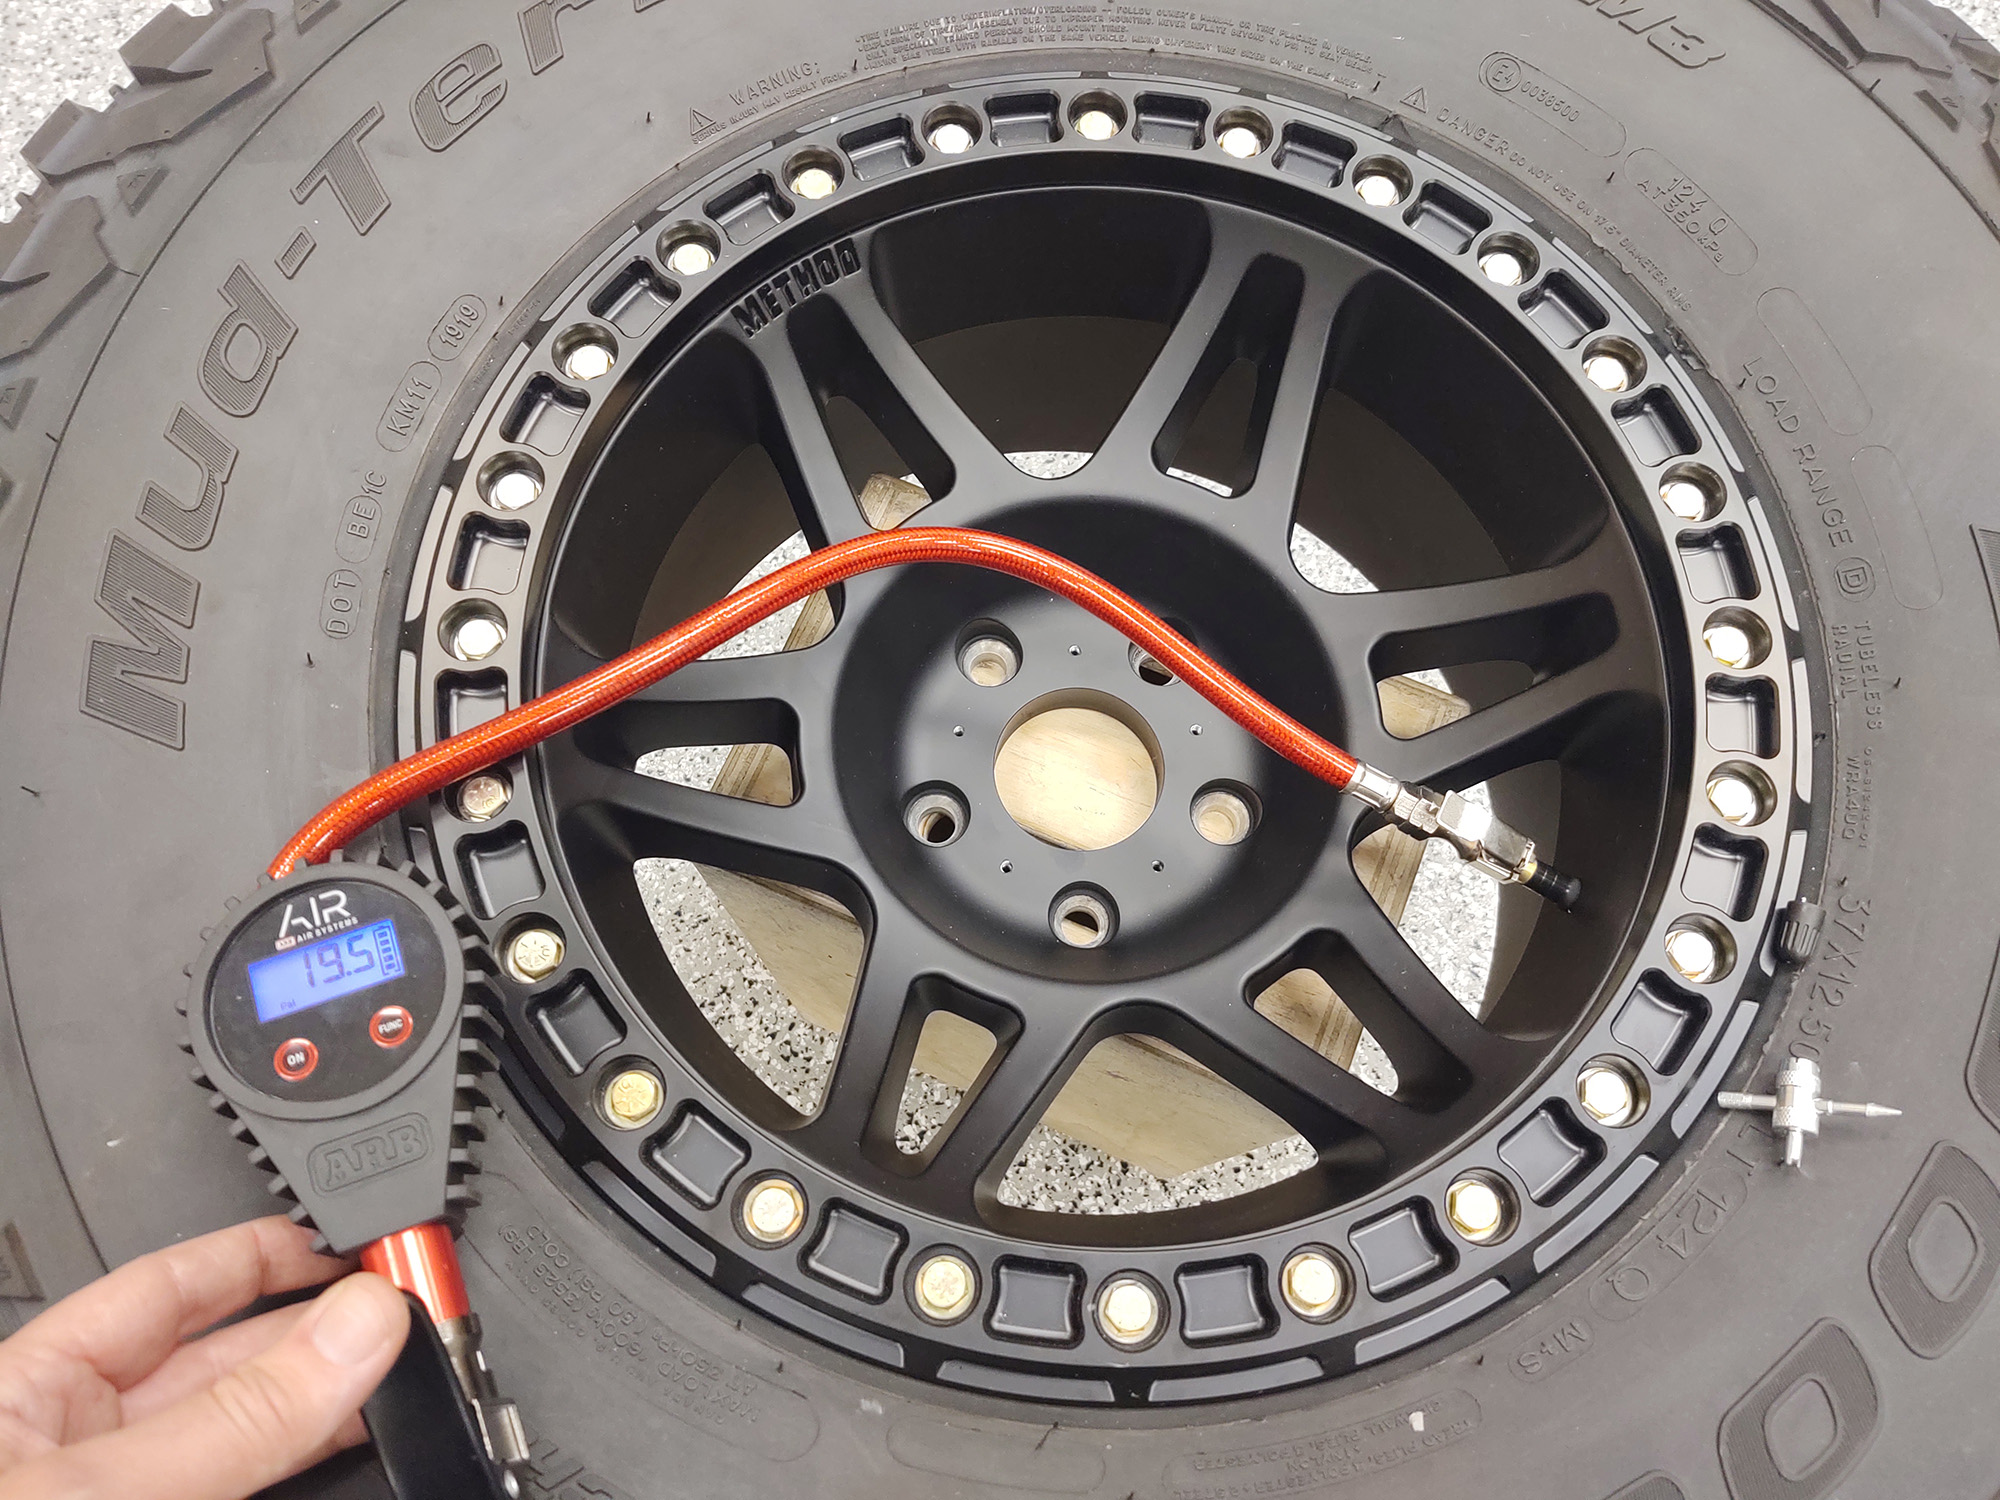
Then inflate the tire to a normal pressure. All of mine seated at around 25 psi.
Note: Method beadlock wheels need to be deflated so ring bolts can be retorqued 50 miles after the initial installation. In addition, every 200 miles after that, or after rigorous off road use, you should recheck them as well. In my experience, they haven’t needed much tightening so far, but this interval is important.
So how do I like them? They have performed flawlessly down to 6 psi on aggressive crawling days in Maine, and carried heavy loads on overlanding trips in West Virginia. About a dozen trail days in Pennsylvania so far, and they have been absolutely perfect. I would recommend these to anyone.
They also work very well with Power Tank’s Monster Valves , which I moved over from my old wheels.
If you’re looking for something with the same look, but want a fully street legal non-beadlock option, Method Race Wheels makes its MR312 Series in the same finish options—black or bronze.
These Street Series wheels are in the 4.5”-4.75” backspace range, depending on width, and they come in either 8.5” or 9” widths. They also include an industry-leading lifetime structural warranty, and a matte clear coat finish to protect the wheels from harsh environments. While not a true bead lock, the MR312 wheels are cast from the same A356 alloy, and receive the same T6 heat treatment as their race grade siblings. Either way, you can’t go wrong with the quality of Method Race Wheels.