Featuring Premium Parts from
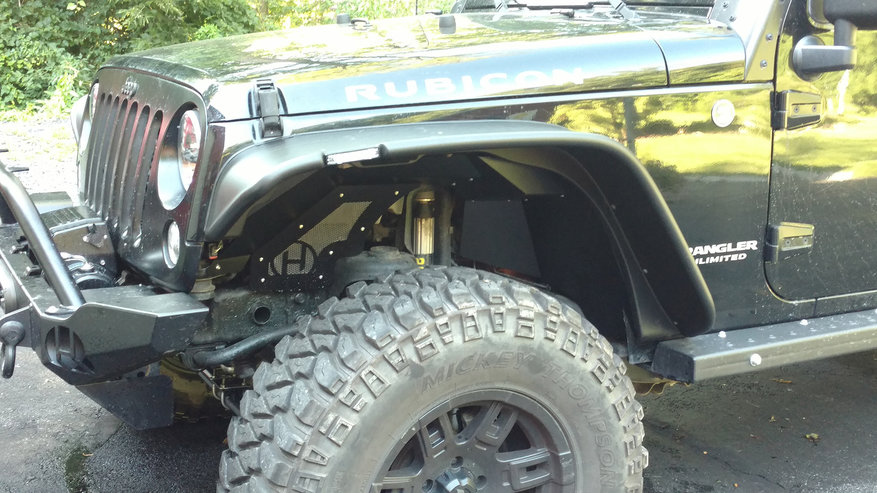
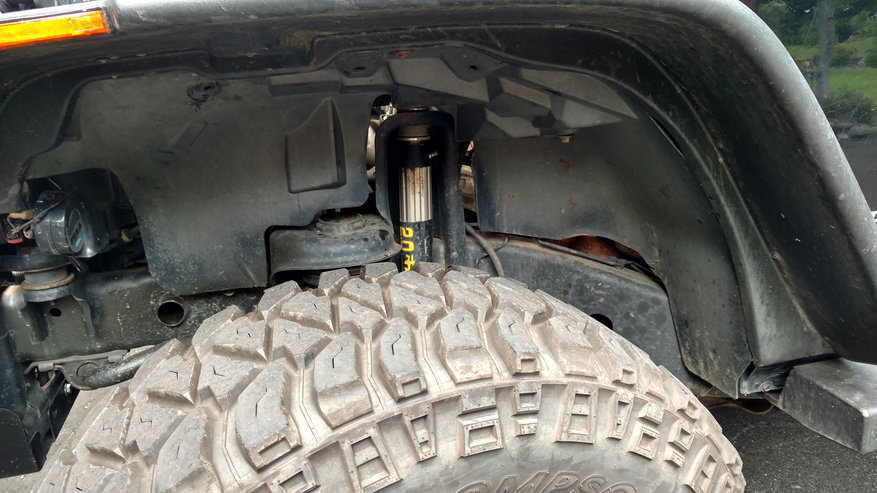
I'VE REMOVED A whole bunch of factory plastic parts and replaced them with things like Bushwacker Flat Style Fender Flares, a Hyline Offroad Front Mid Width Recessed Winch Bumper and Hyline Offroad Ridgeline Mid-width Rear Bumper on Project Snake Eyes. With the combination of a lifted suspension, mid-width front bumper, and flat fender flares, the front inner fender liners have become a whole lot more visible.
When I installed the Bushwacker flares, one of the most time consuming parts of the procedure was getting those liners trimmed exactly right. If I had to do it again, I would have installed Hyline Offroad’s Inner Fender Liner kit at the same time to save the added labor.
These Hyline Offroad Inner Fender Liners are made of aluminum, and are offered in unpainted raw or black powder-coated finishes. The mesh panel behind the Hyline logo allows heat from the engine compartment to escape, and is definitely paintable with a can of Mopar touch up paint if you want to color match it to your vehicle.
Only one small hole must be drilled to facilitate installation, and other than that no modifications to your Wrangler are required.

These fender liners are compatible with factory flares, as well as many aftermarket alternatives. The fit with my Bushwacker Flat Flares is perfect, and only minor clearancing of the back side of the flare (a part that the factory trimmed liner tucks behind) is required. Since I have already installed these flares, my instructions will be specific to this type of installation. The provided instructions detail the steps to install with either Bushwacker flares or the factory ones, and although a few steps are slightly different, they are every bit as simple.
Tools and materials Required:
- 10mm, 3/8” & 7/16” sockets
- 7/16” wrench
- 1/8”, 5/32” & 3/16” Allen wrenches
- Drill & 9/32” Bit
- A utility knife (for Bushwacker fender trimming)
- #2 Phillips head screwdriver (for Bushwacker flare removal)
- Alcohol (the rubbing kind, not beverages - although the latter isn’t a bad idea either)
- Replacement Bushwacker fender beading if removing the flares (or adhesive to remount them)
Procedure:
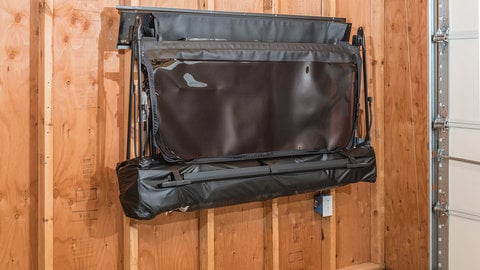
The Hyline Inner Fenders come well packaged, but are disassembled and packed flat - both to save space and ensure a well protected product arrives at your door.

The finish of each part was flawlessly applied and undamaged, as I have come to expect from all of Hyline’s products.
Start by assembling the liners with the provided stainless steel hardware. Hyline does recommend using anti seize lubricant on all hardware during installation, so make sure to have some on hand before you start.

The mesh panels are installed using eight 10-32 button head bolts and nylon lock nuts per side. To allow it to contrast with the fender liners, I left mine raw rather than painting them, but they do look spectacular when sprayed to match your body color (you know, if it’s not a black Jeep).

The remaining panels of the liners are all bolted together using the slightly larger ¼”-20 button head bolts and nylon lock nuts.

Use the nuts on the top side of the panels as shown.

I laid out some broken down cardboard boxes on my driveway to keep the panels from becoming damaged during assembly. While bolting them together, the shapes of the individual panels make it impossible to lay them flat while you work with tools, so this was a wise choice.

Once both liners are fully complete, double check all hardware before moving on to installation. There are a lot of bolts here, and awkward angles to use tools at times - I needed to snug up a few before moving on to the Bushwacker flare removal.

Start by removing all the underside screws with a #2 Phillips head screwdriver.

Then, starting at the leading edge, slowly pull the fender flare away from the body. Some adhesive will be left behind, but we will clean that off before reinstalling the flares.

Next, using a 10mm socket, remove the fasteners holding the fender liner to the body inside the wheel well.

The rearmost fastener is different, and attaches to a stud on the body.


That stud is actually a partially hidden bolt that passes through a threaded sleeve on the body, and can be easily removed from the engine compartment in these two locations.
Next, remove the two push clips at the leading edge of the fender liners.

Remove the fender liner from your Jeep. Install a provided clip nut on either side where the push clips were removed as pictured.

Two bolts from the Bushwacker fender supports must also be removed, but will be replaced with new button head bolts that thread into the fender liners from the front.

Bolt the fender liner in place using the factory hardware at the top, and three provided button head bolts through the body into the threaded spots of the fender liner. Make sure the wiring for your marker lights passes through, but is not pinched in such a way to allow chafing from vibration between the metal panels.

Use the last mounting hole (right behind the turn signal) as a guide to drill into the metal lip surrounding the front body mount with a 9/32” bit. I found it useful to remove the bulb and get it out of the way for this step. Use touch up paint on the newly drilled hole to prevent rust from forming. Then use the final button head bolts and nuts to complete the installation of the fender liners.

To reinstall the fender flares, a small lip of the flare should be cut away to allow it to sit flush against the liners. This can be done by cutting with a sharp knife along the corner.

Clean the adhesive off the body (and the flare) from the Bushwacker fender beading, and reinstall the flares using new stuff. Alternatively, you could use a body trim tape in the appropriate width to reattach the flares without replacing the beading. I had a lot left over from my fender kit, so I just replaced it entirely. Reinstall the Phillips head screws on the underside of the flares.

With these installed, the look of the front corners has been improved dramatically. The vented mesh panels also allow a lot more heat to escape the engine compartment than the previous factory plastic components. When driving on trails in the late summer months, you could feel heat pouring through the vented sections.