Featuring Premium Parts from
by Scott Ammerman
Quadratec Channel Correspondent
If you are familiar with the many benefits of a Power Tank system, you’ll know that the biggest two advantages are supply pressure and flow. A compressor takes time to build pressure, and the supply is usually limited to around 150 pounds-per-square-inch—any potential for that pressure to be stored is limited to a small tank (if you have one at all).
Since the tank is full of 5-20 pounds of liquid CO2 and not compressed air, the supply pressure is around 800-1000 psi. Depending on which Power Tank regulator you have, you can crank it up to 250 psi for the HP250i and all the way to a stunning 400 psi with the XP400.
For more info on the way this system works, check out this article: Seven Reasons I Bought A Jeep Power Tank System—about why I went with a CO2 system rather than a compressor for Project Rattler.
To summarize, the liquid CO2 in a 15 lb tank is roughly equivalent to 600 gallons of air compressed to 150 psi. This means no waiting, and an absurdly high flow when you want to inflate tires, or use air tools out in the middle of nowhere.

This gives you a huge boost to inflation speed, and is usually enough refill all four of your tires while your friends with a compressor are just halfway done with their first tire.
But what if this could happen even faster?
If your inflation and deflation routine takes far too long now that you have 35” and up tires, then this offering from the inflation experts at Power Tank might just be one of the best upgrades you could make. In fact, this is most likely the fastest inflation and deflation system on the market, and really the only one that does both really, really, well.
These Monster Valves take the place of any type of deflation tool you are currently using, which means no more waiting for air to escape through a tiny pinhole in the side of a deflator, or pulling the valve stem cores out and hoping they reseal cleanly upon insertion. And remember, the more times you remove and reseat those stems, the more likely they are to end up with a slow leak.

The important thing to note is that these are not a replacement for your original valve stem. The Monster Valves are an additional avenue for much faster pressure transfer. With two ports through the wheel, the Monster Valve can be used to increase or decrease pressure—the original valve stem, with a pressure gauge attached to it, can monitor the pressure without having to stop the flow.
To describe this in the simplest way possible, using things that aren’t exactly words, you go from:
Pssssssssssssssssssssssssssssssshhhhhhhhhhhhhhhh
Psssssssssssssssssssssssssssssshhhhh
Check
Psssssssssssssssssssssssssssssshhhhh
Check
Pssssssh
Check
DONE
to:
PSSSSSSSSSSSSSSSSSSSSSHHHHHHHHHHHHHHHHHHHHHHHHHHHHH
DONE
In practical use, you can have your whole vehicle aired down in four or five minutes, which has been a huge time saver for me on recent trail days.
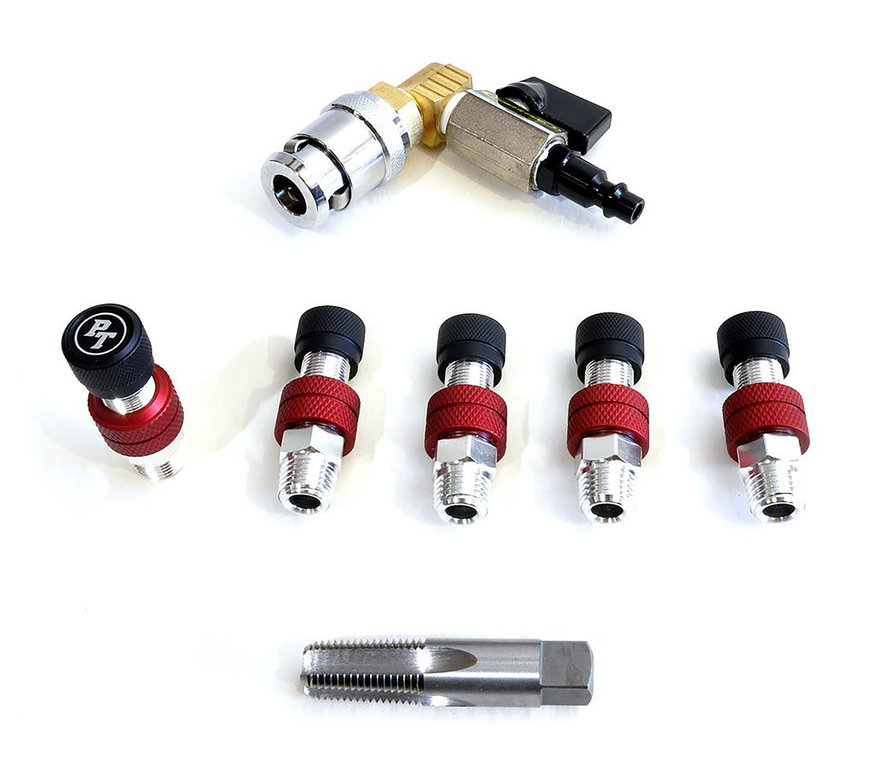
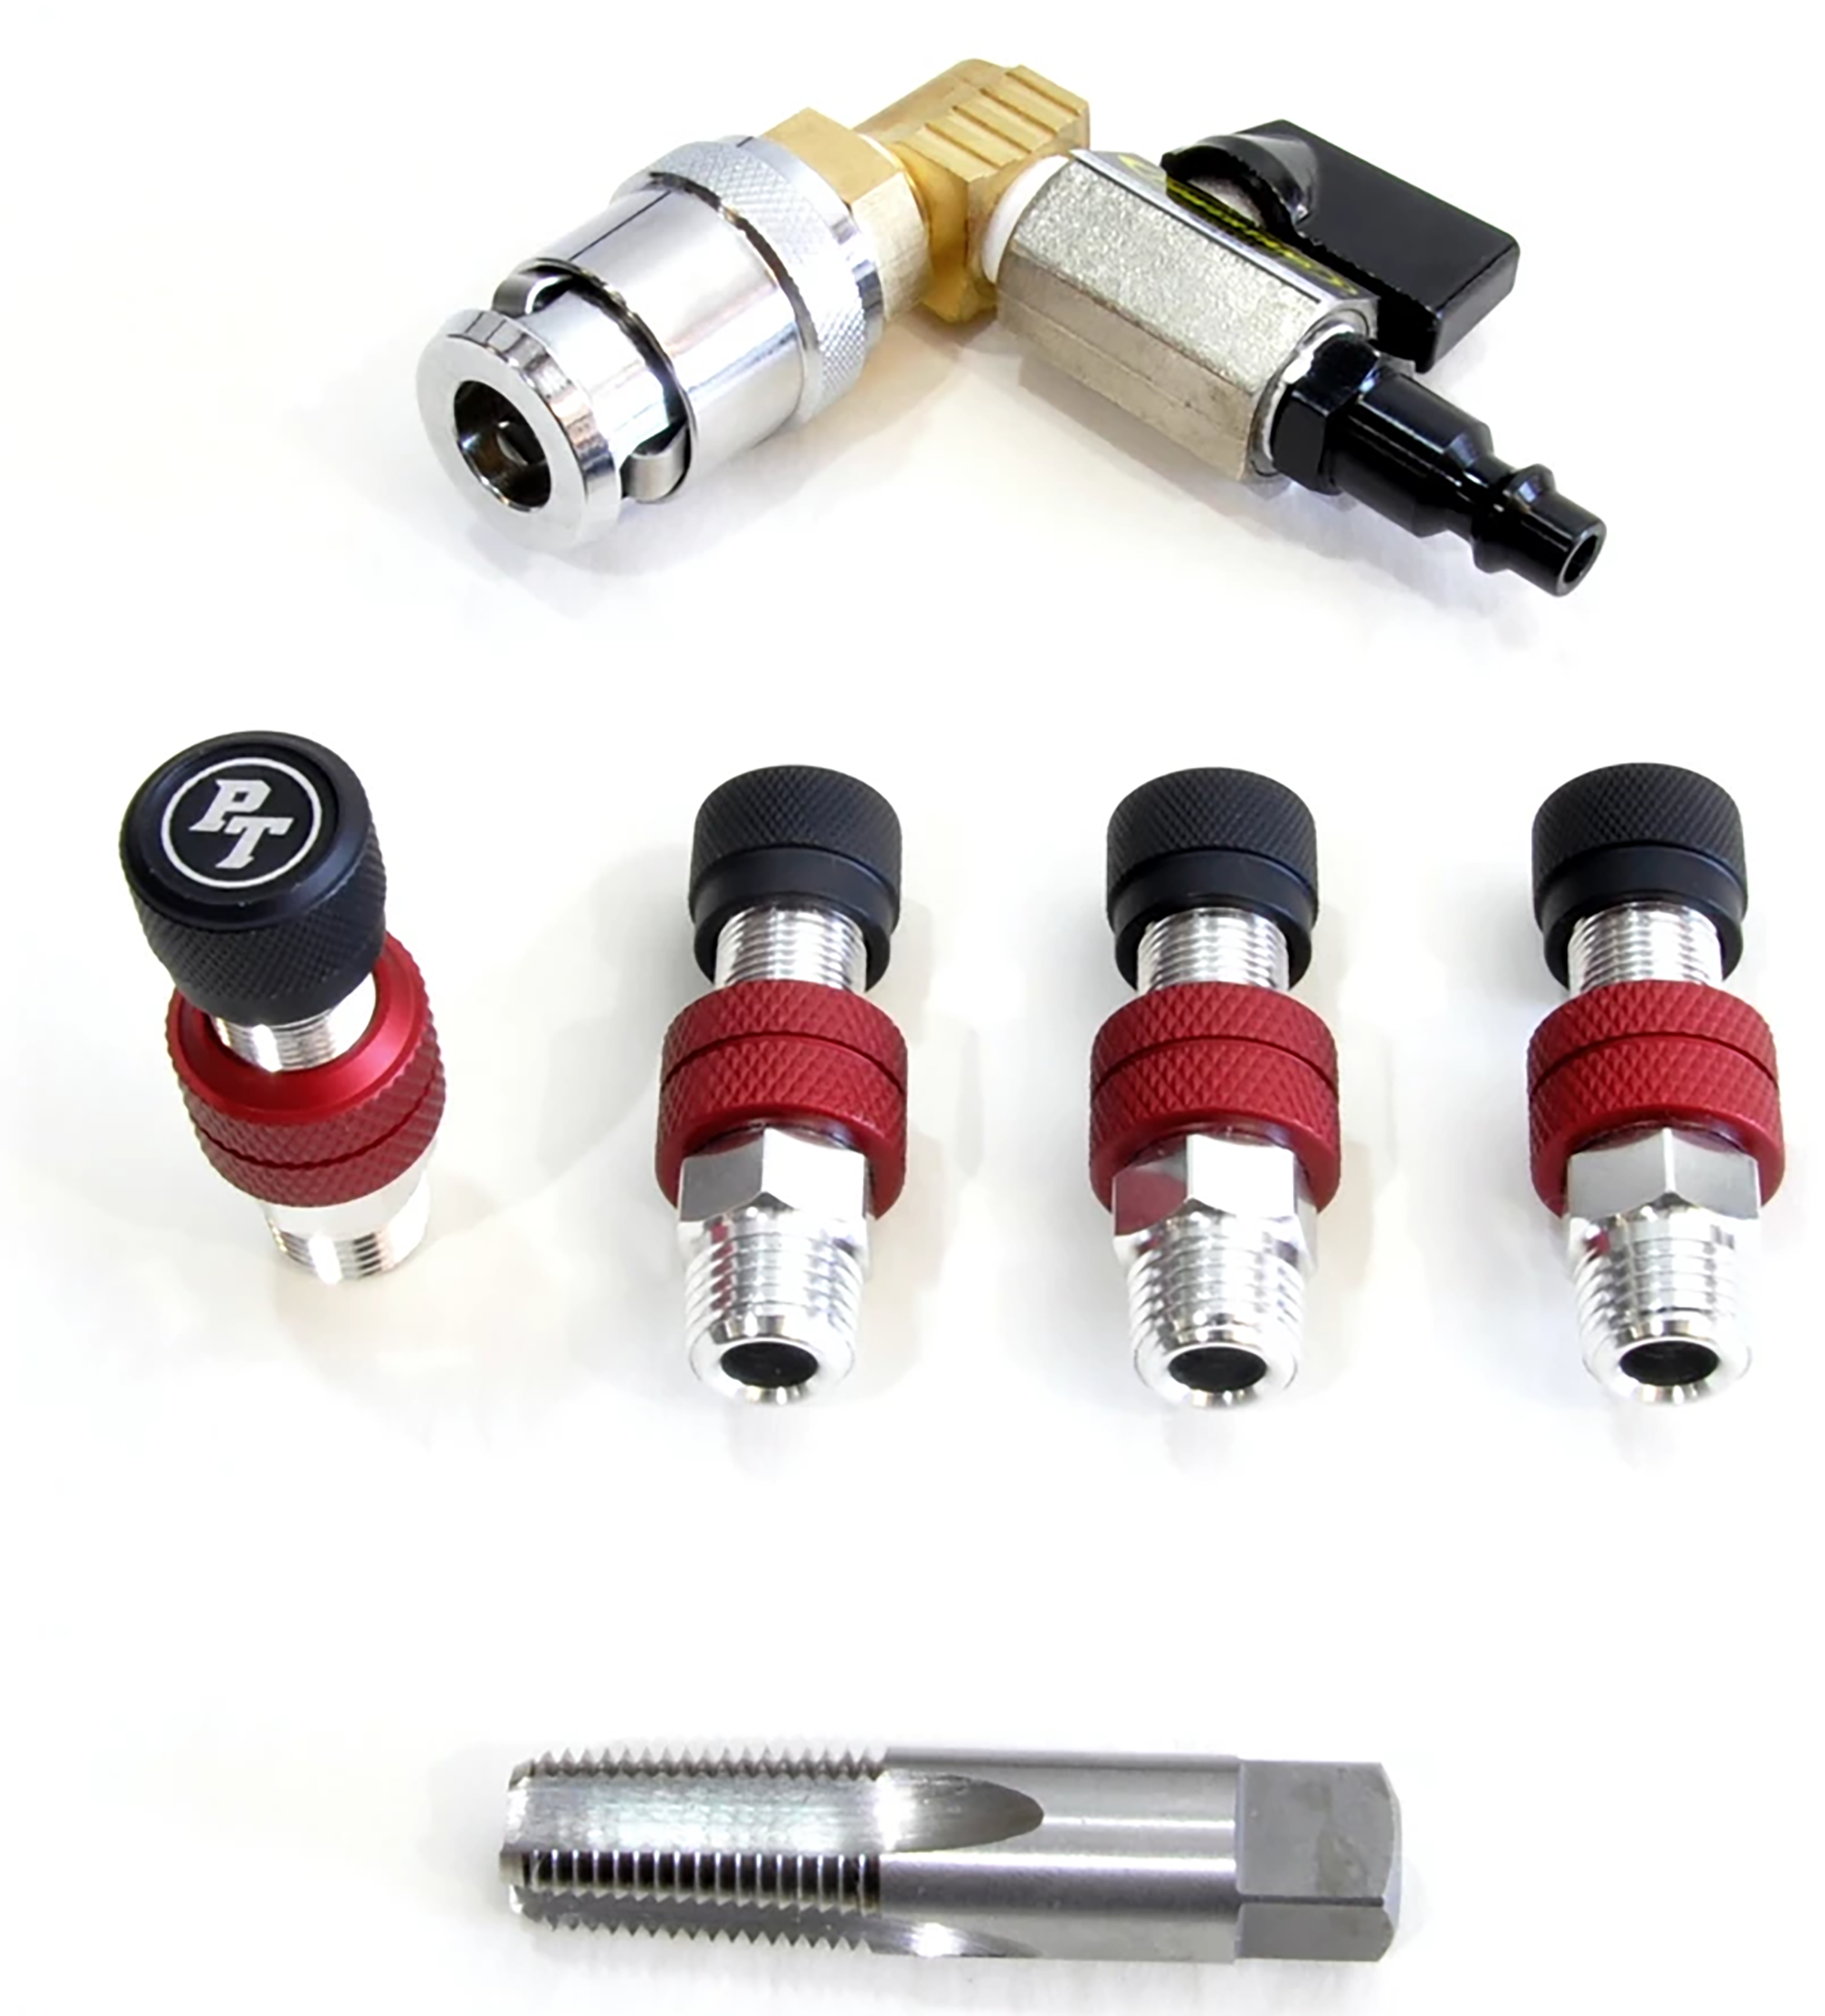
The kit includes the wide gauge Monster Chuck, which is a spring loaded clip-on tool that has a high flow ball valve to control the pressure, four or five monster valves (depending on if you want one for your spare or not) and a bright steel ¼ NPT tap. Power Tank also offers Monster Valve kits that include the tire pressure gauge that I am using in either analog or digital with a large, easy-to-read face.

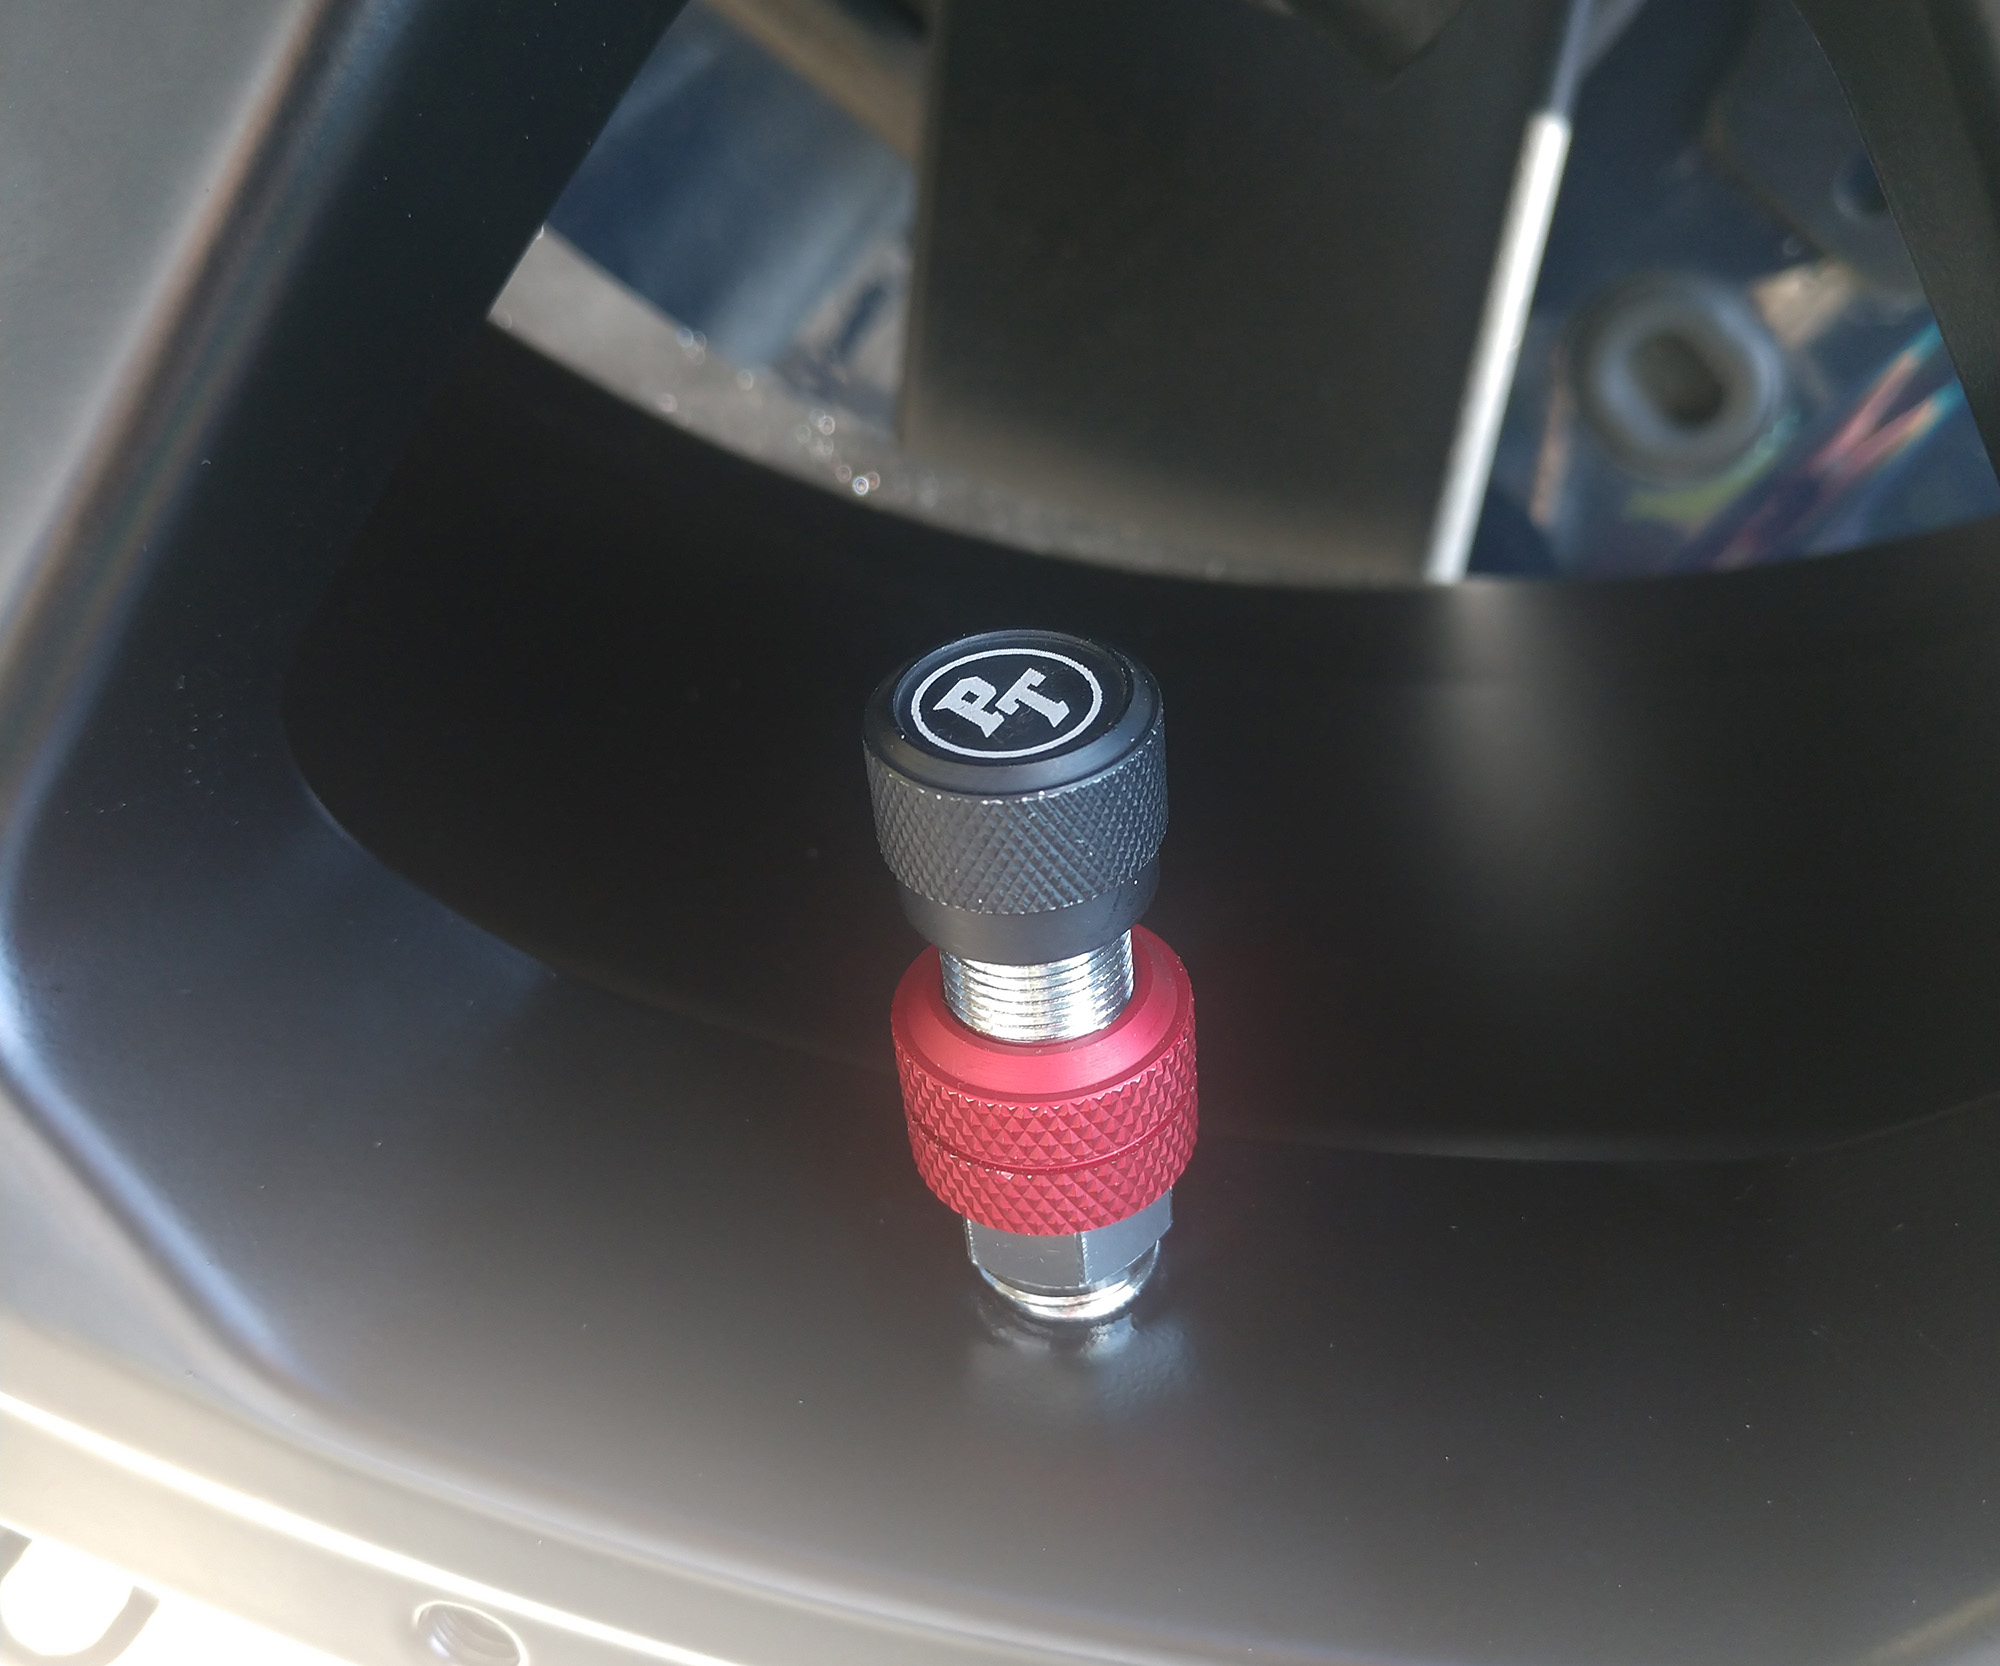
In actuality, the deflation speed for my 37” tires is more than two psi a second when the collar is fully open. Behind the red anodized collar are six holes in the body of the valve to release pressure, and it comes out at a blistering speed. The much larger diameter of the Monster Valve allows for a drastic reduction in inflation time as well.
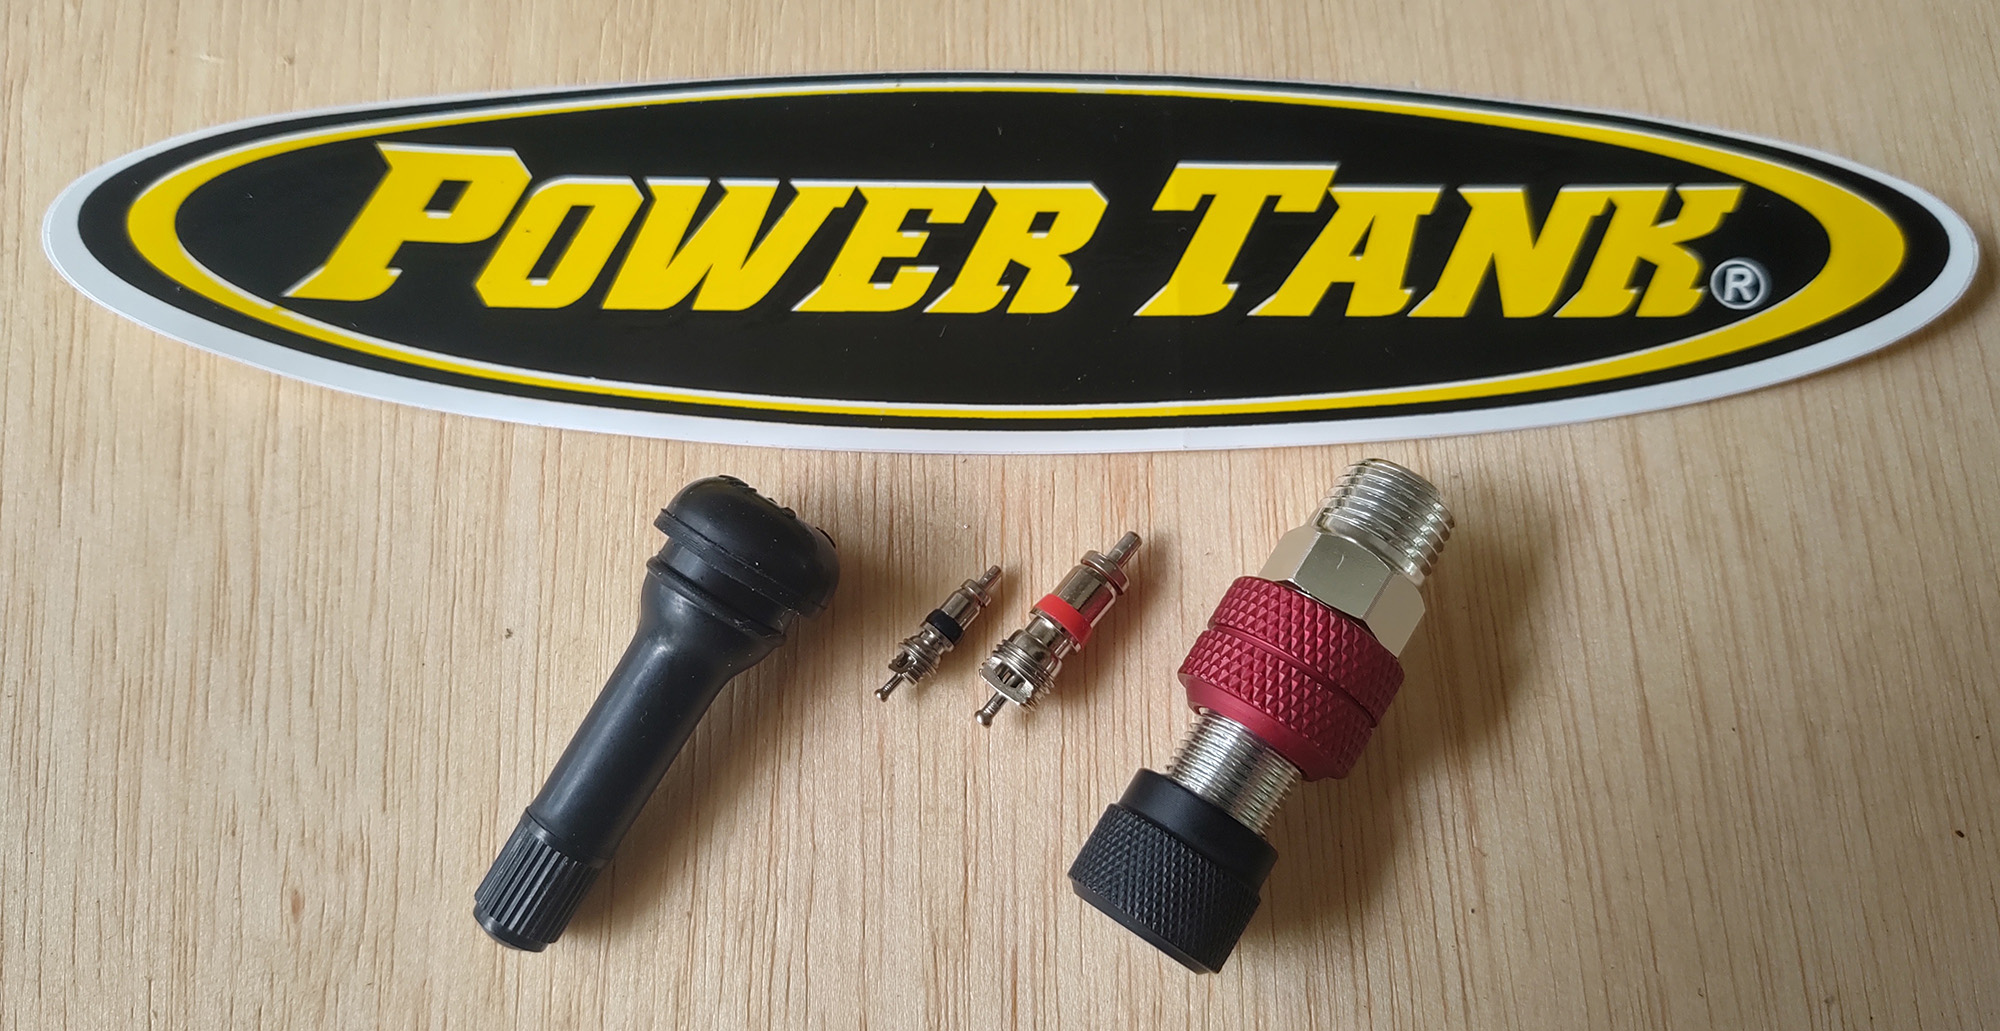
It isn’t hard to see why this design is better than the normal valve stem style when you look at the cores side by side.
The deflation collar is double o-ring sealed (one inside the collar, one on the valve body), and spares are provided for your emergency kit. I haven’t needed to replace any yet, but the extras are a good thing to keep on hand.
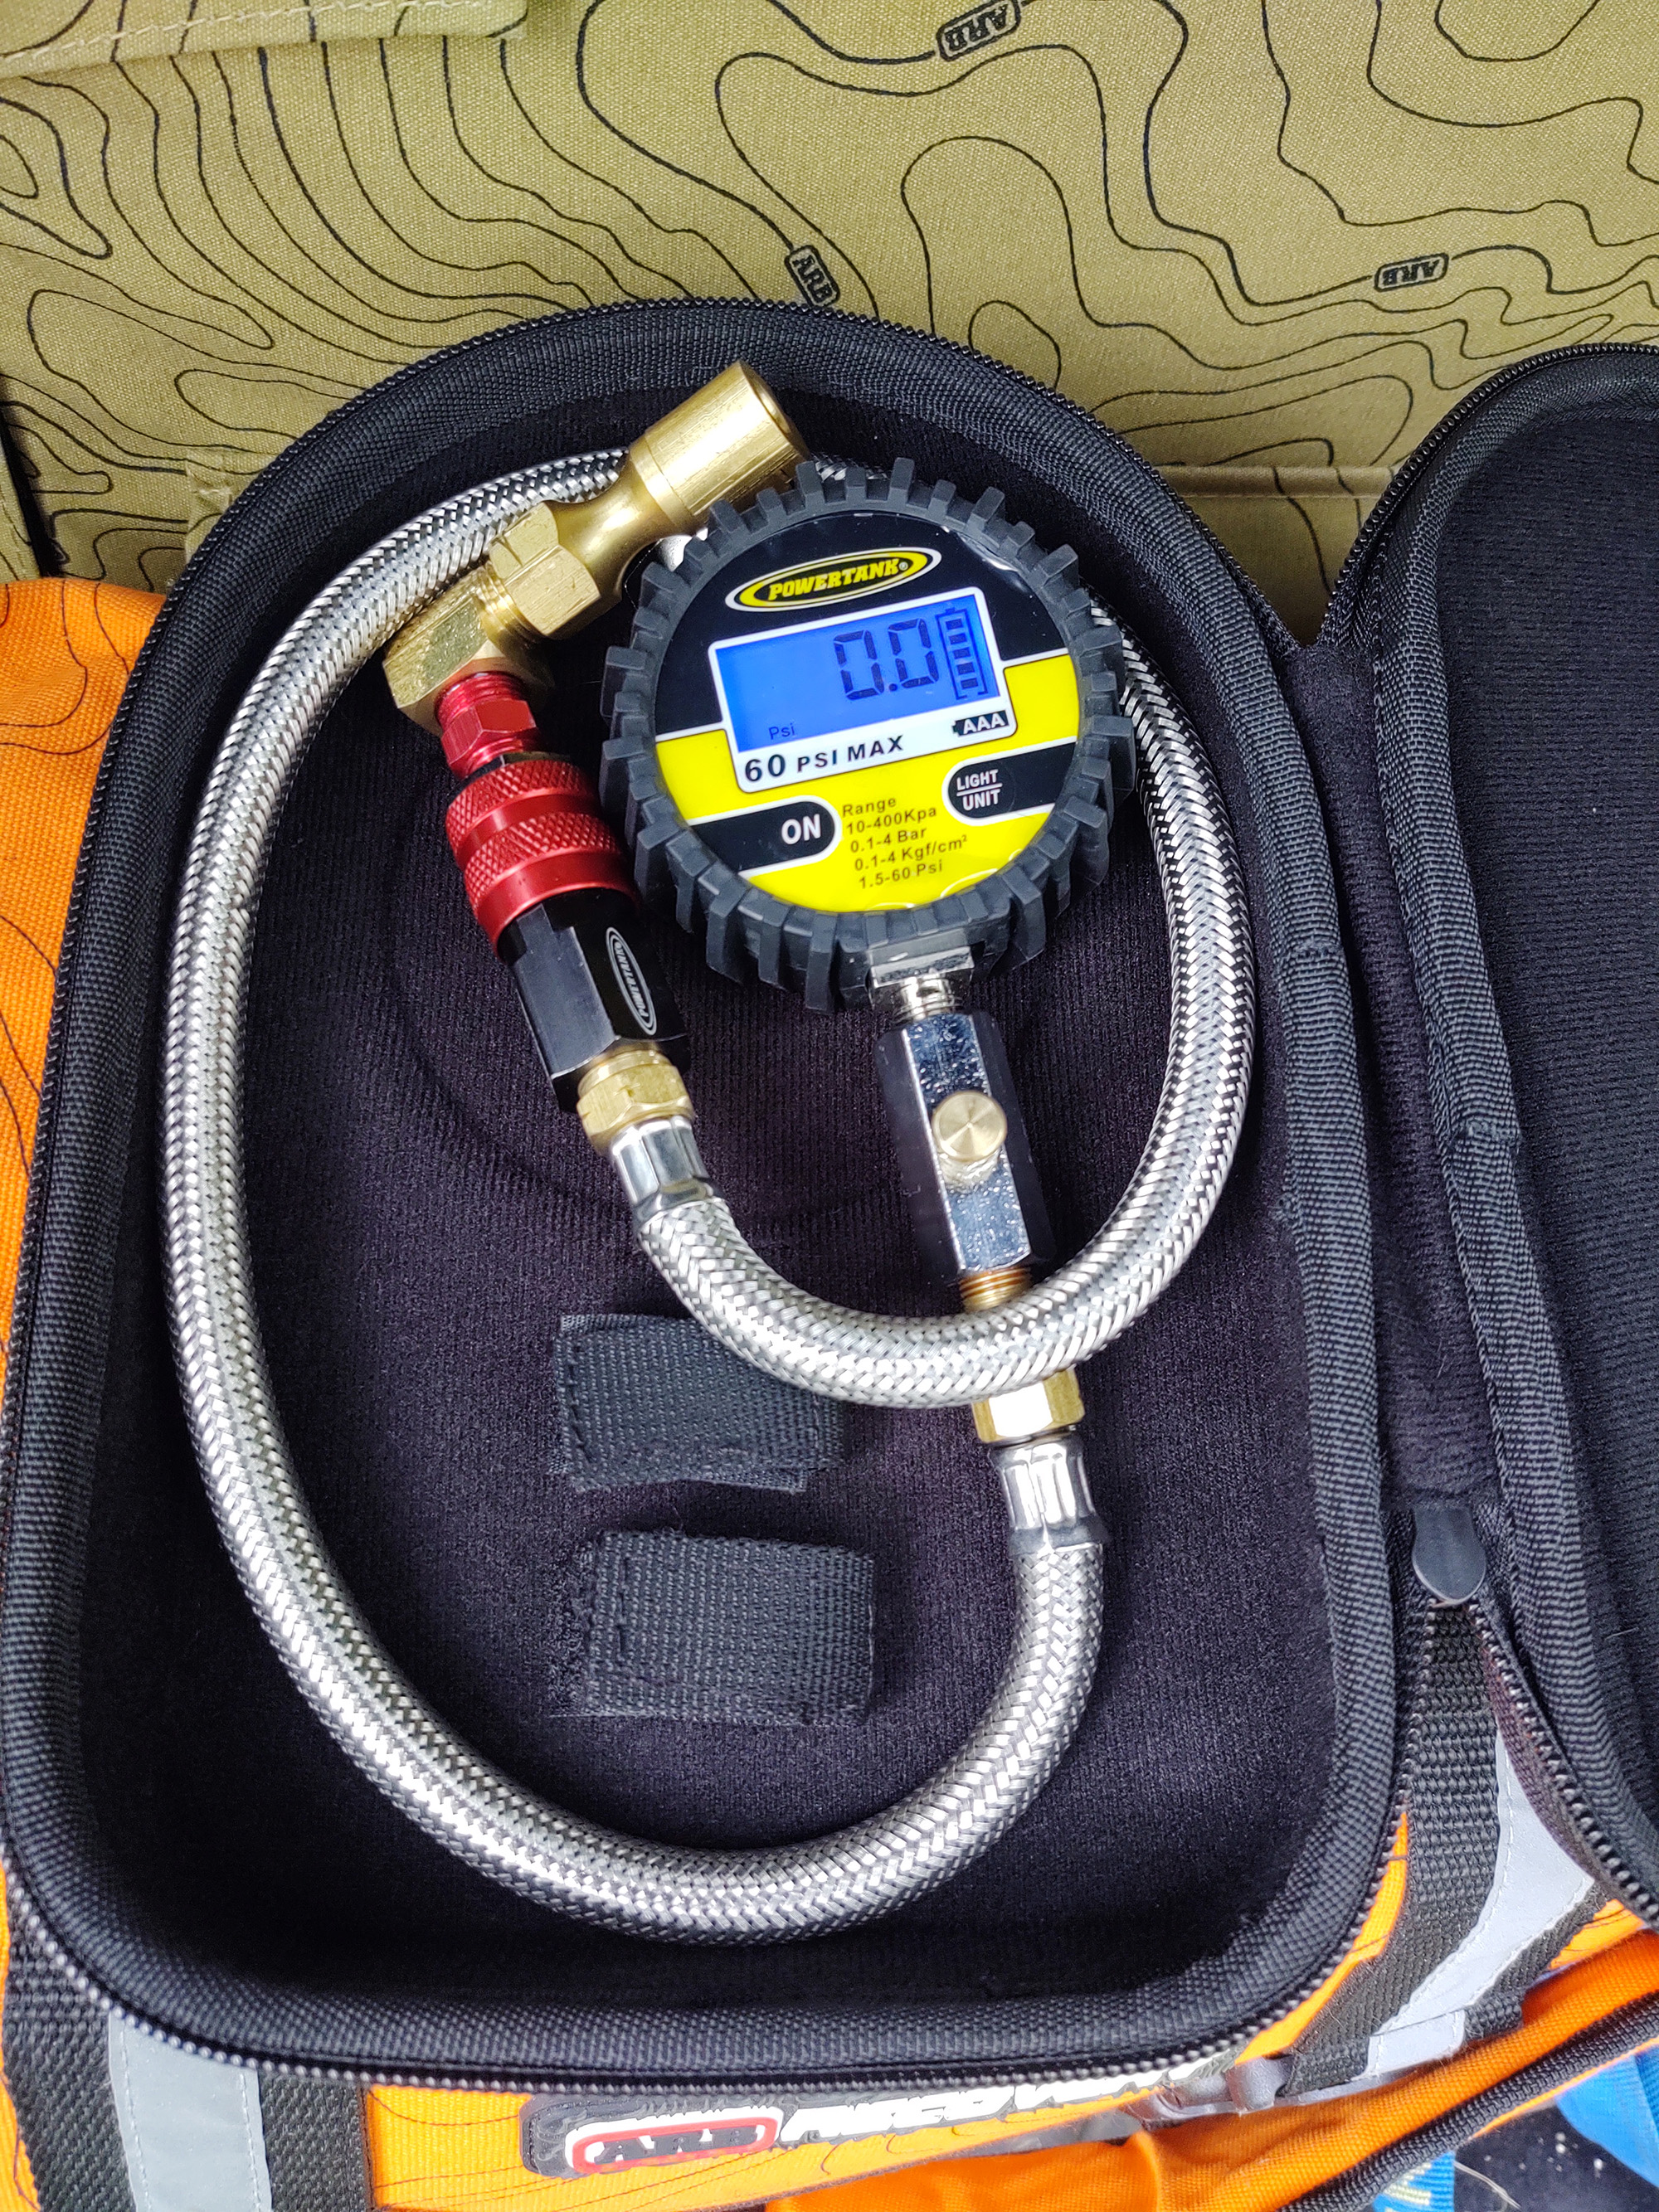
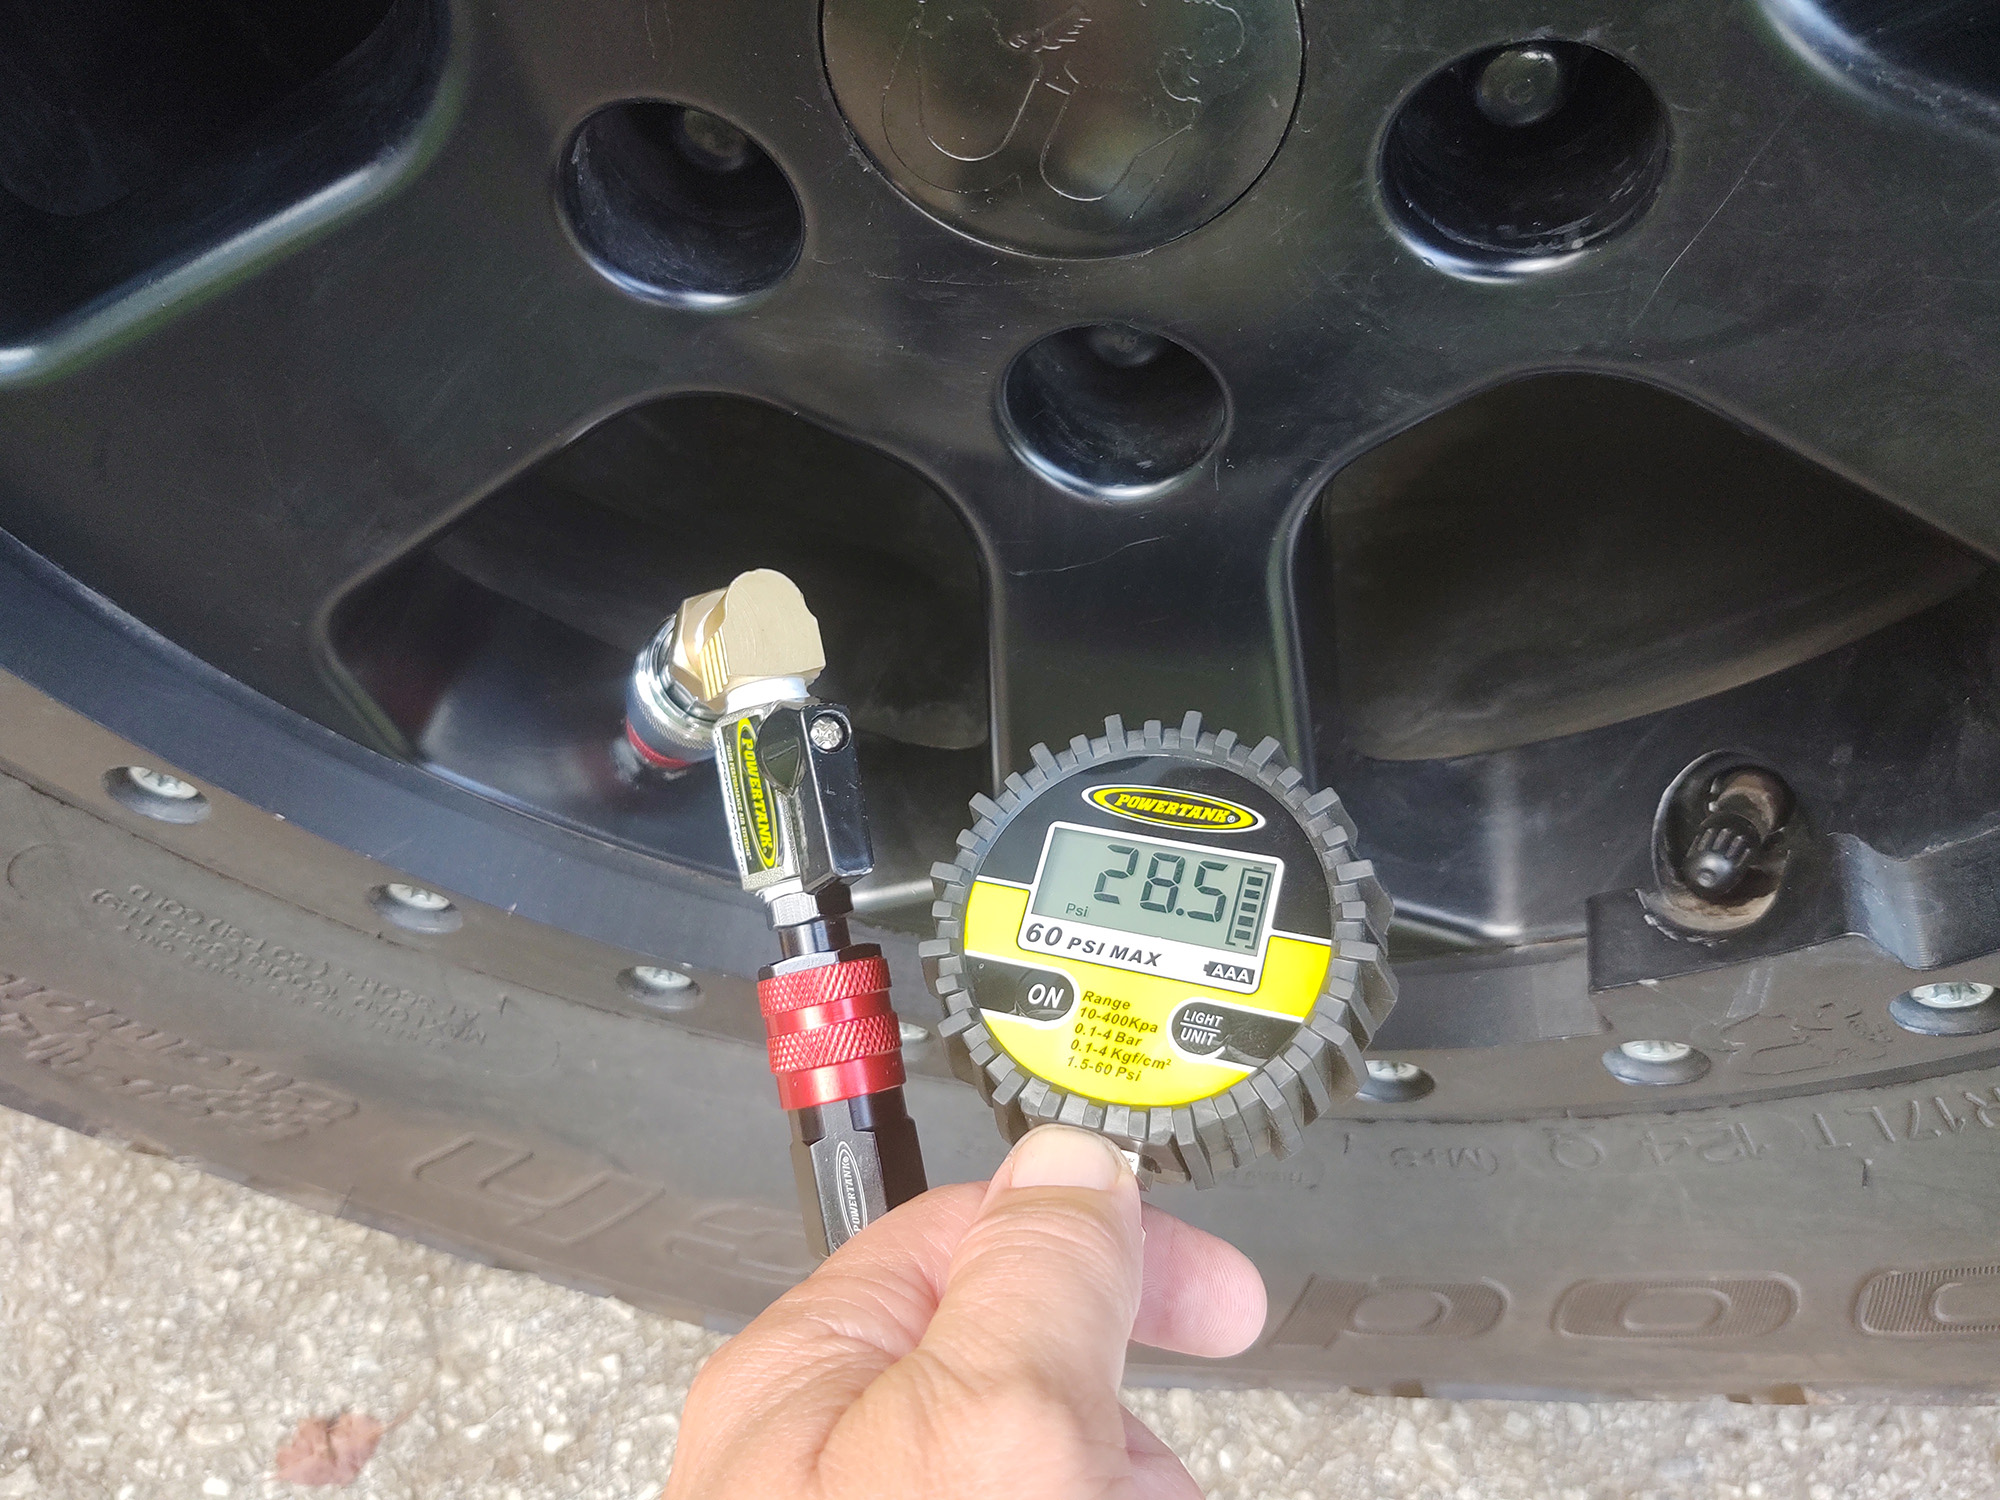
The Power Tank HD Gauge has an easy to use 90-degree European clip on chuck that allows you to monitor the pressure without having to hold the gauge connection to the valve stem. The extra long whip even lets you watch the pressure rise or fall while standing up. I went with the backlit 0-60 psi digital version for this gauge, as it is actually twice as accurate as the analog version.
The optional PowerTank CSE-0100 Zippered Black Nylon Storage Case
The quick release heads give you a bit more flexibility in the system as well. You can take pressure readings from either valve stem, and the standard end can be used directly on your Power Tank air line as an inflator if something were to happen to the Monster Chuck—like that time I left it in another vehicle back in the parking lot when we were four miles into the woods. If you only want to drop a couple of pounds, using the gauge like this with the pressure relief button on the side of the gauge is the fastest way. The large Monster Valve caps spin off quickly, even if they are wet or you happen to be wearing gloves. Drilling a 7/16” hole and tapping it to ¼ NPT is almost all you need to install these valves. If you can operate a drill and a wrench, you're just an afternoon away from lightning fast inflation and deflation. They can even be installed with tires already mounted, and their diminutive weight typically isn't enough to require rebalancing. You can expect inflation times roughly four times faster than through factory valve stems when paired with a Power Tank system, saving you hours of time in the long run with high volume (larger) tires. Each valve takes around 15 minutes to install if you take your time. Tools required: Installation procedure:
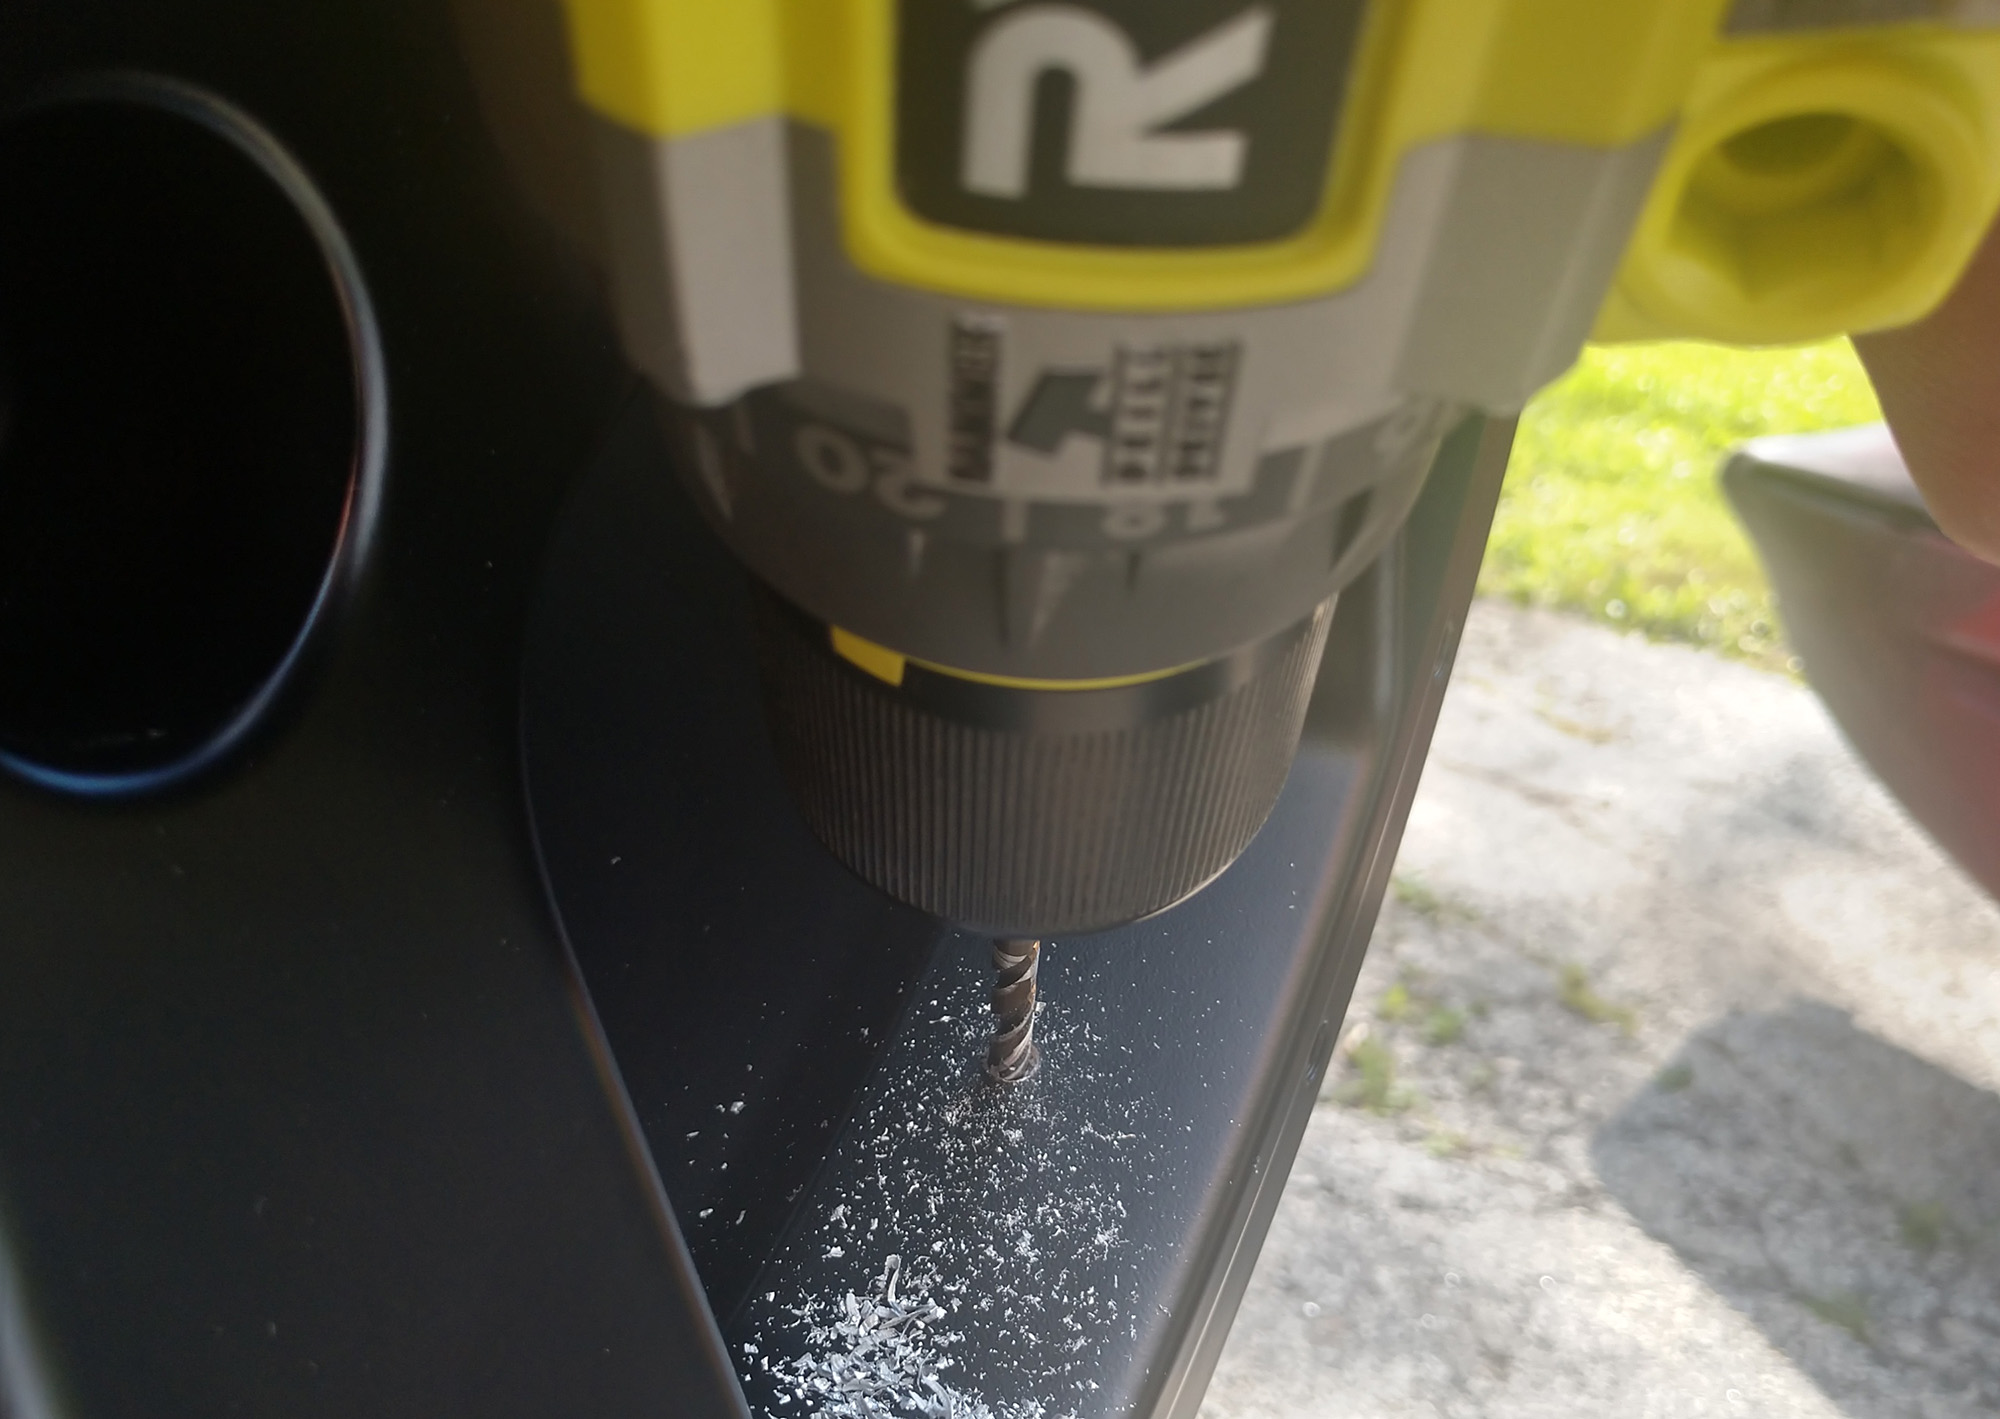
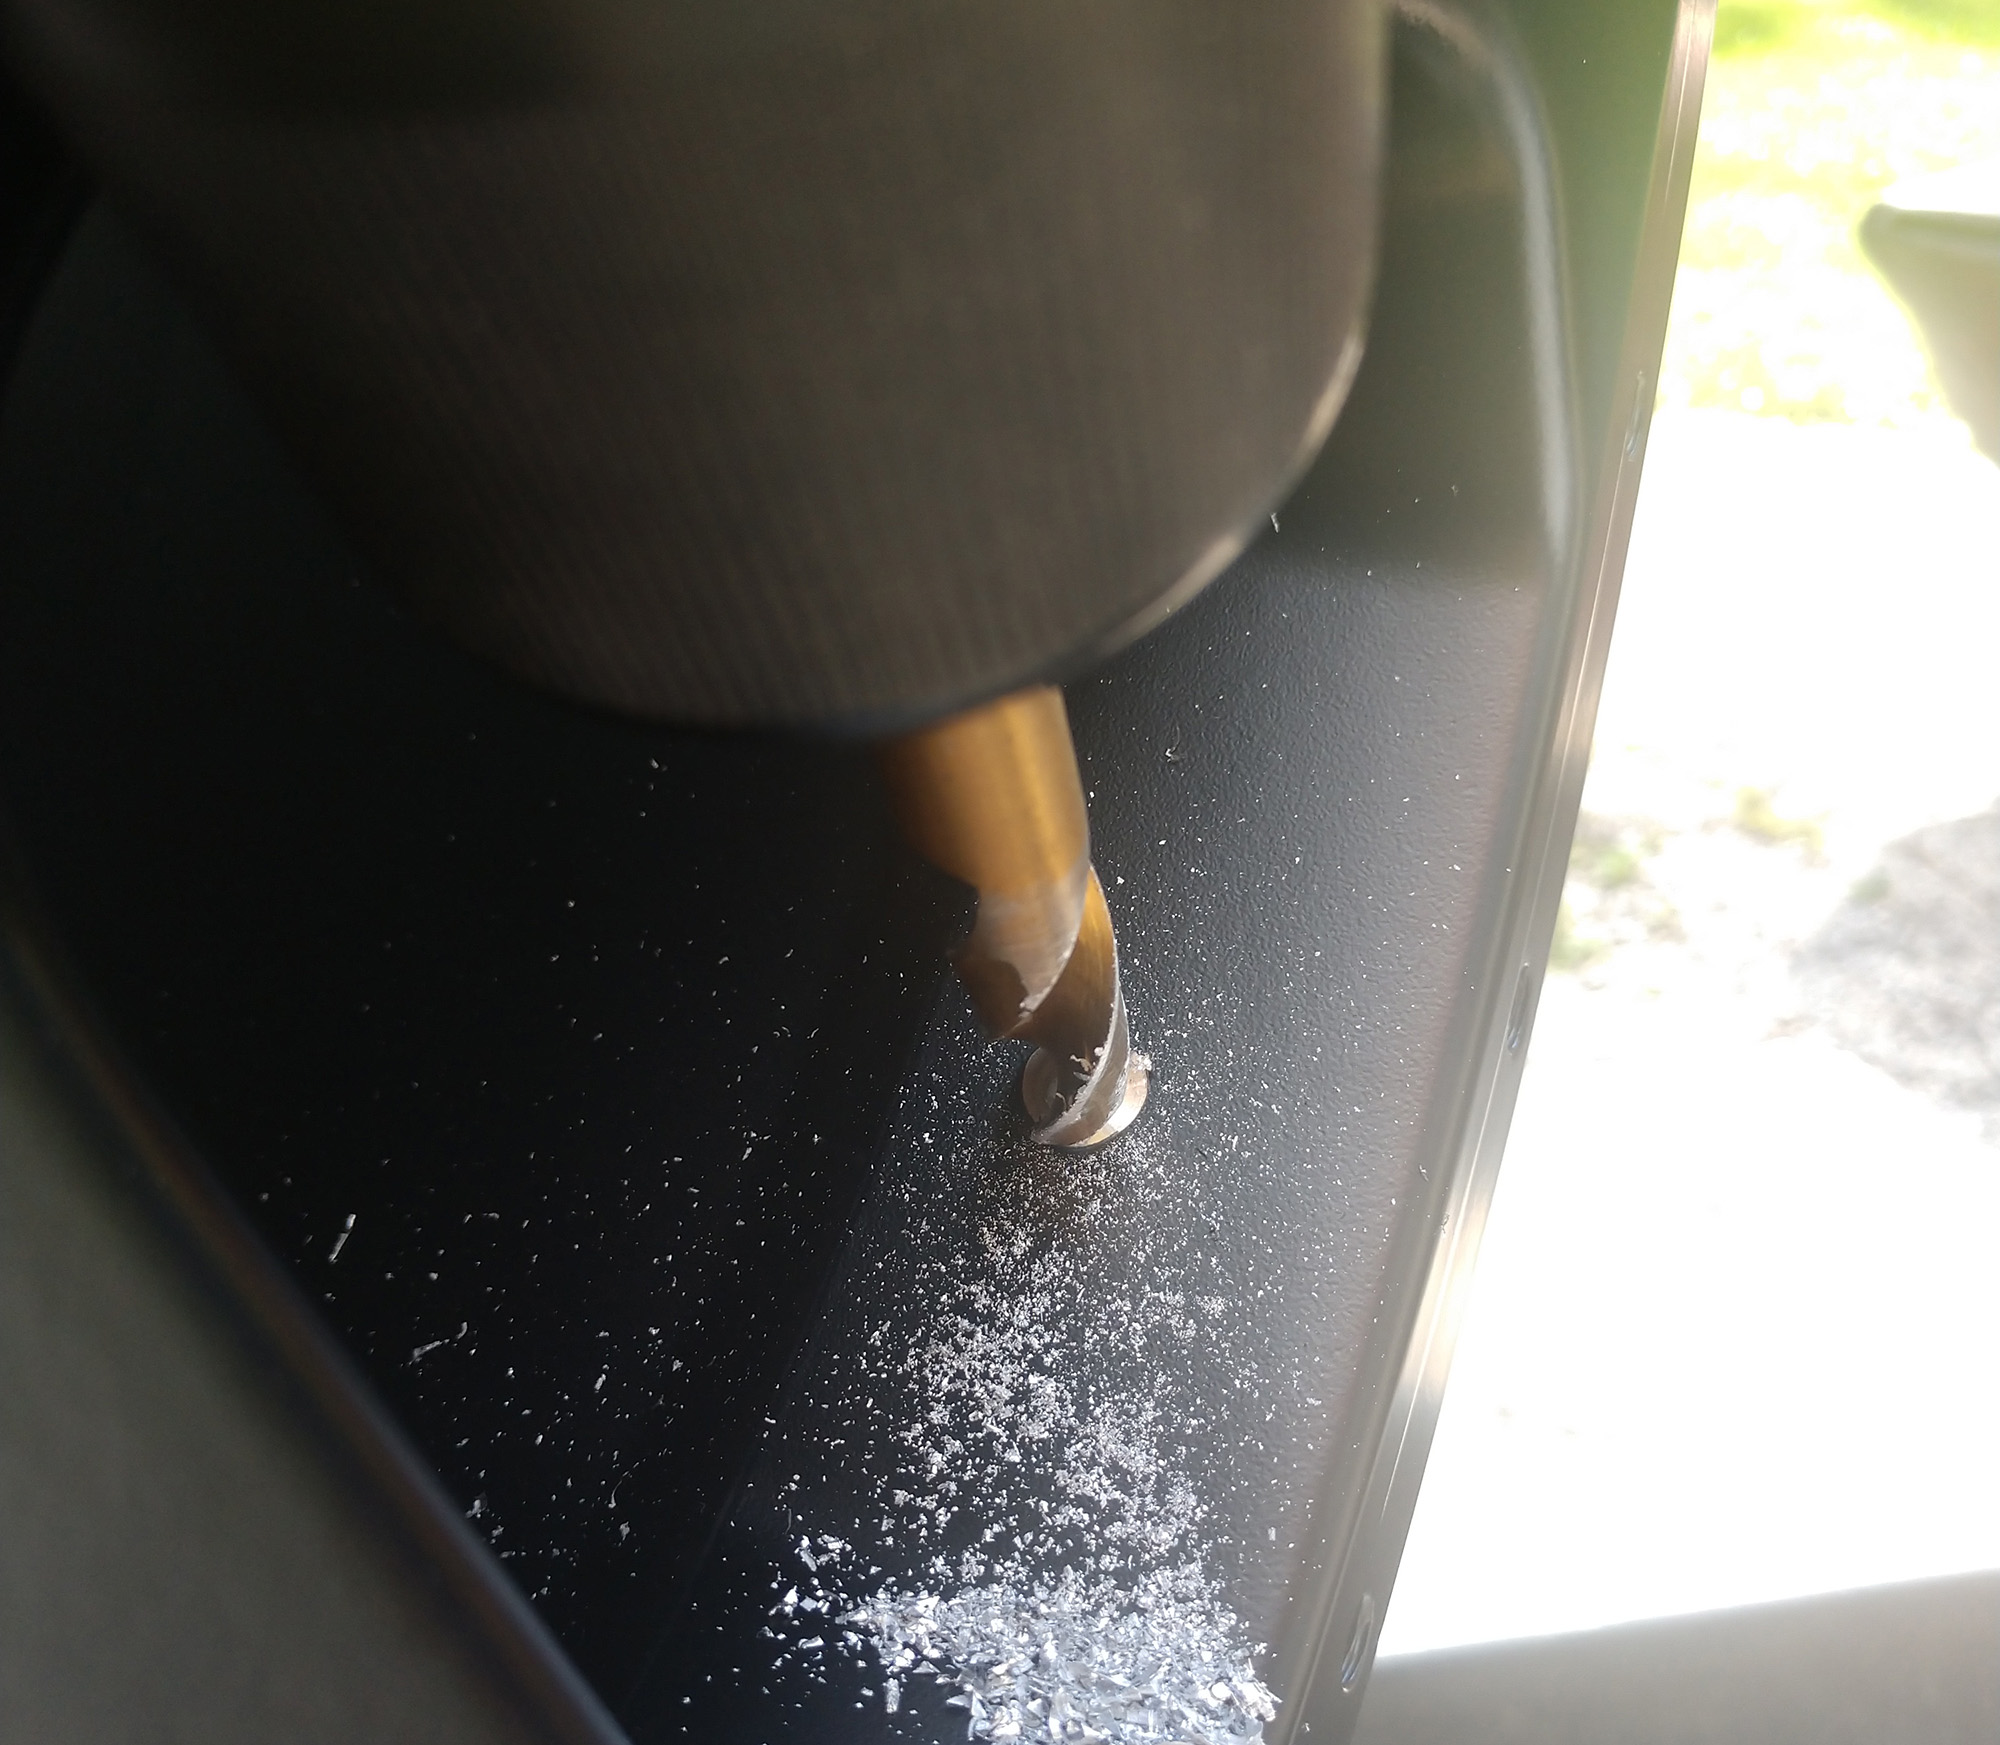
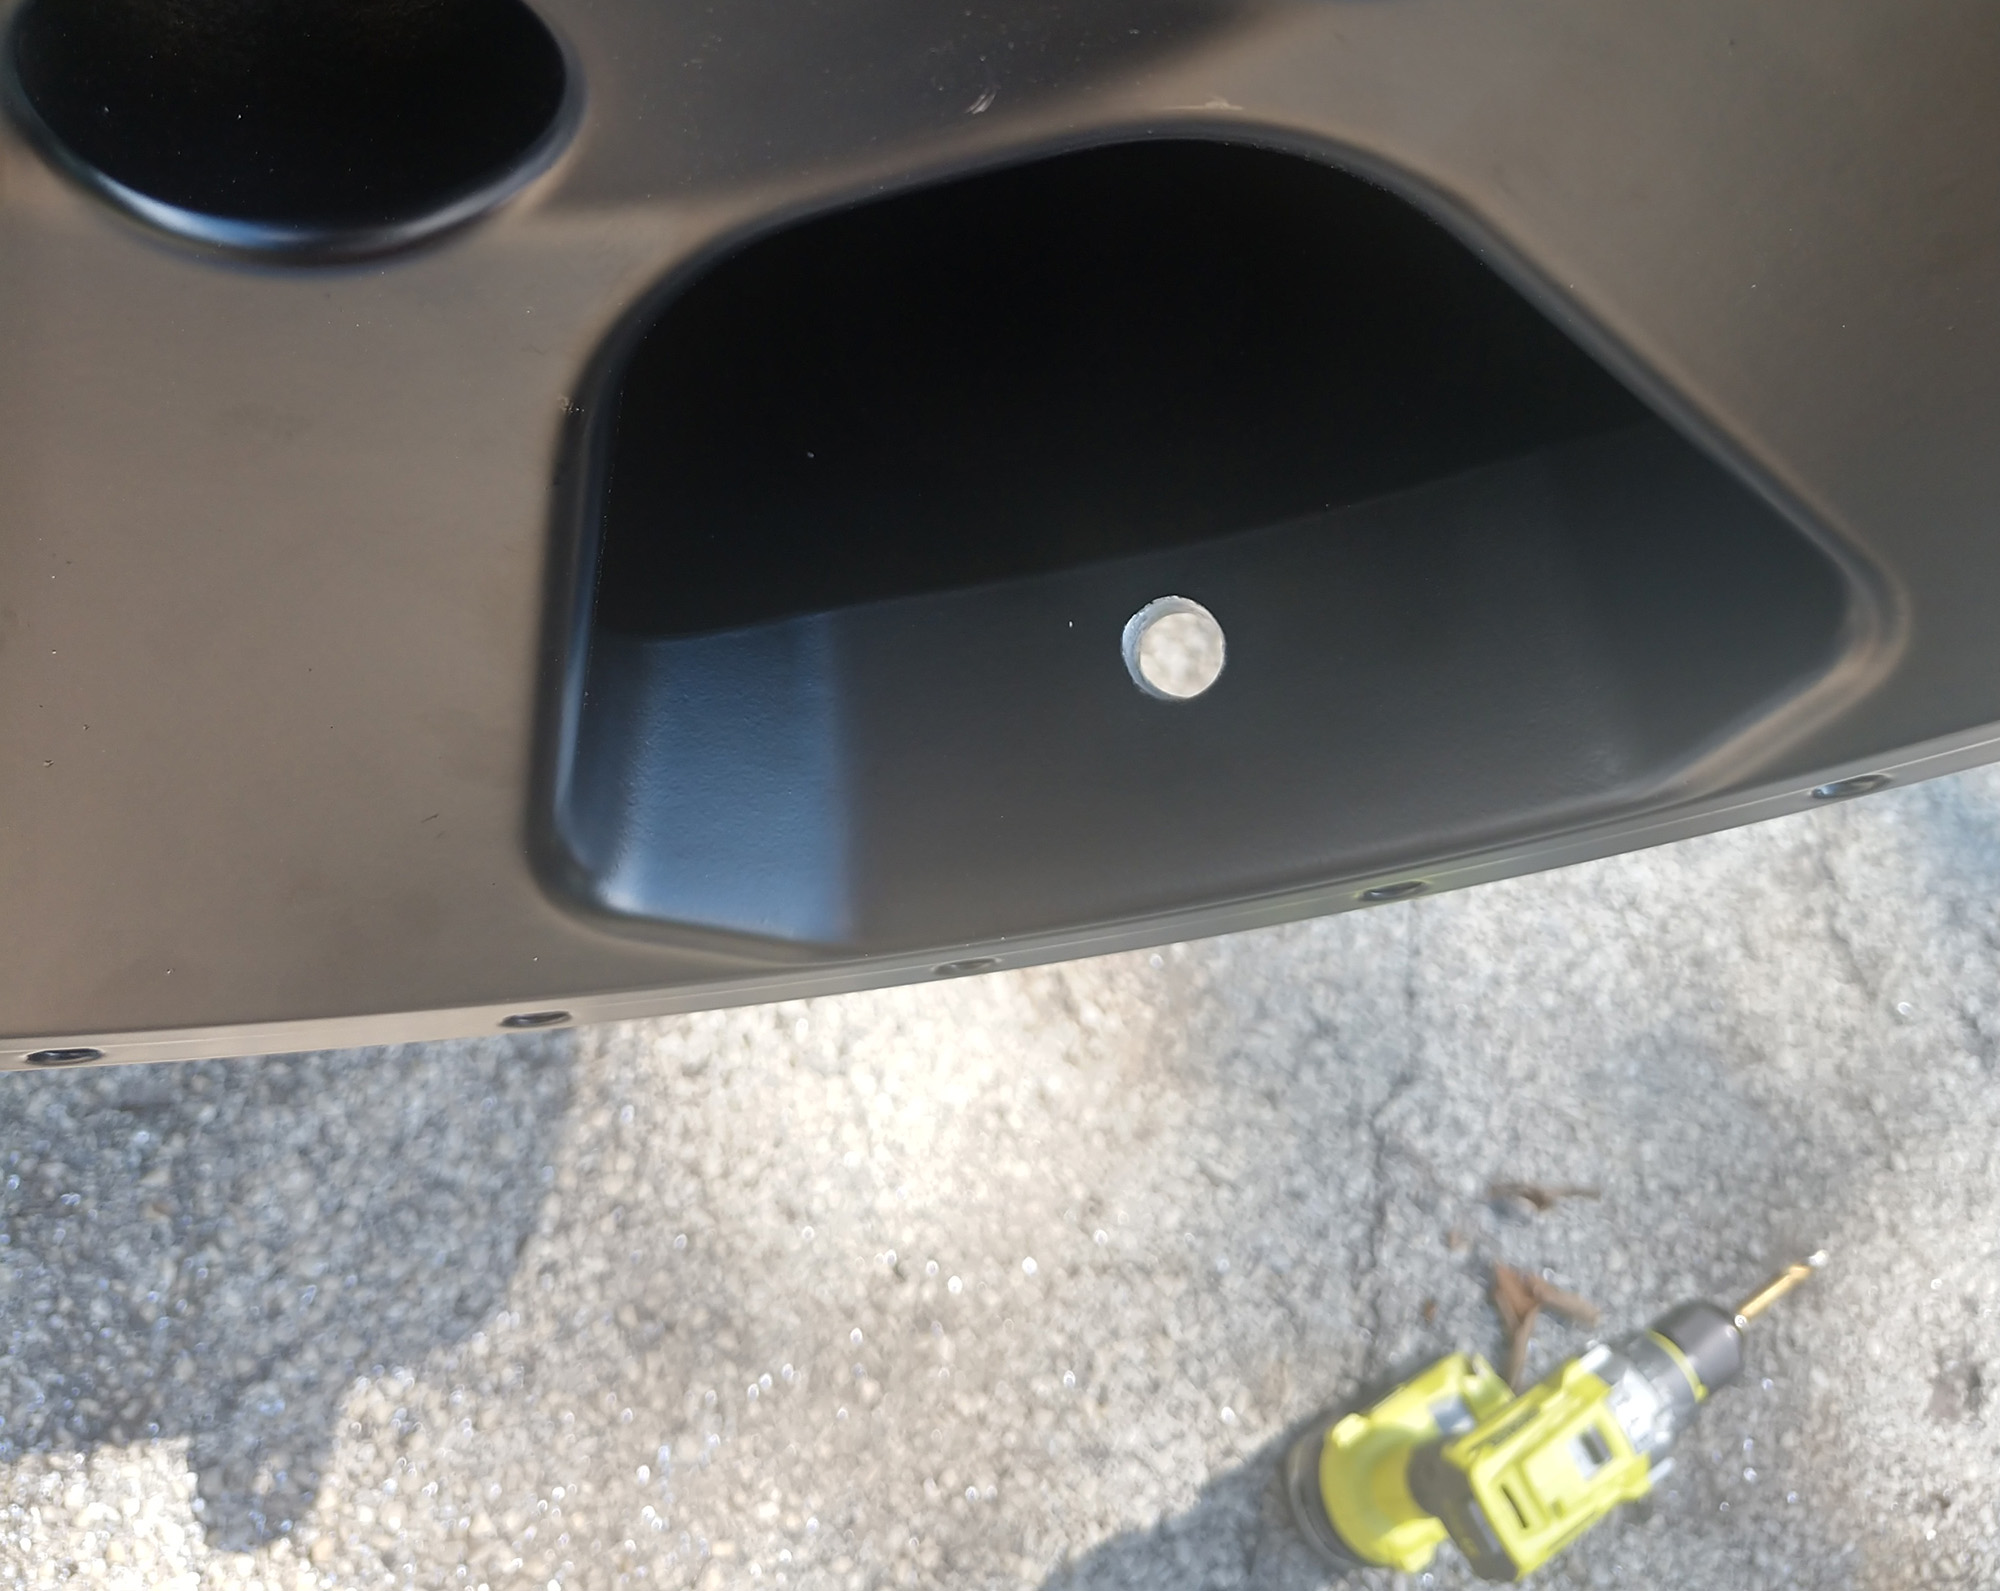
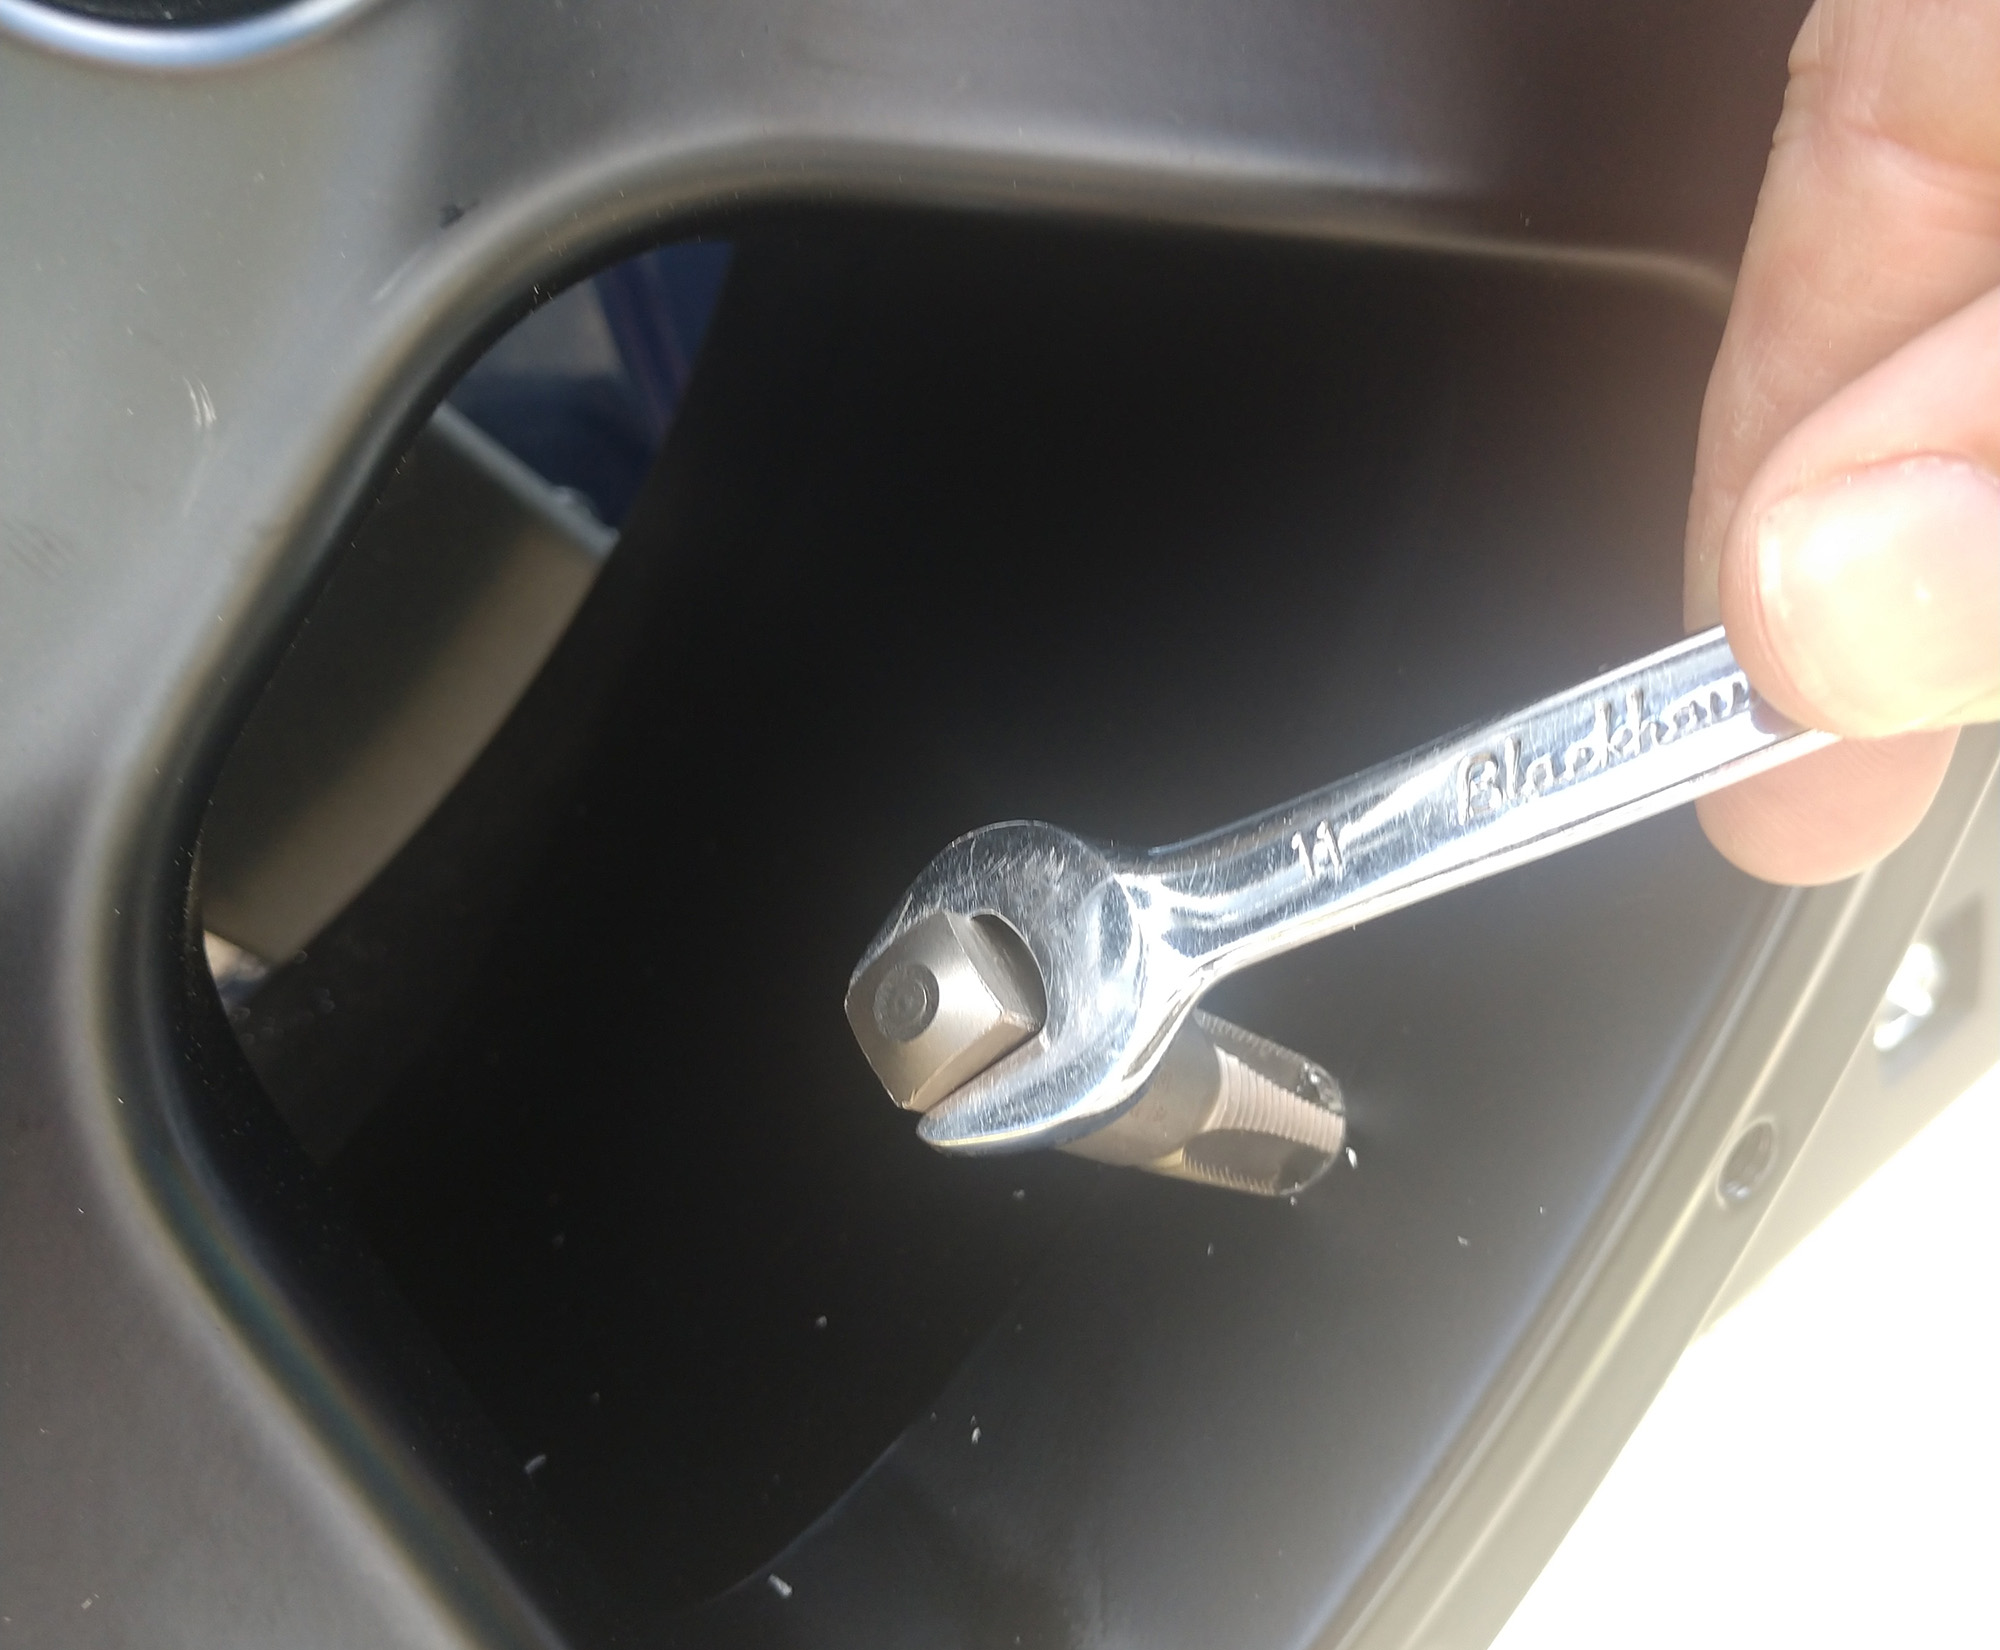
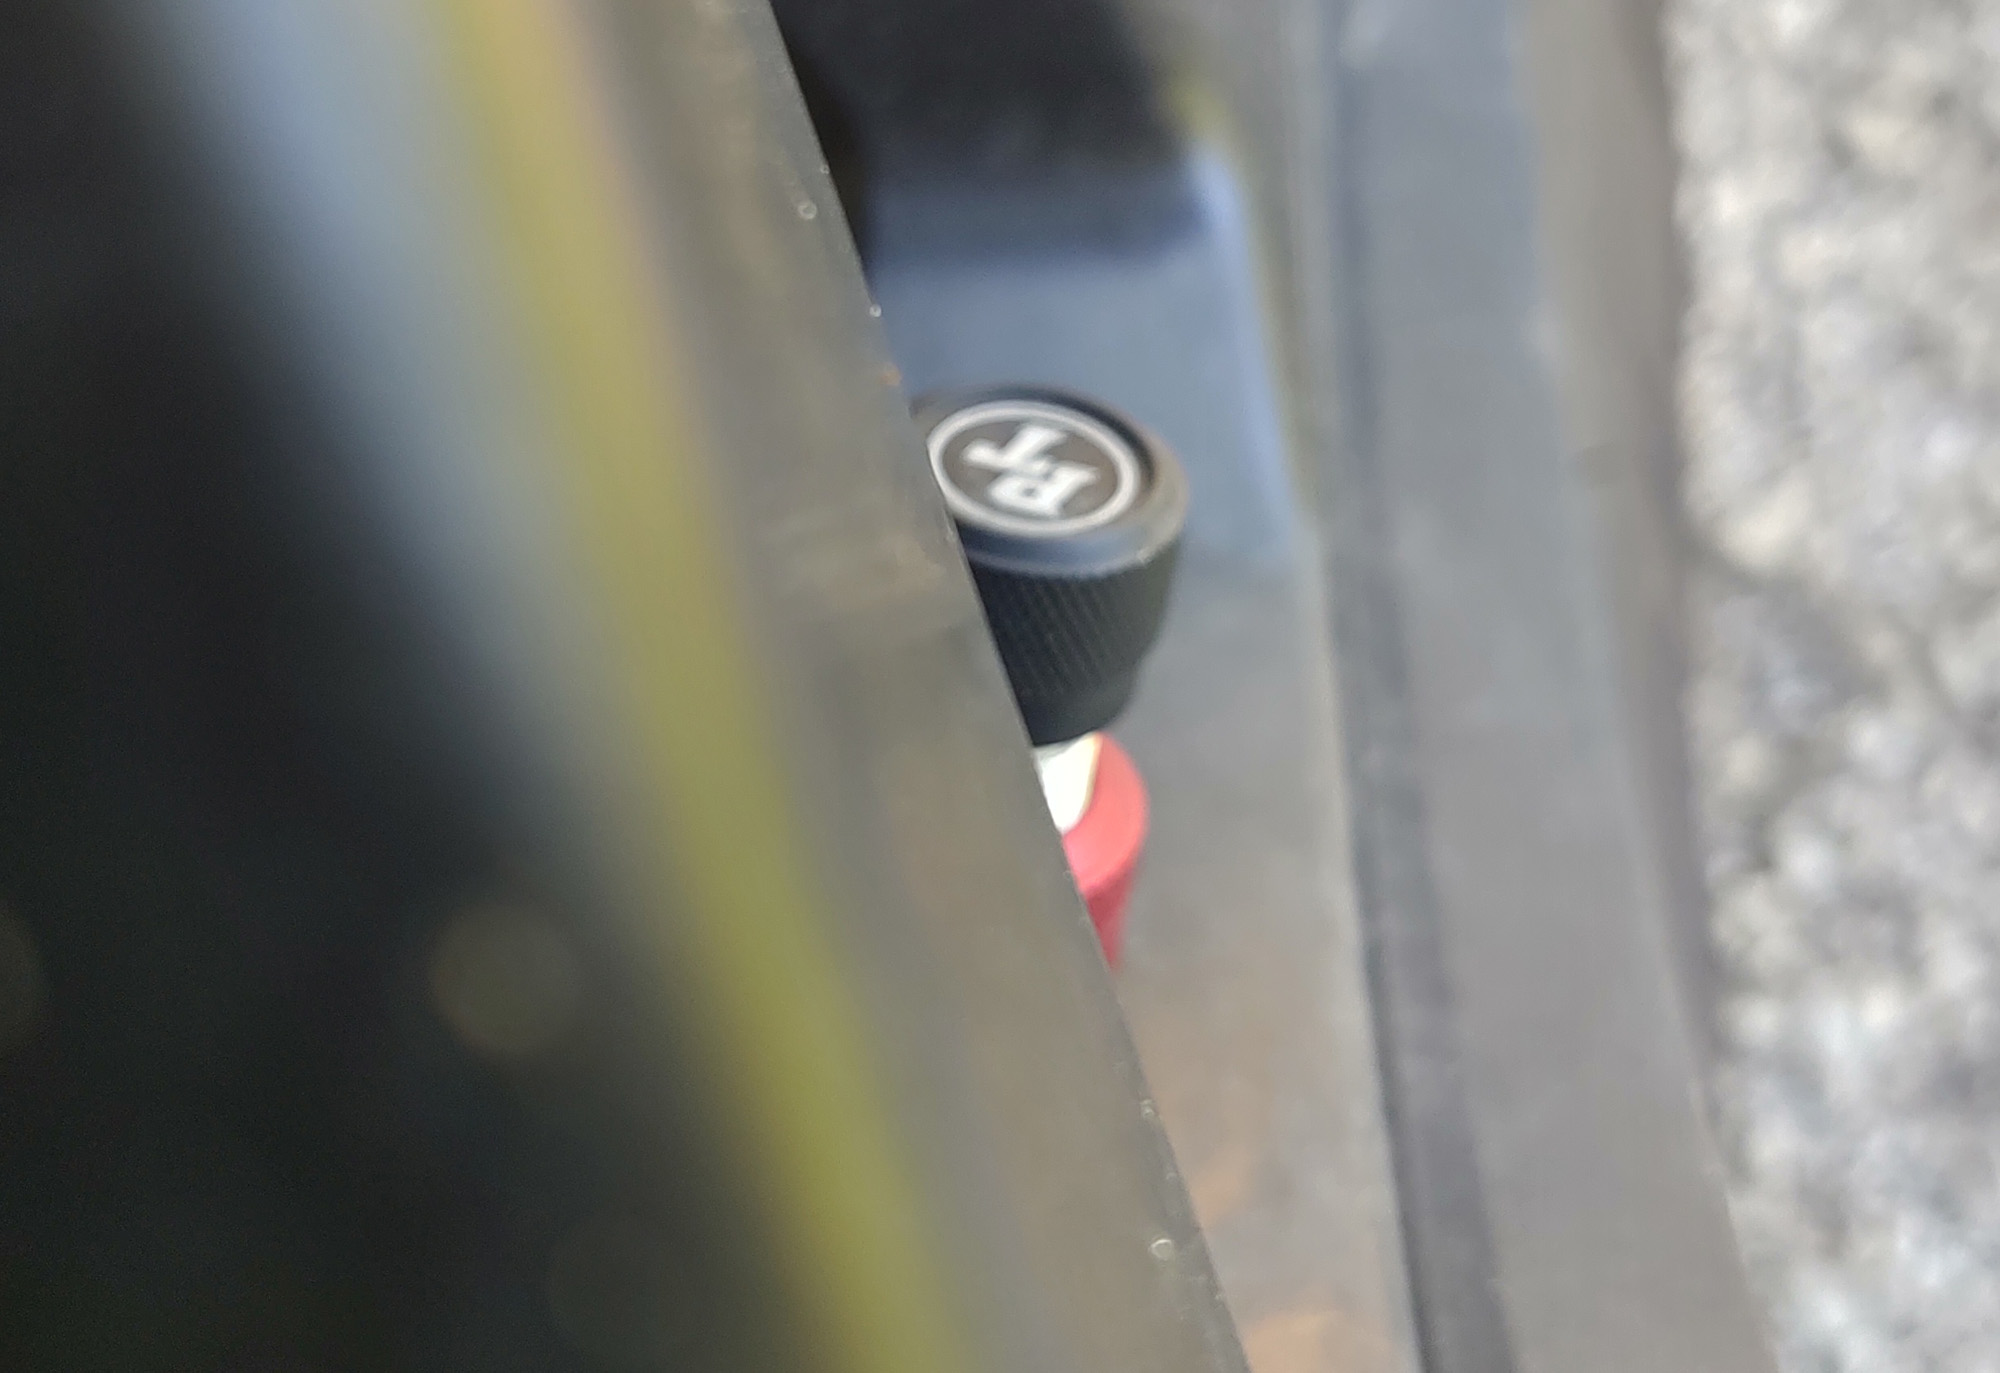
Start by checking your wheel for any type of interference with your mounting location. With my beadlock wheels, I needed to make sure I had a clear path into the barrel of the wheel without interfering with any of the beadlock ring holes. Because these Bawarrion BON’z Beadlock wheels are a 5-spoke design, the only place I could mount the Monster Valves was one slot over from the factory Schrader valve location if I wanted them to be centered between two spokes. You also need to be aware of the drill size, as it is essential to choose a location with a straight shot into the wheel without catching the drill body on any part. Rather than fight with the round wheels on a flat workbench, I opted to remove my spare tire and bolt the bare wheel on the carrier. This gives you a nice solid mount at a very convenient level. Still, the starting location and angle were important. I was fortunate to be measuring without a tire installed, and with some applications this may be advantageous. You want it set back as far as you can from the outer lip of the wheel to avoid damage, while still having enough clearance to easily use the Monster Chuck. When you find your ideal location, use a center punch to avoid bit wandering while you drill, which can mess up your wheel’s finish. Use the 1/8” bit to drill a pilot hole first. This will ensure the 5/16” bit will go exactly where you want. Next, move up to the ⅜” bit. This process will throw a lot of metal around, but mostly towards the outside of the wheel. You could easily do this with the wheels and tires installed and inflated, as the small amount that would end up inside the wheel would not cause any issues, and the escaping pressure would push even more out of the top. Power Tank has videos online of this process in detail. Finally, use the 7/16” bit to follow the ⅜” hole. When complete, you will have a hole that looks like this all the way through your wheel. Tapping is best done slowly, and with every few turns forward, you should go backwards one turn to allow the metal to fall out of the threads. You ideally want to get clean, sharp threads. Having a good tap like the one that comes in the Monster Valve kit is the first part, but method is also important. NPT threads are tapered, so you don’t want to go too far in. The best thing to do is tap far enough so there are 1.5 threads left in the body if you thread the Monster Valve in, then mark your tap for that depth for the remaining wheels. When you seal them in with threadlocker for the final installation, this will create a very tight seal. Run a line of blue thread locking compound around the threads about mid-way up the Monster Valve body and install. Remember, they are made of aluminum. You don’t need to go crazy tight as too much torque could damage the threads you just cut. As I said, I set the valves back as far into the barrel of the wheel as I could. They actually are very well protected by the wheel spokes, and aren’t out in harm’s way. Now, for an idea of just how fast they work, check out this video of operation—I aired a tire down to trail pressure, then back up to my normal highway pressure in mere seconds. If you are the type of person who would rather spend less time adjusting tire pressure, and more time off-roading, then these might be an ideal upgrade for your wheels. Additionally, a Power Tank is not required to use these, but the higher volume of their CO2 systems is what makes this setup work the best. Monster Valves and Monster Chuck are compatible with any compressor that uses a normal air fitting, but a large volume of stored pressure is required to take full advantage of the added inflation speed. If you have a shop compressor with a large air tank, these would work just fine. If inflation speed out in the wild is a priority, you should consider adding a Power Tank and these Monster Valves to your setup.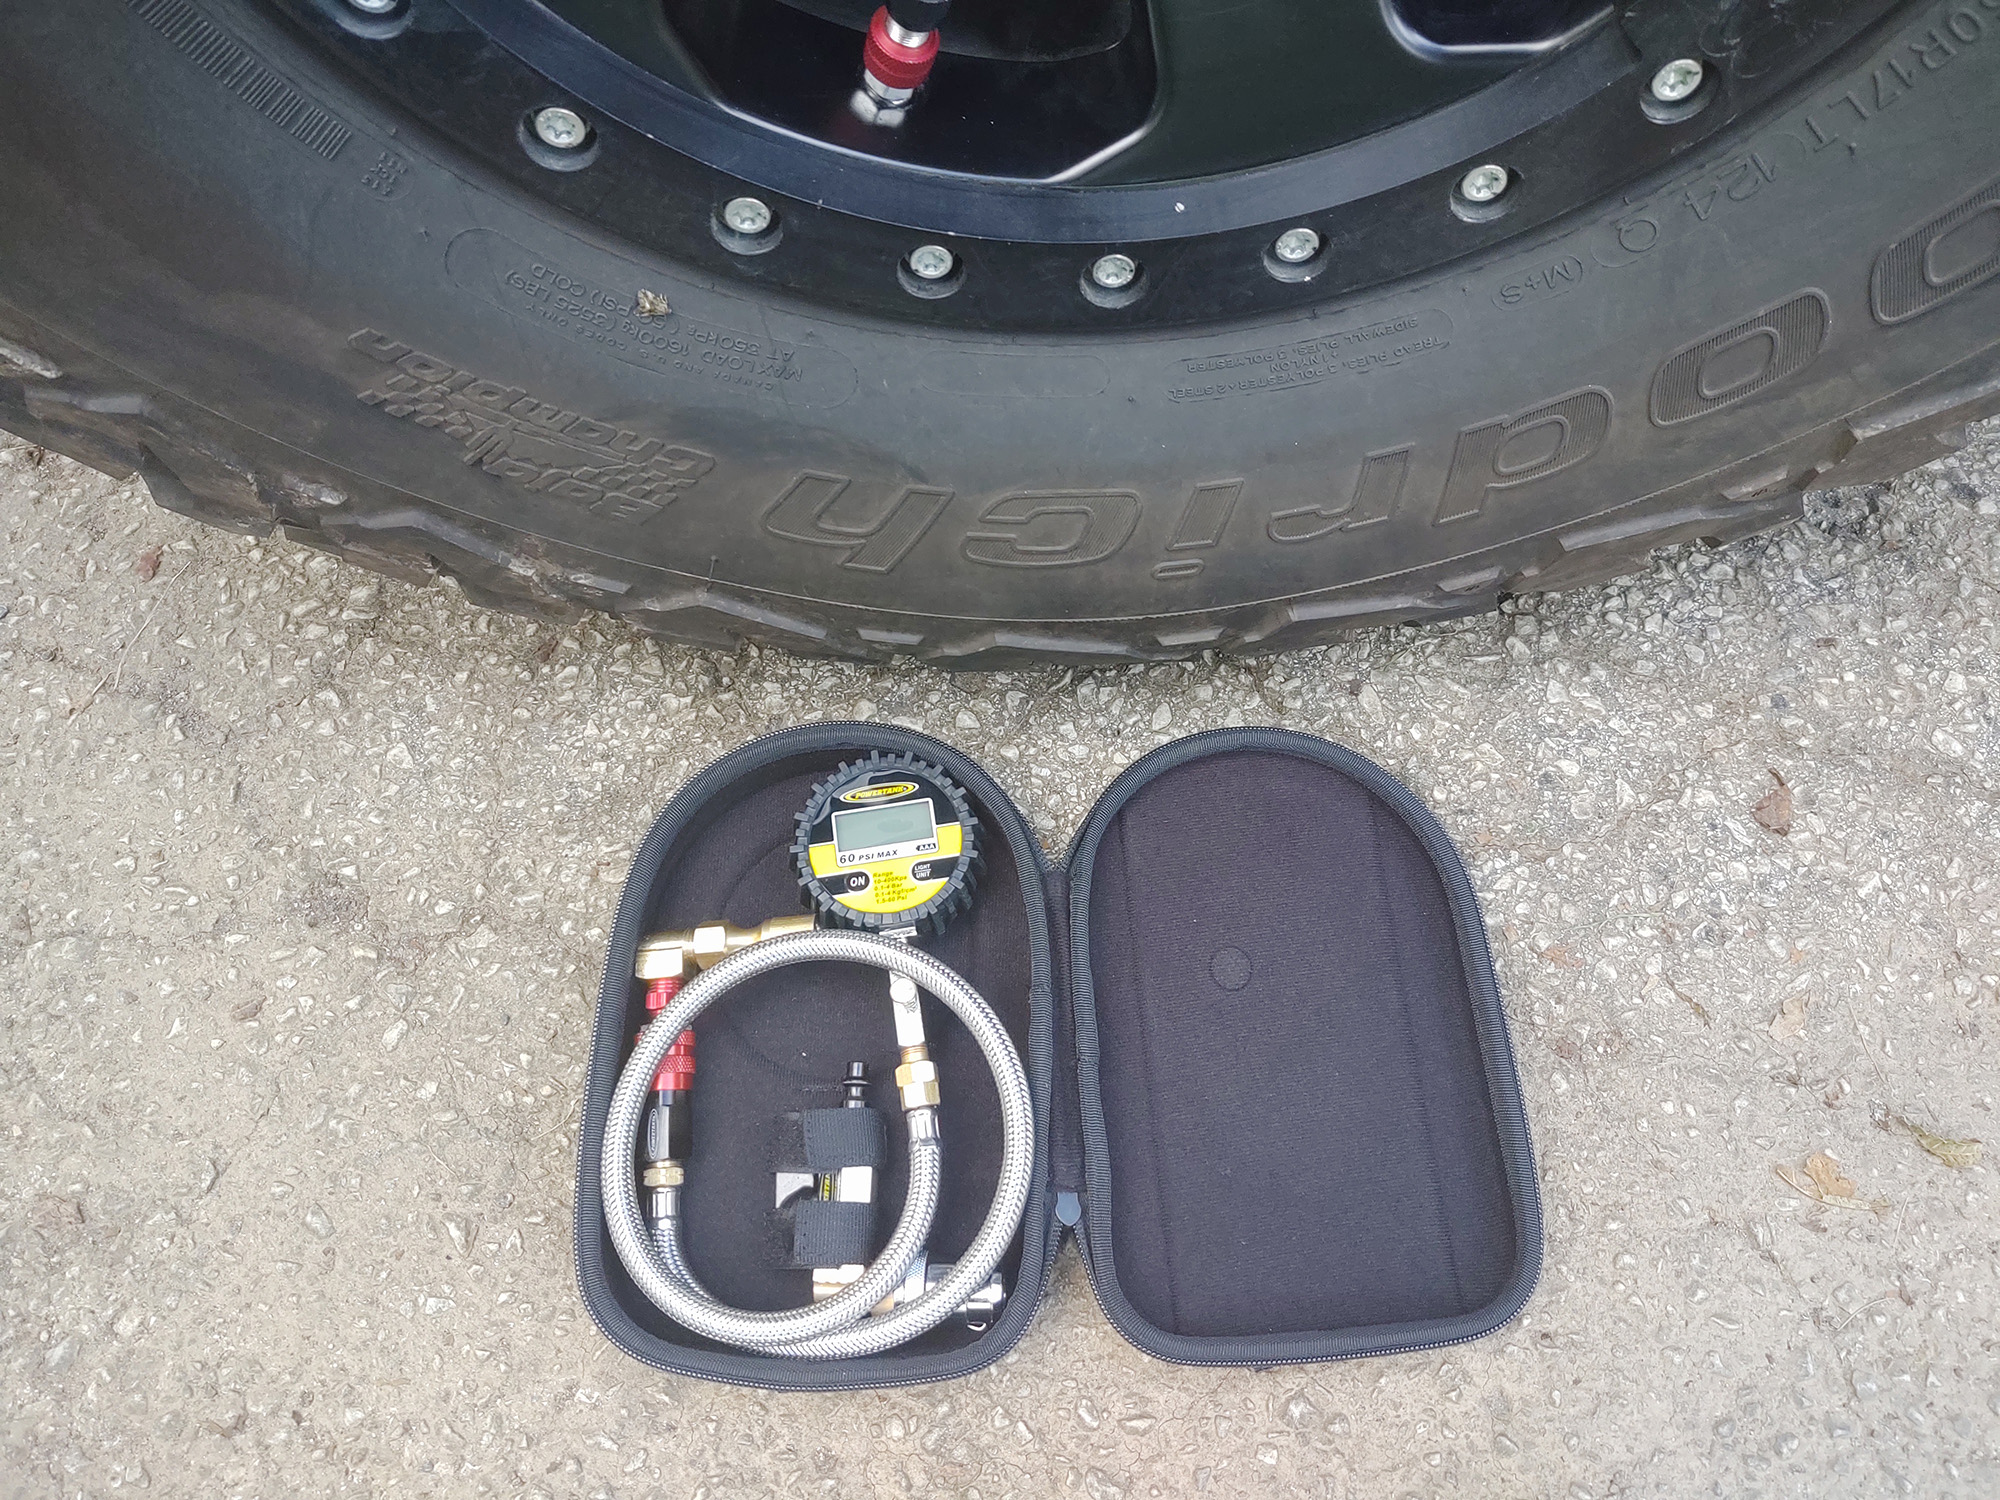

.jpg)