


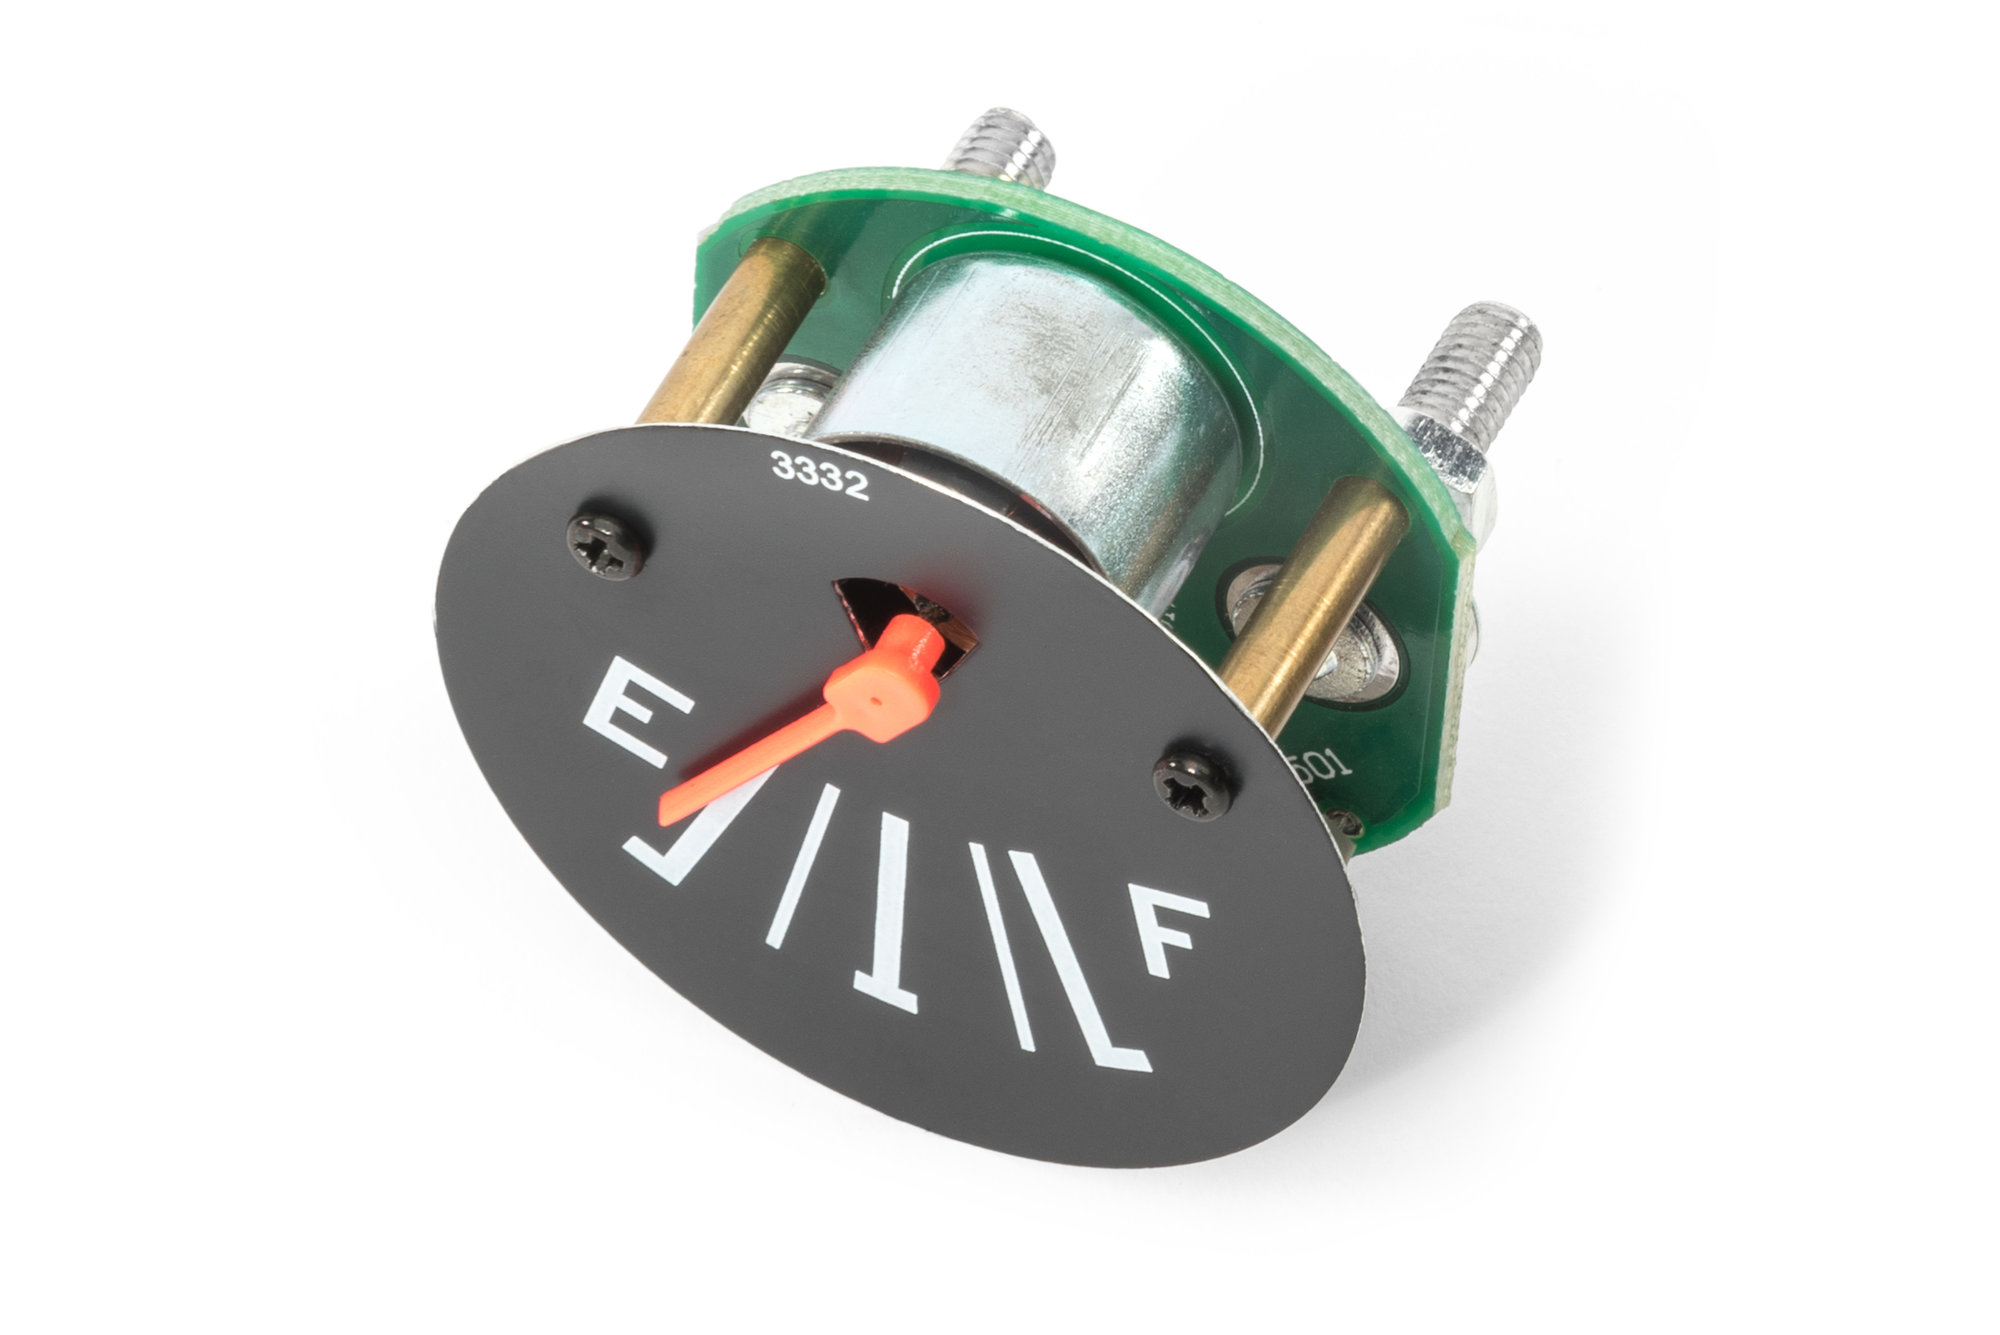
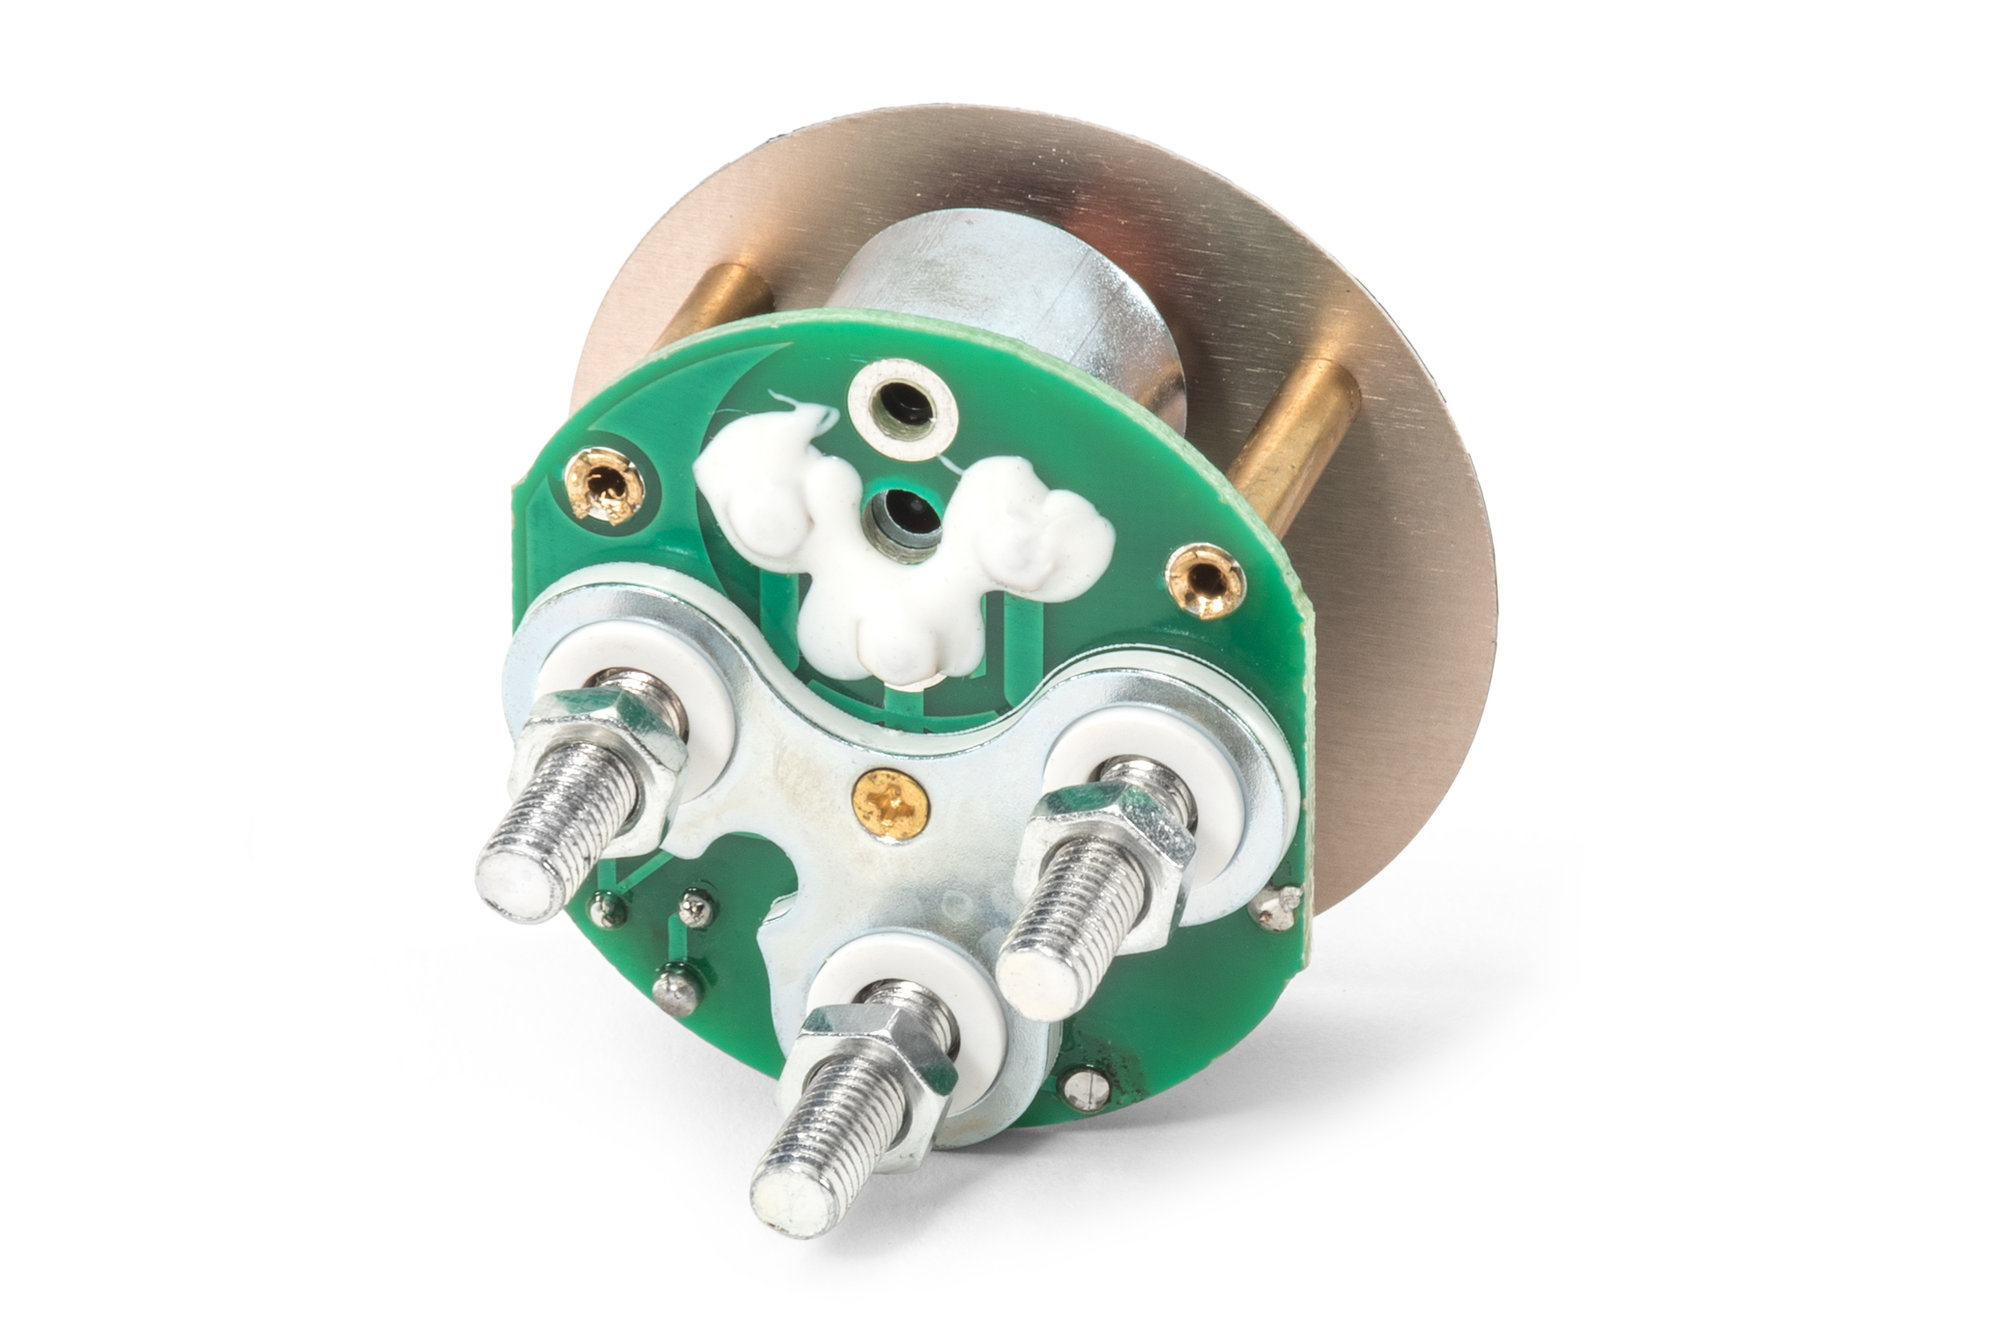
OMIX 17209.04 Fuel Gauge for 72-86 Jeep CJ Series
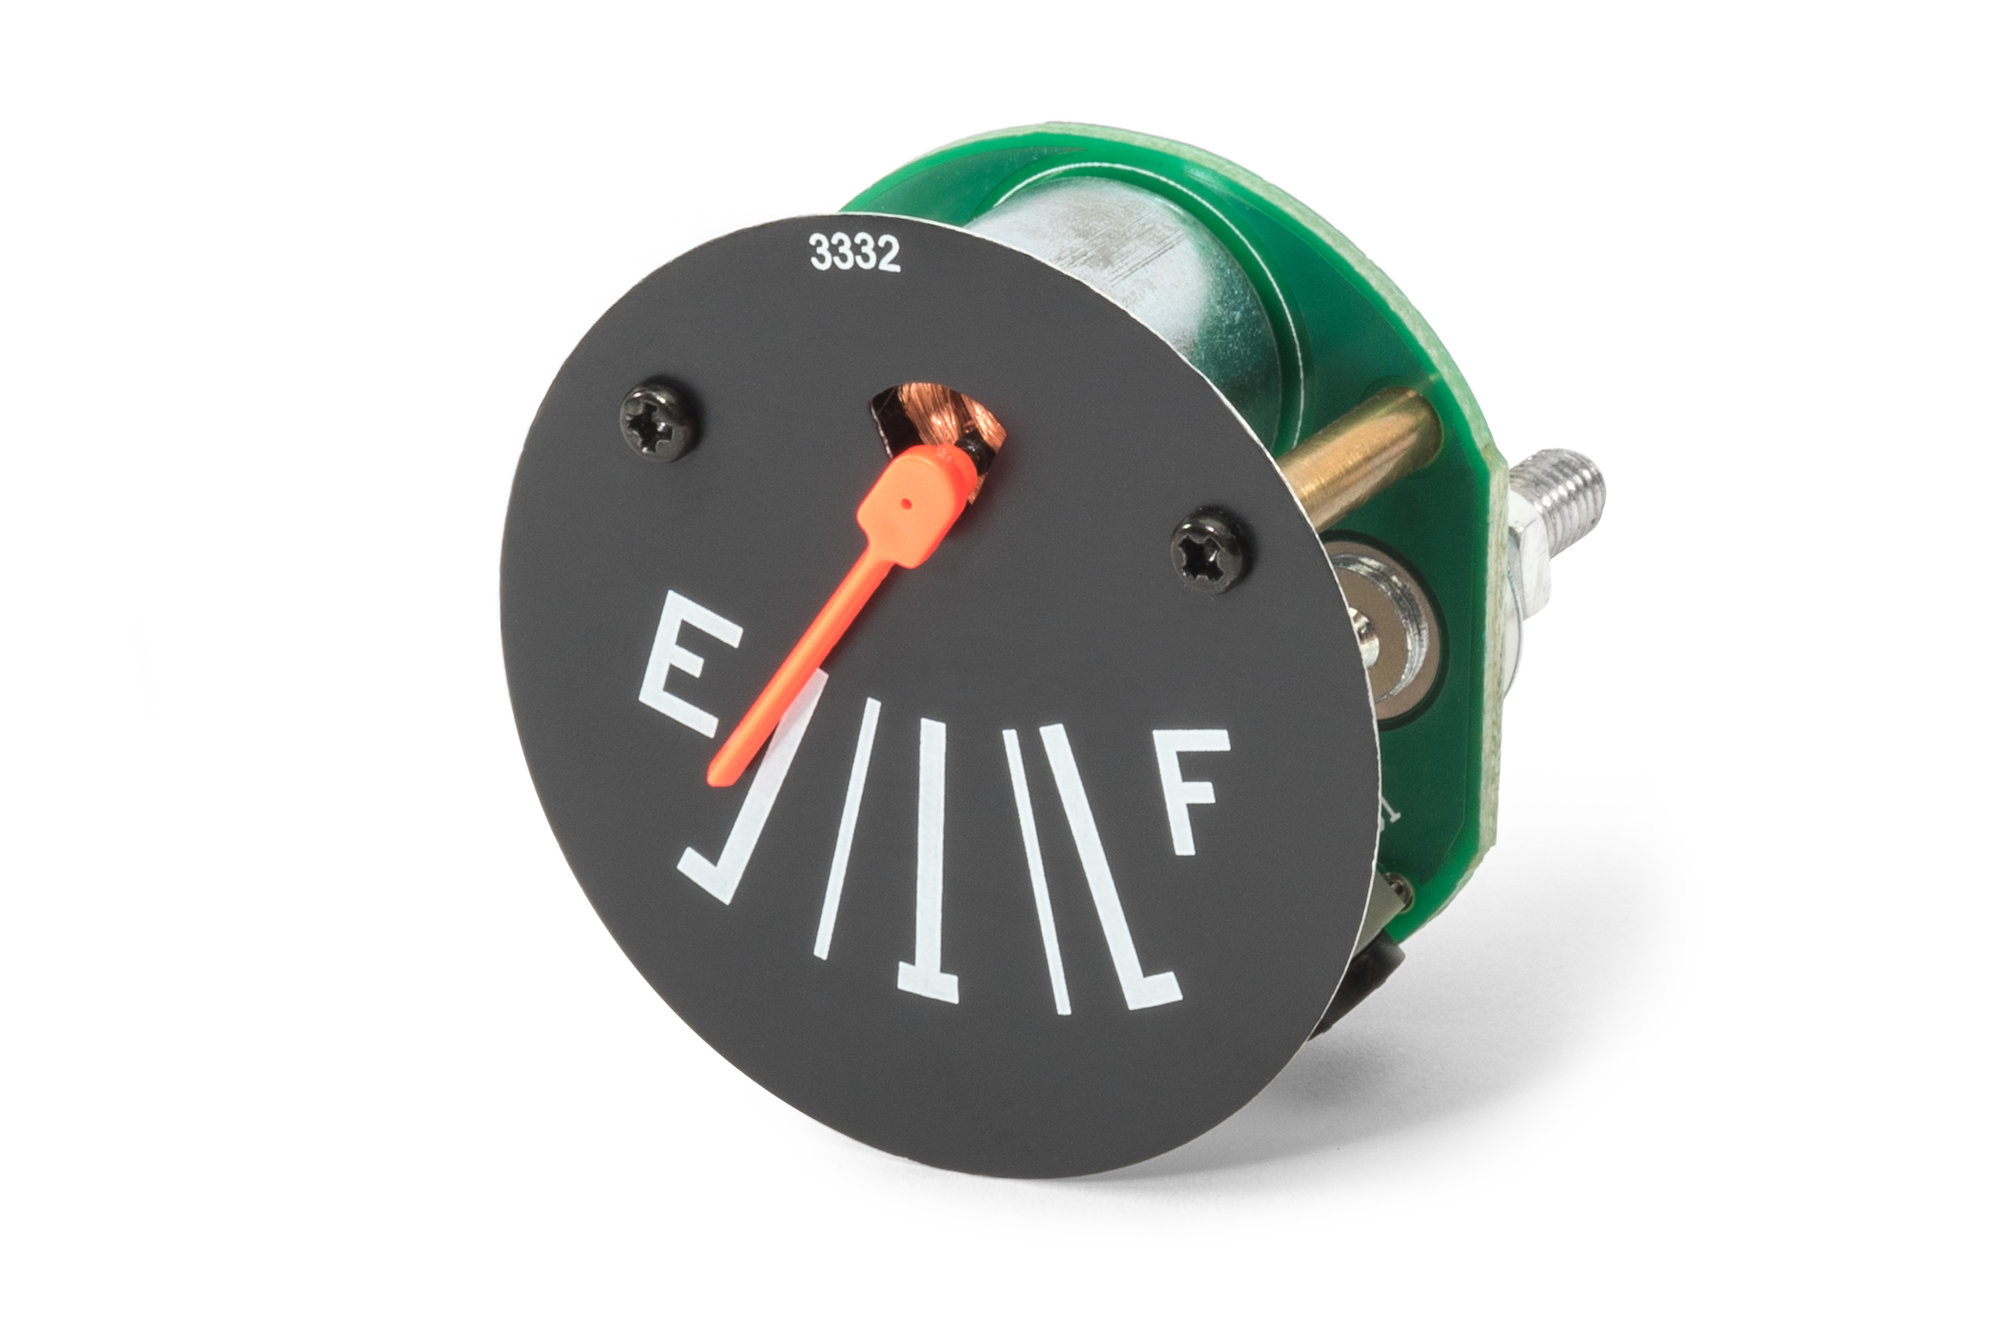


- 73 Ohms empty
- 23 Ohms 1/2 Tank
- 10 Ohms Full

- Features: Metal, Plastic
- Color: Black
- Shipping Weight: 0.13lb
- Shipping Dimensions: 3in x 3in x 3in (L x W x H)
Jeep CJ-5
- 1983 Jeep CJ-5
- 1982 Jeep CJ-5
- 1981 Jeep CJ-5
- 1980 Jeep CJ-5
- 1979 Jeep CJ-5
- 1978 Jeep CJ-5
- 1977 Jeep CJ-5
- 1976 Jeep CJ-5
- 1975 Jeep CJ-5
- 1974 Jeep CJ-5
- 1973 Jeep CJ-5
- 1972 Jeep CJ-5
Jeep CJ-6
- 1975 Jeep CJ-6
- 1974 Jeep CJ-6
- 1973 Jeep CJ-6
- 1972 Jeep CJ-6
Jeep CJ-7
- 1986 Jeep CJ-7
- 1985 Jeep CJ-7
- 1984 Jeep CJ-7
- 1983 Jeep CJ-7
- 1982 Jeep CJ-7
- 1981 Jeep CJ-7
- 1980 Jeep CJ-7
- 1979 Jeep CJ-7
- 1978 Jeep CJ-7
- 1977 Jeep CJ-7
- 1976 Jeep CJ-7
Jeep CJ-8
- 1985 Jeep CJ-8
- 1984 Jeep CJ-8
- 1983 Jeep CJ-8
- 1982 Jeep CJ-8
- 1981 Jeep CJ-8
- Shared By Others
- Share a Photo
- Ask a Question
- Write a Review
OMIX Fuel Gauge Reviews
Fits
This took a lot of time and work to get this working. Fit great within my Speedometer cluster, but I didn't have the gauge as tight as I should have to the cluster - fyi it has to be sort of uncomfortably tight to make it ground out. I also had to add a ground wire from the Speedometer Cluster mount to the dash and ground it to the Battery. This of course was after I had a new sending unit & complete fuel system installed. I had to spend time checking every wire to the tank, multiple times. Just first add a ground and then check the tightness of your gauge to the cluster. It works and I can finally see how much fuel I have - after all these years.
A replacement fuel gauge should be replaced in pair with a new temperature gauge . Both are designed to work on 12 volts . The sending unit for both gauges should be replaced as well to be compatible as well . Worked for me . This gauge worked as wired originally . The temp gauge was pegged . I called OMIX ADA and was told the temp gauge was wired in reverse . I was instructed to jumper from the fuel gauge A position to the temp gauge S position . The temp gauge A position will now take the temp sender wire . This worked . Had to replace the original flat copper voltage regulator jumper with a 14 gauge ( my choice of gauge ) stranded wire and two ring connectors . I suggest installing the gauges in factory wiring configuration first to observe operation first . Make certain to clean all surfaces , gauge to cluster , cluster to dash . Add a ground to cluster mount stud if none present . Make certain that both gauges are mounted correctly and the studs do not touch / ground to cluster housing . Don’t want them to short and burn out . Make absolutely certain the gauges sit comfortable in the cluster . Tighten mounting nuts but not over tight . Follow all reassembly with clean bulb sockets for good grounds as well .