by Scott Ammerman
Torque Correspondent
Part Two of Two — Before You Use Your New Warn Winch:
If you purchase a new Warn winch with a synthetic rope, it may come loaded on the spool but not tensioned, or it could be wrapped up in the box separately in the case of the Zeon models. We put together a guide on installing a Zeon rope after receiving feedback that many owners were having difficulty getting the rope eye end through the drum.
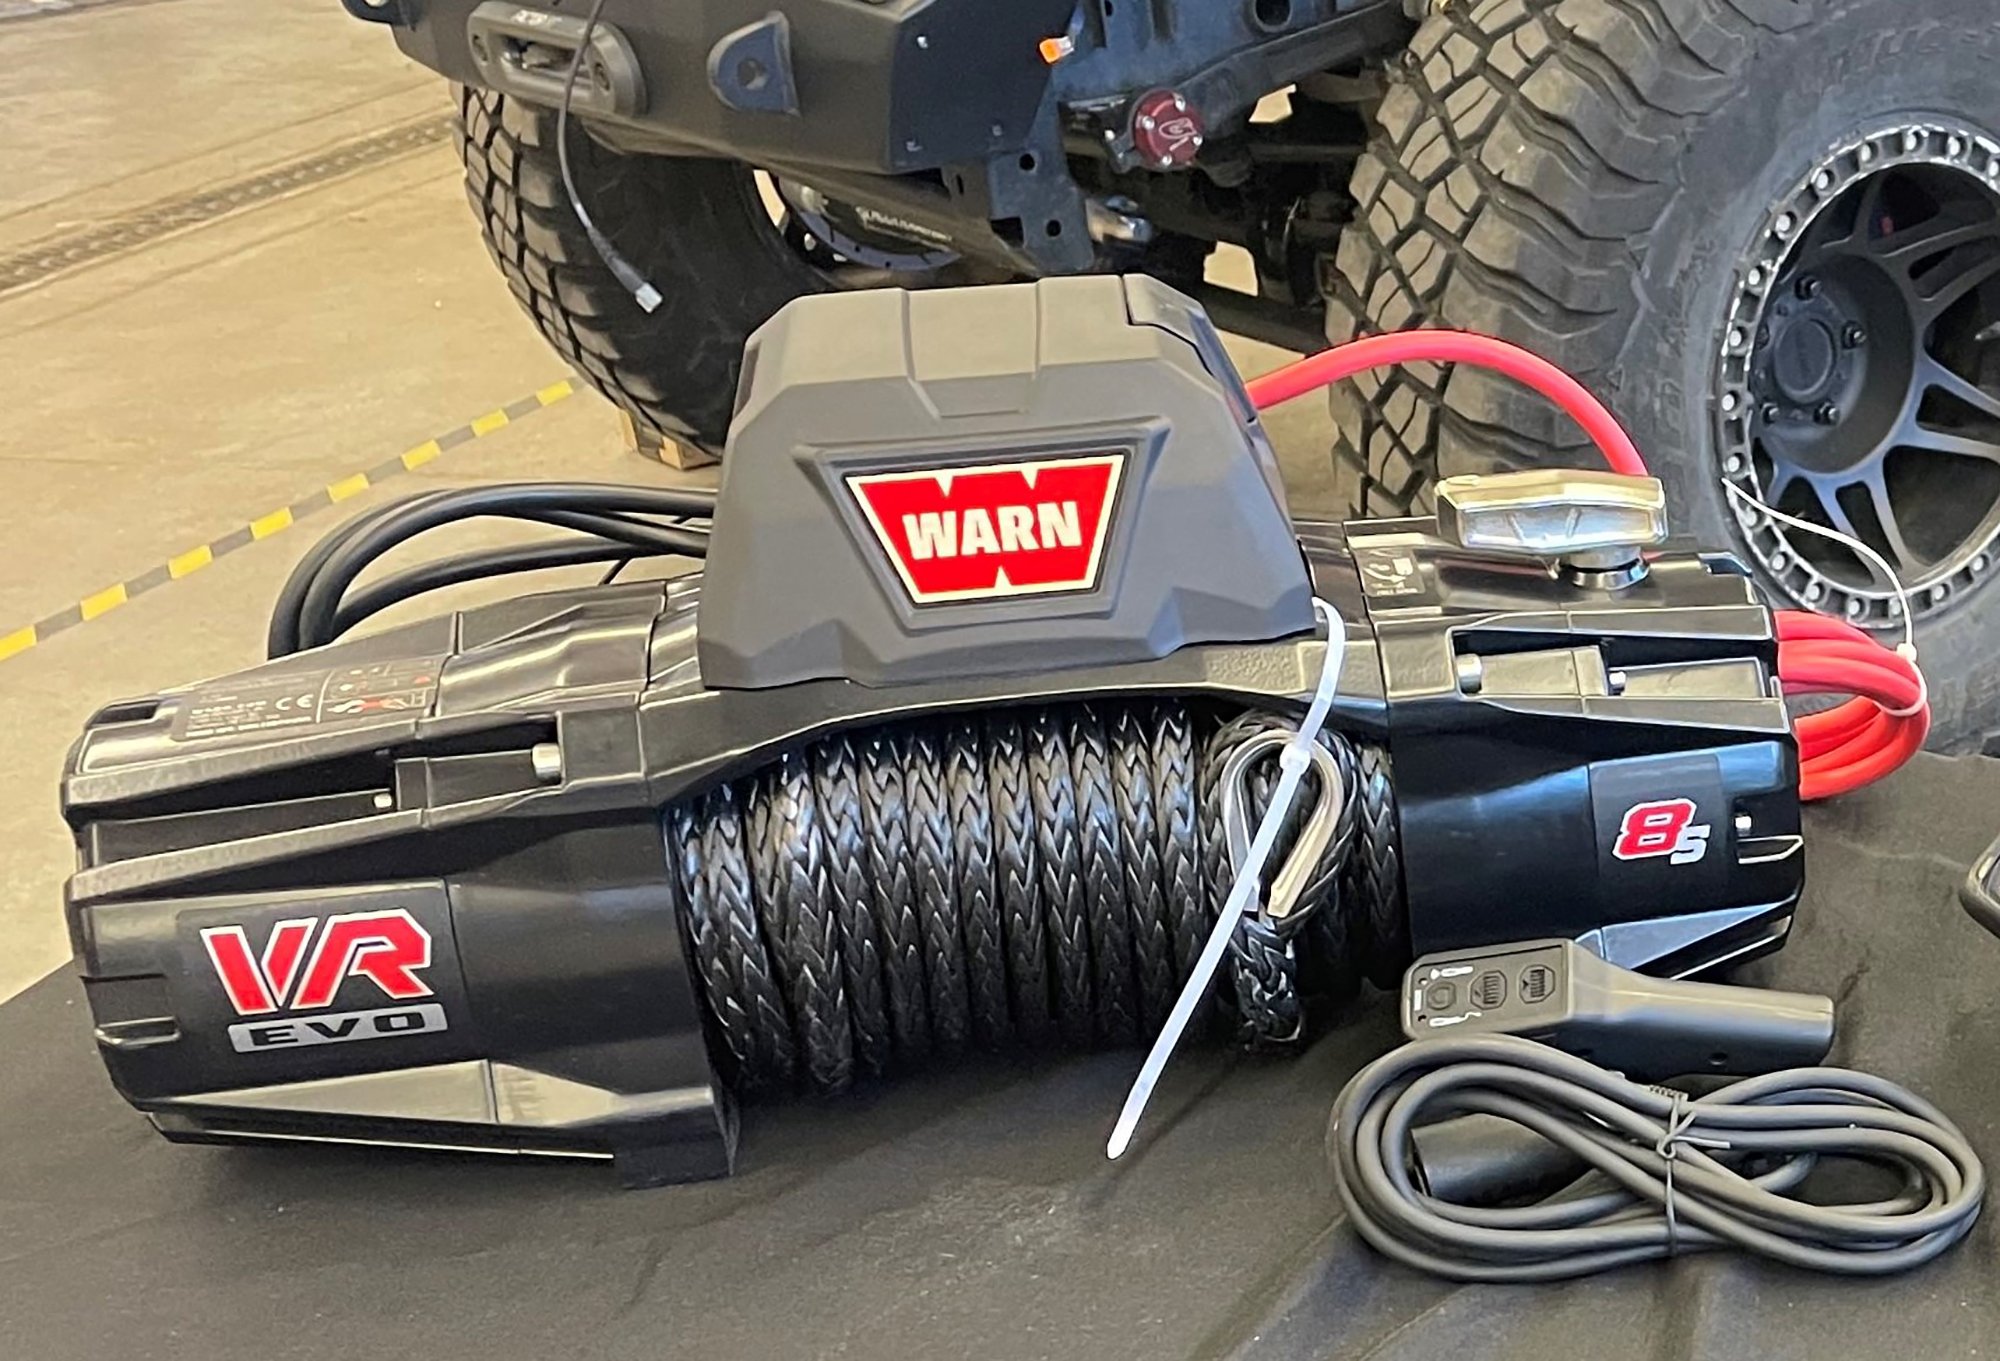
Depending on the Warn model (or if you have another brand winch), it may look ready to go right out of the box. But a properly executed pre-tensioning procedure is critical to prolonging the life of the rope, as well as making sure it won’t get pinched or tangled on the drum because of uneven strand compression.
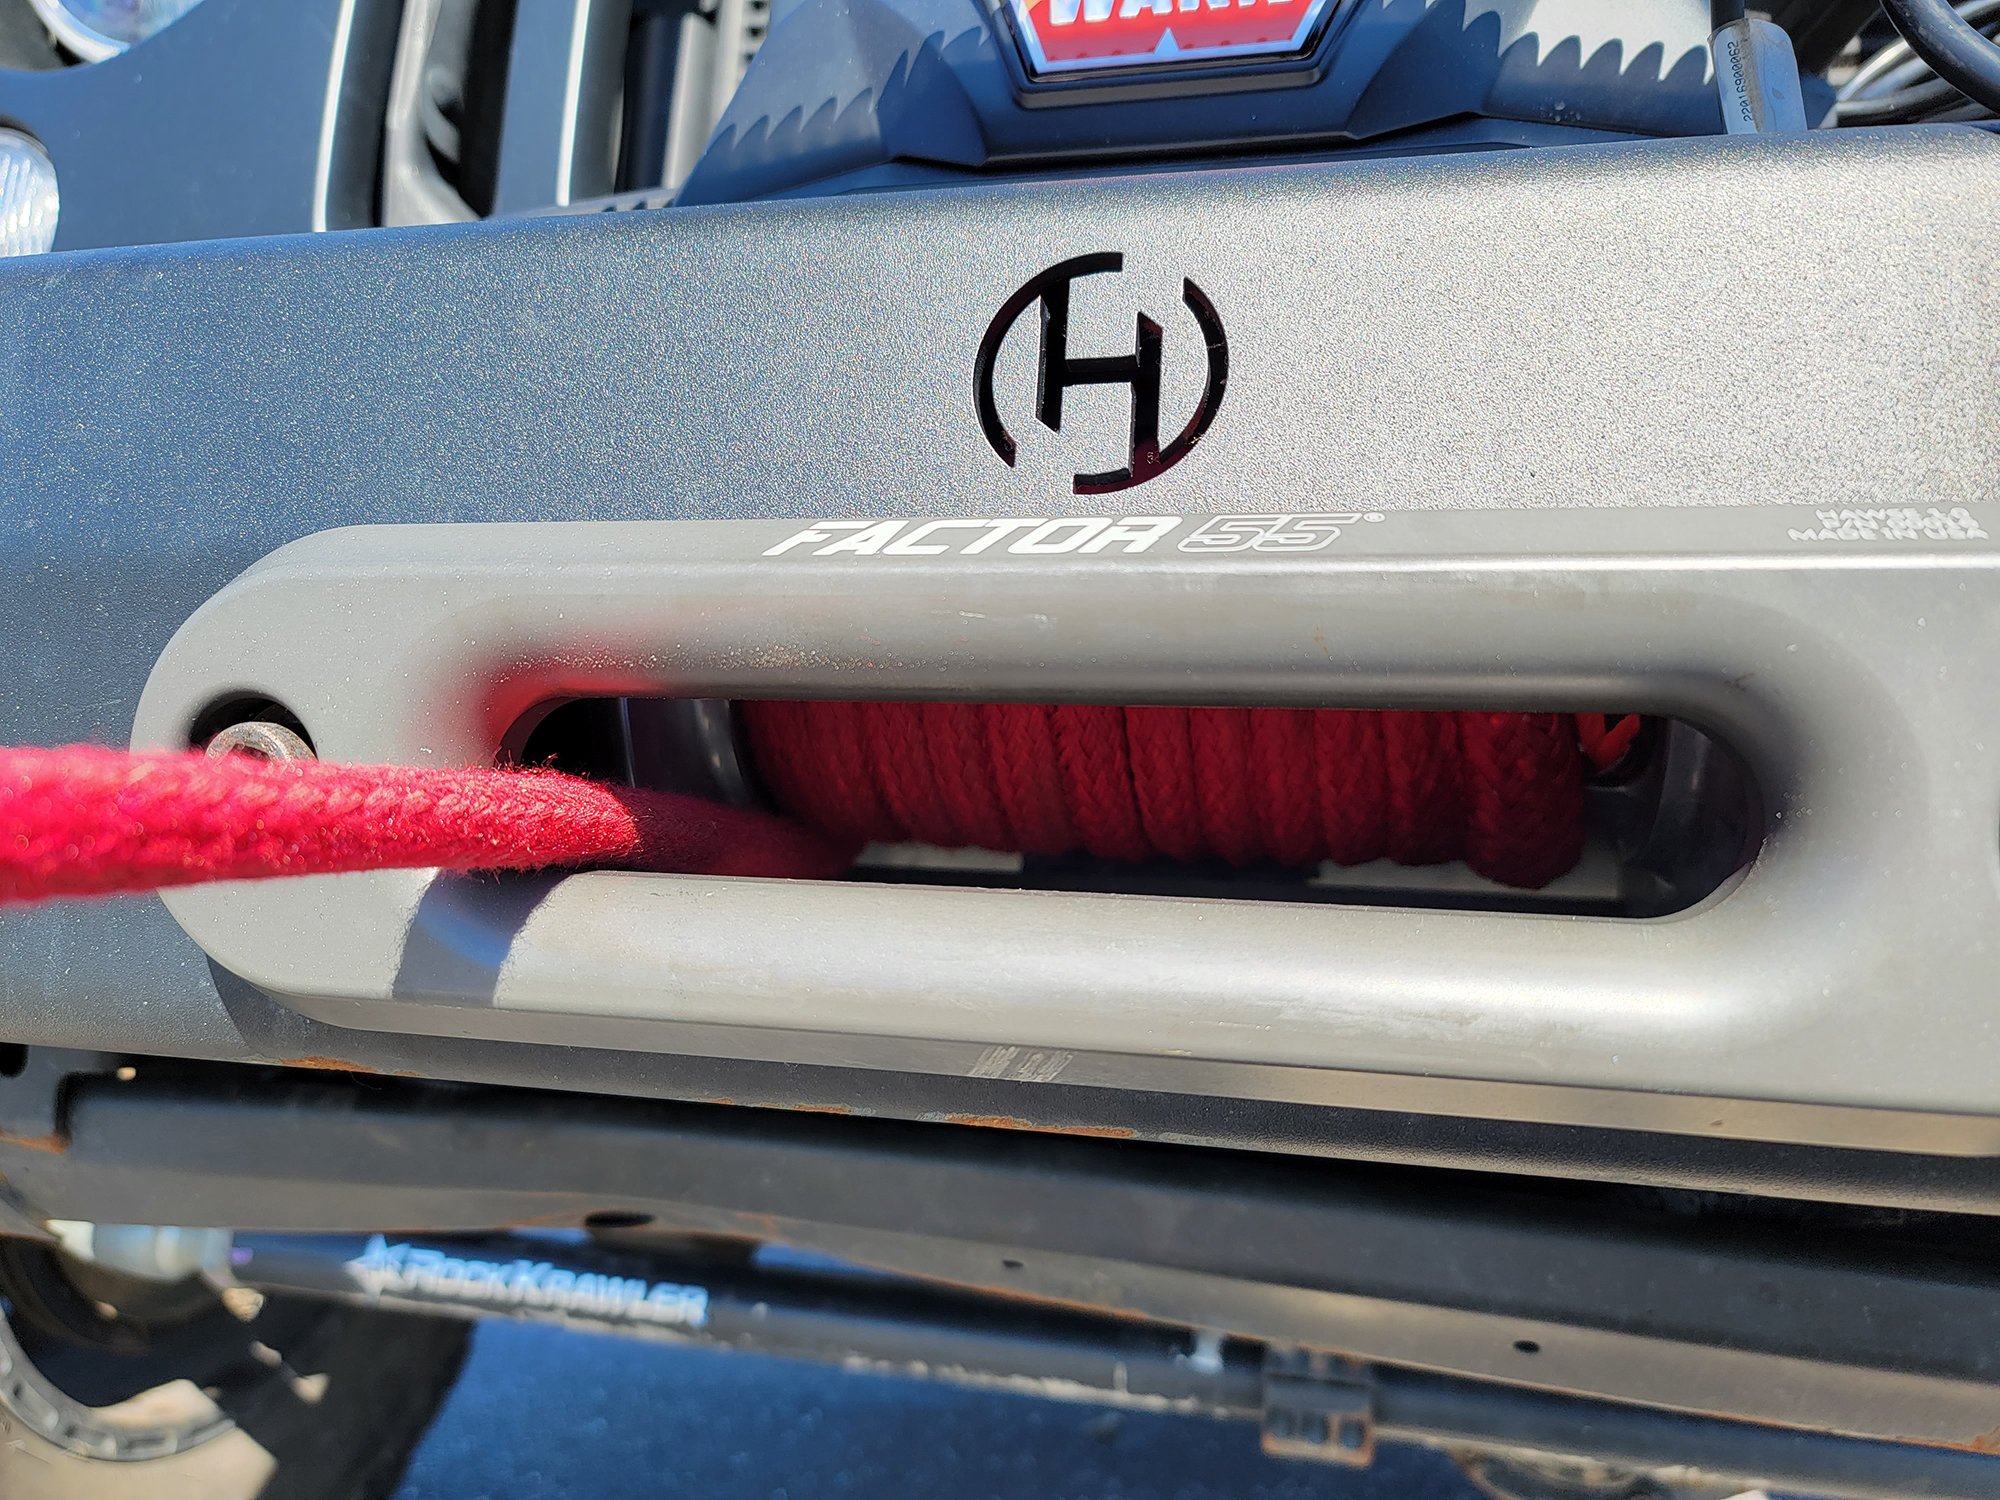
Because a rope actually decreases in diameter under load, it can stretch on the drum and tensioned wraps can compress between looser ones — forcing the rope into an almost triangular shape. This is one of the conditions we recommend checking on during your periodic winch rope maintenance. It also shows how to clear a stuck wrap; a condition that can occur with a shock load while in use, or an improperly wrapped drum.

With the new Warn Spydura Nightline winch rope installed on Project Rattler’s Warn Zeon 10, time constraints forced us to spool the drum under hand tension instead of properly pre-tensioning the line at the same time. With 100’ of rope on the drum, this was a tight fit and something that really needed to be remedied before using for any recovery. So I took care of that a few days later.
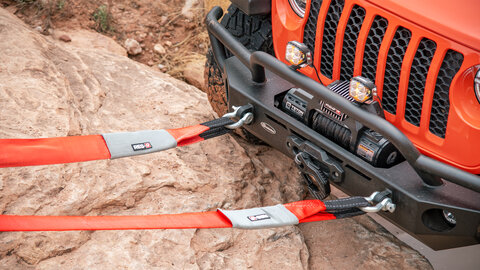
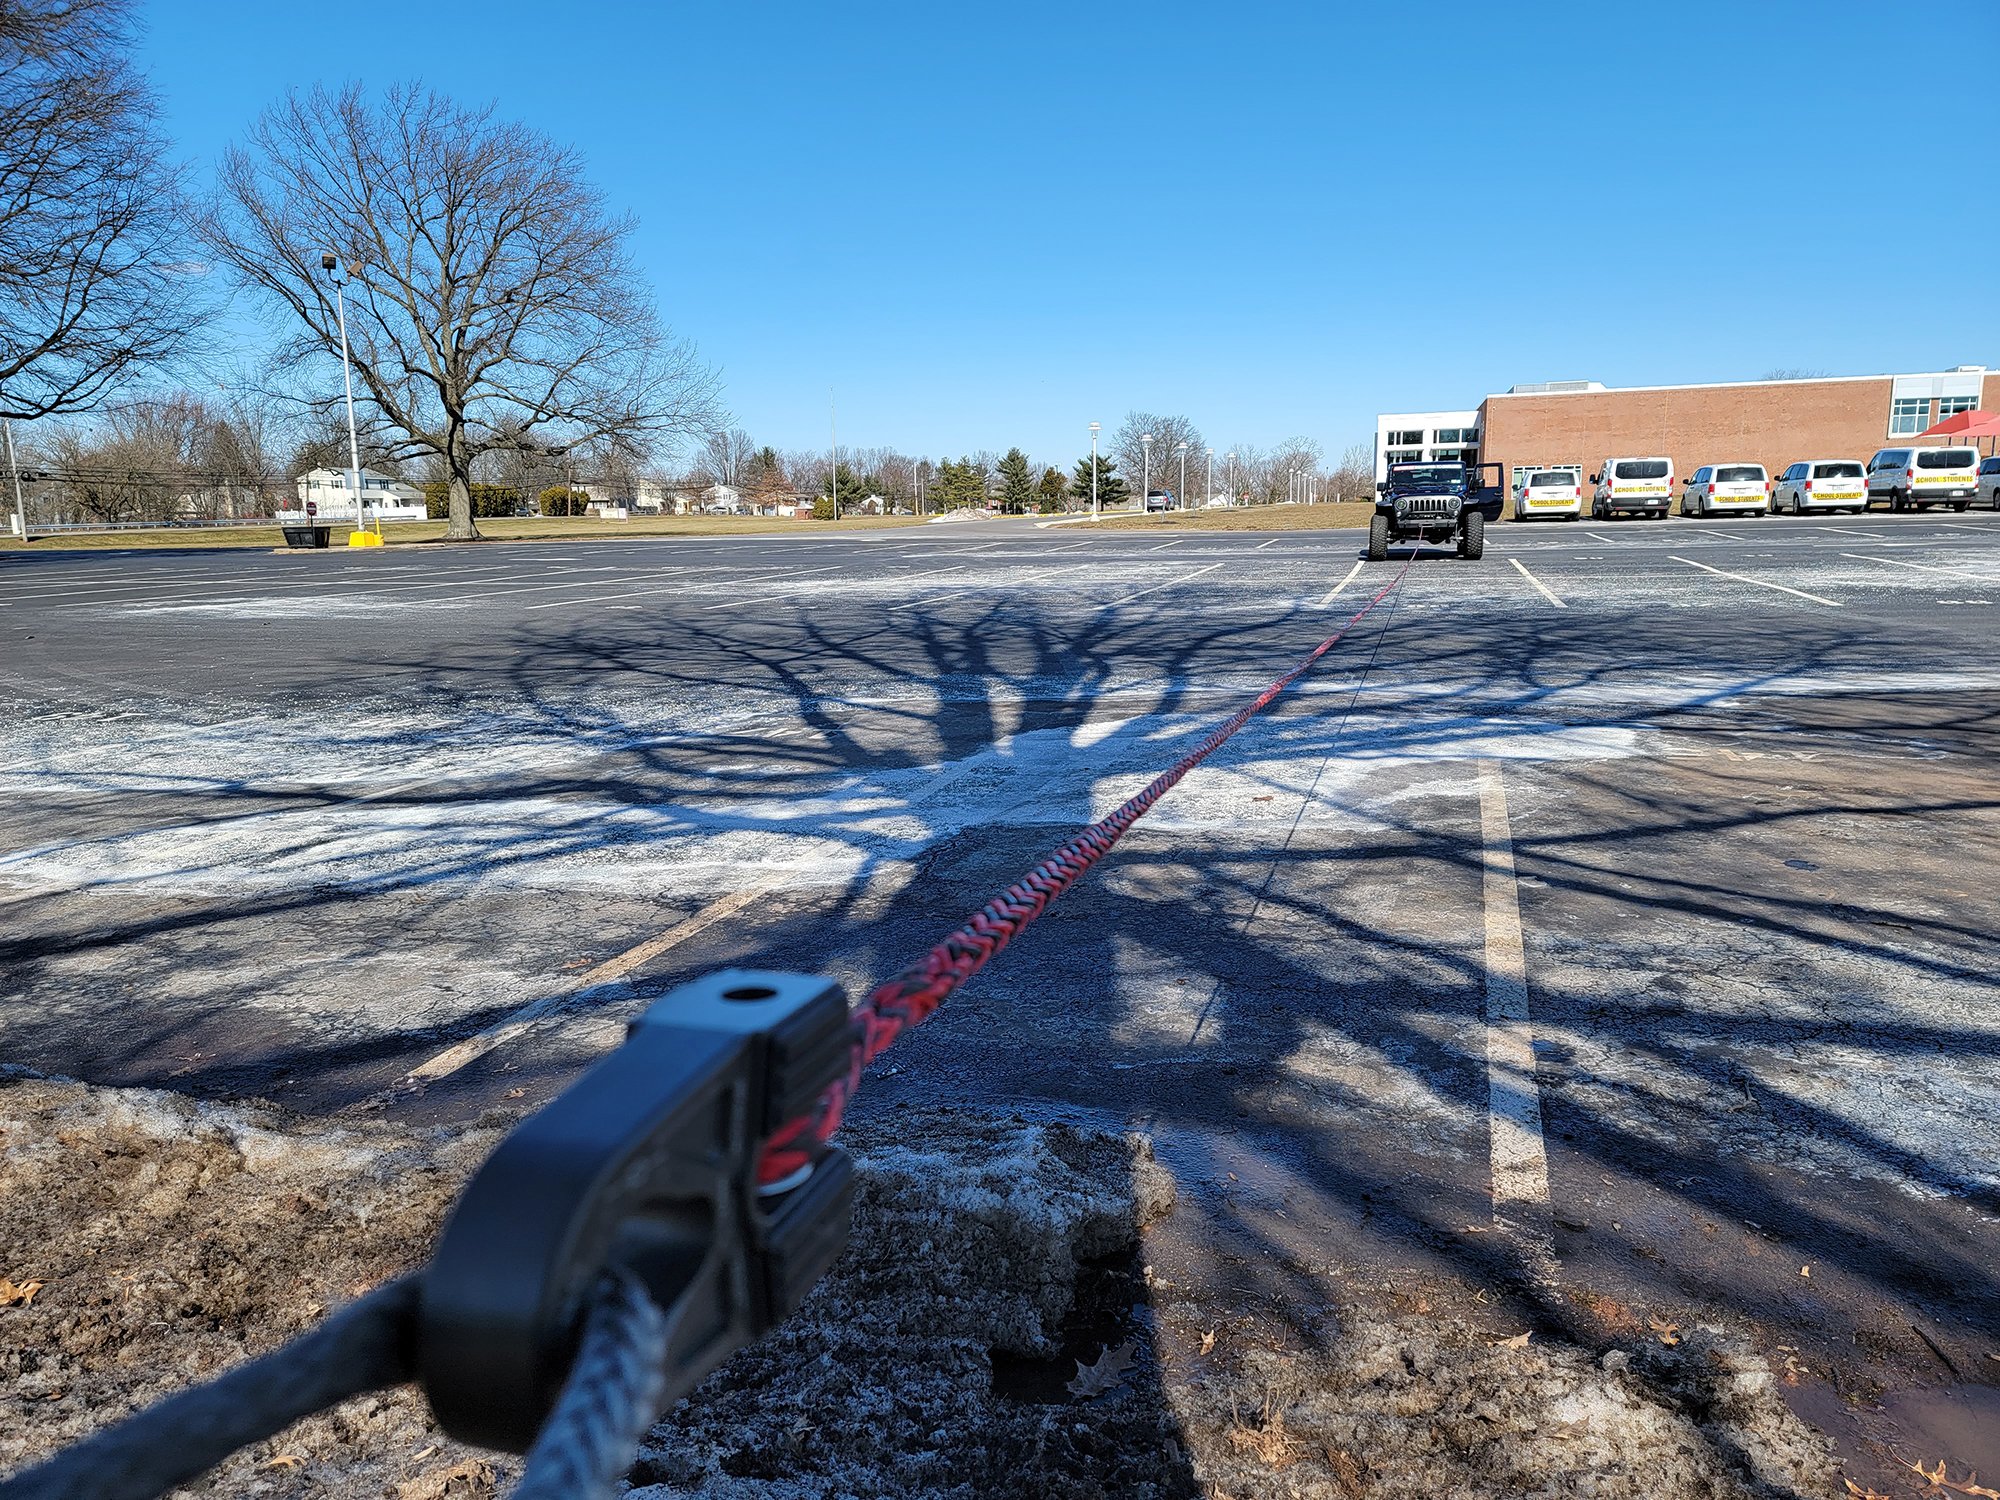
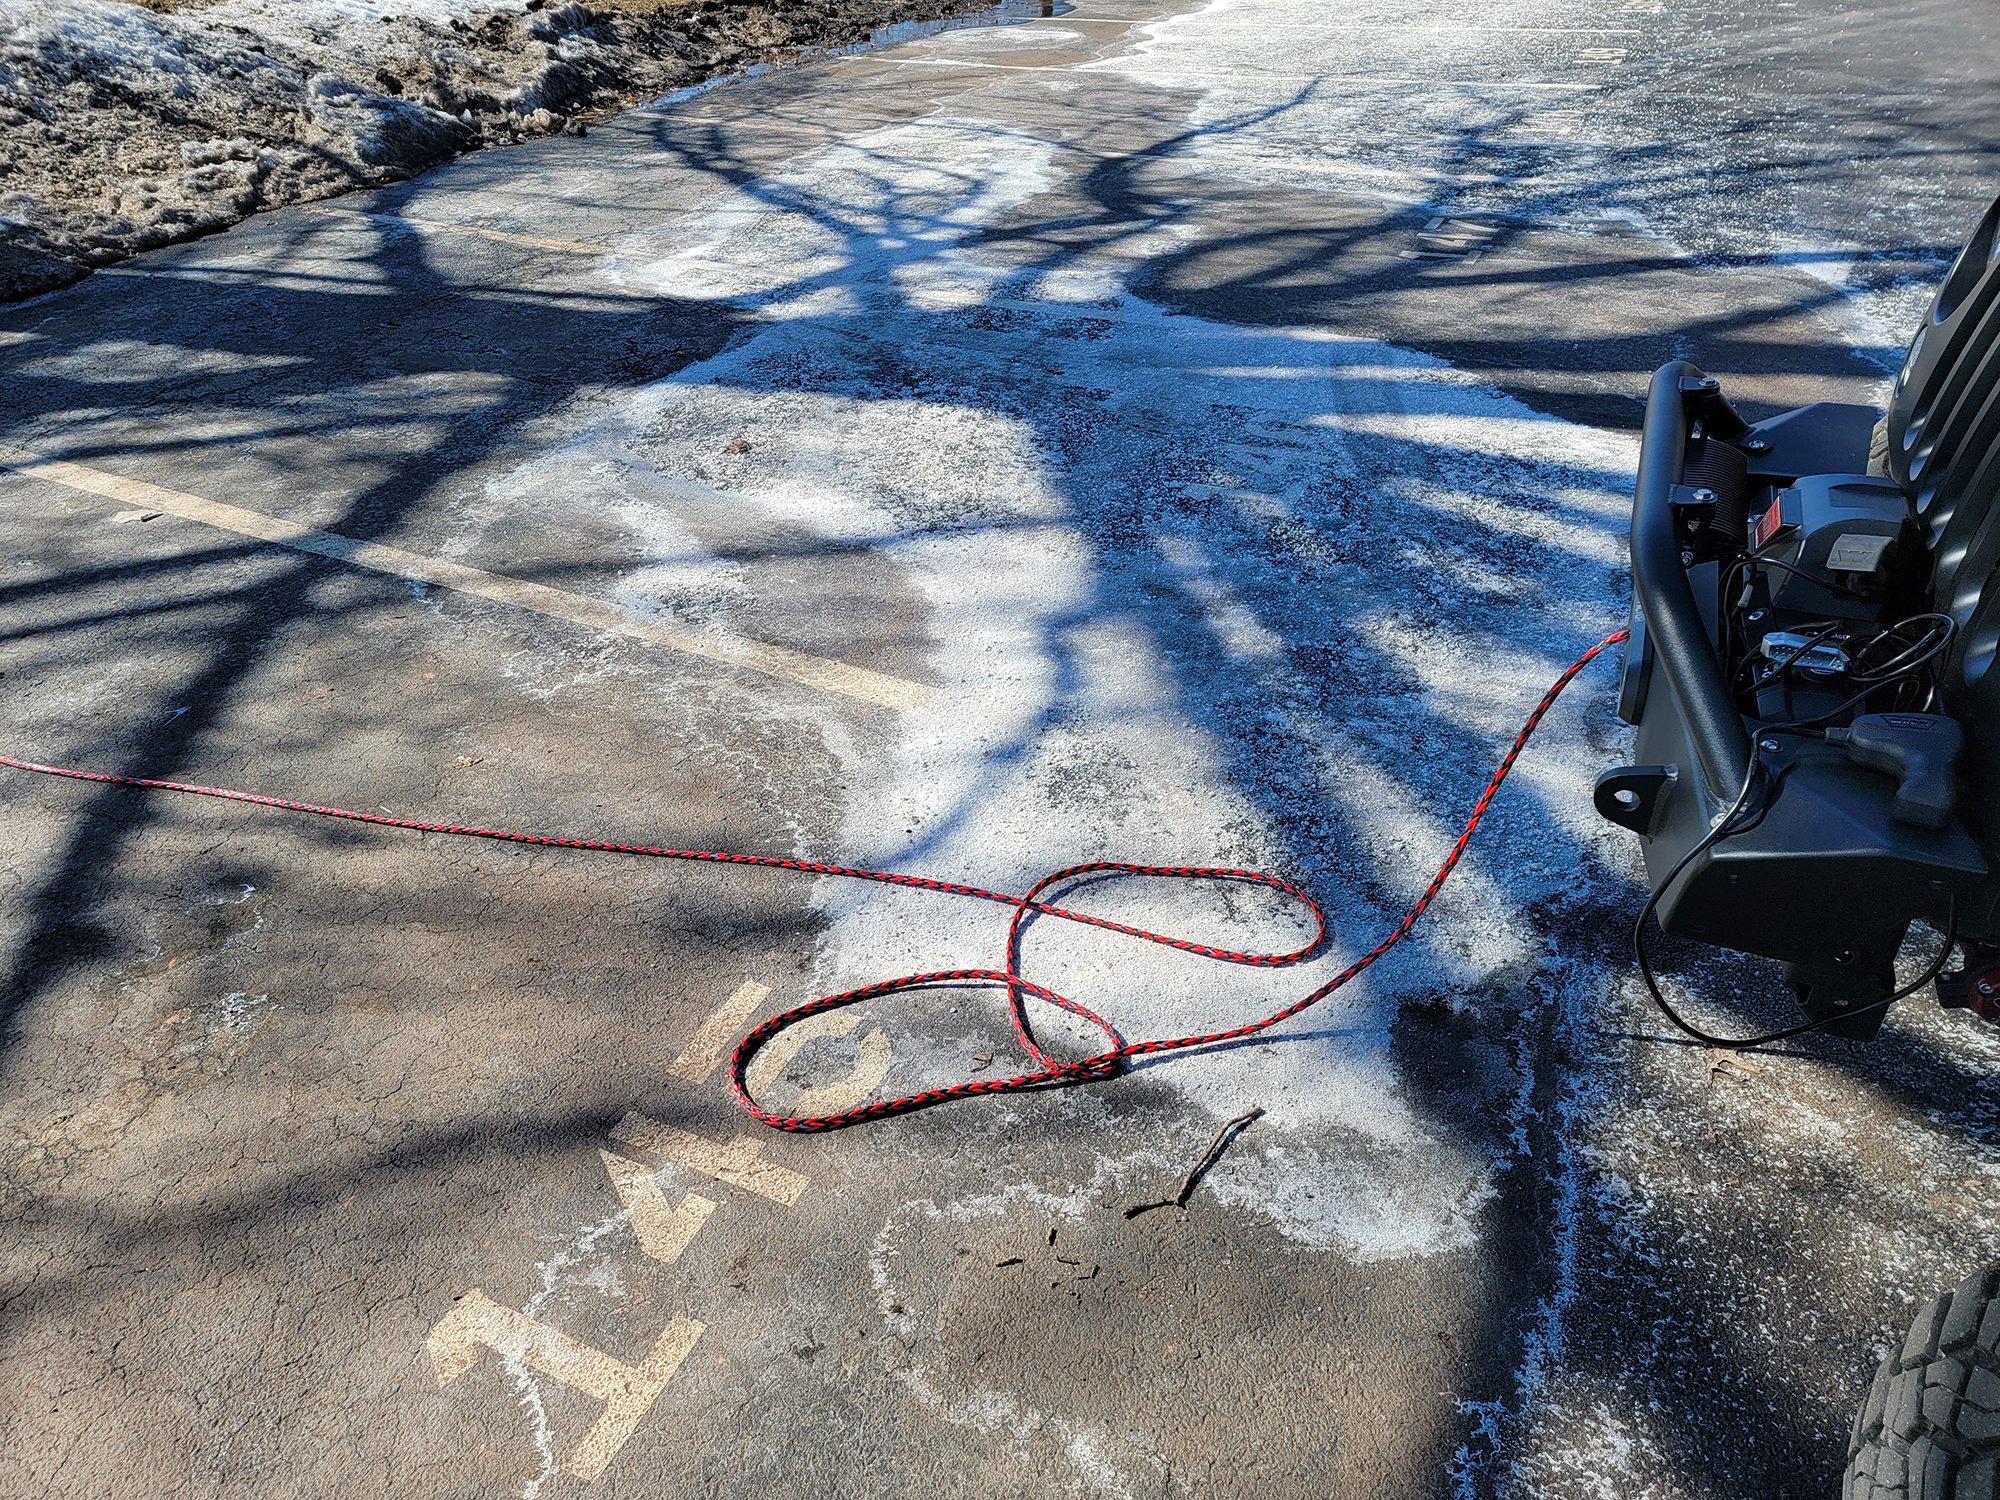
There are several ways to properly pre-tension this winch line. Warn recommends stretching the new synthetic rope (and even steel rope models) under load on a flat, hard, level surface using resistance from your vehicle's brakes to make sure the drum is loaded evenly with no gaps.
We did this at a local school with a large tree at the edge, where we could hook up a tree strap to the hook end of the rope easily. The last bit of snow was melting away near us, and the ground was rather squishy.
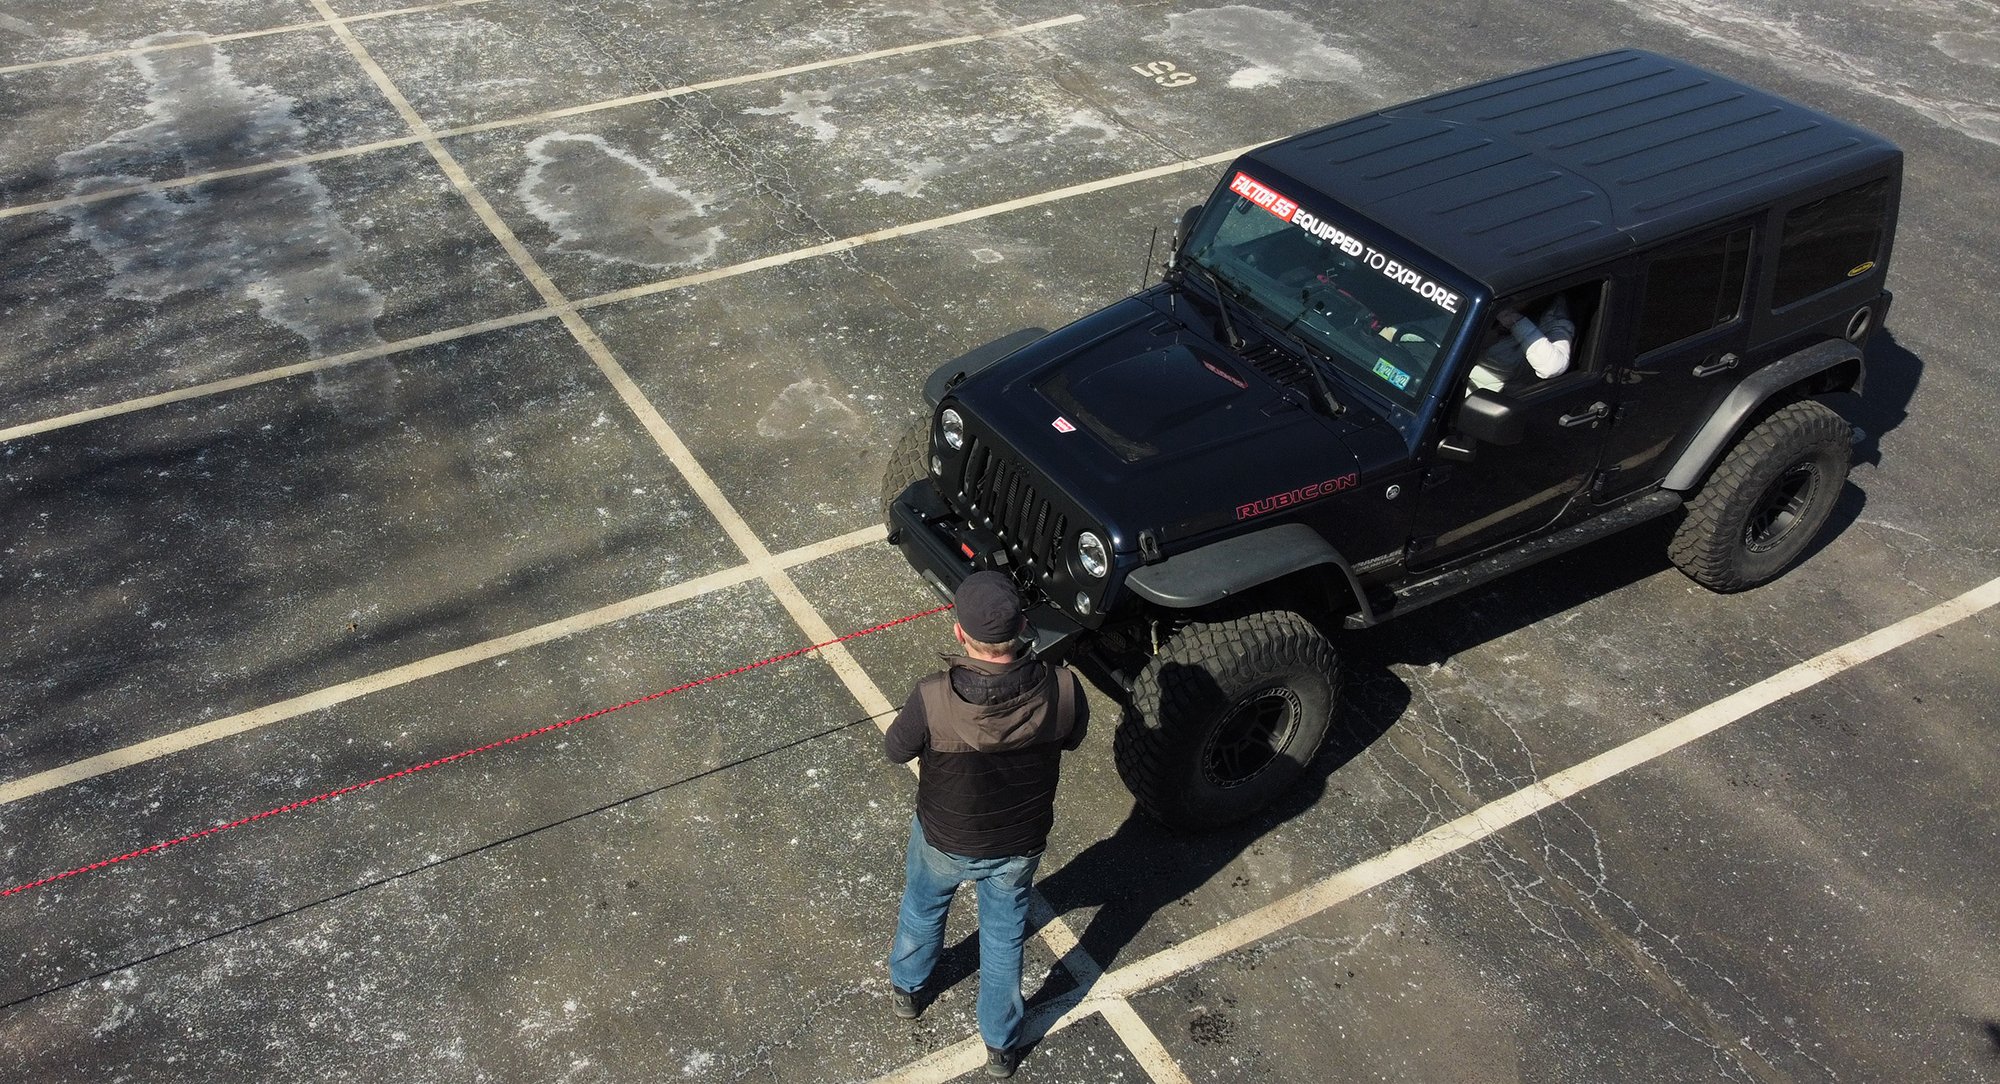
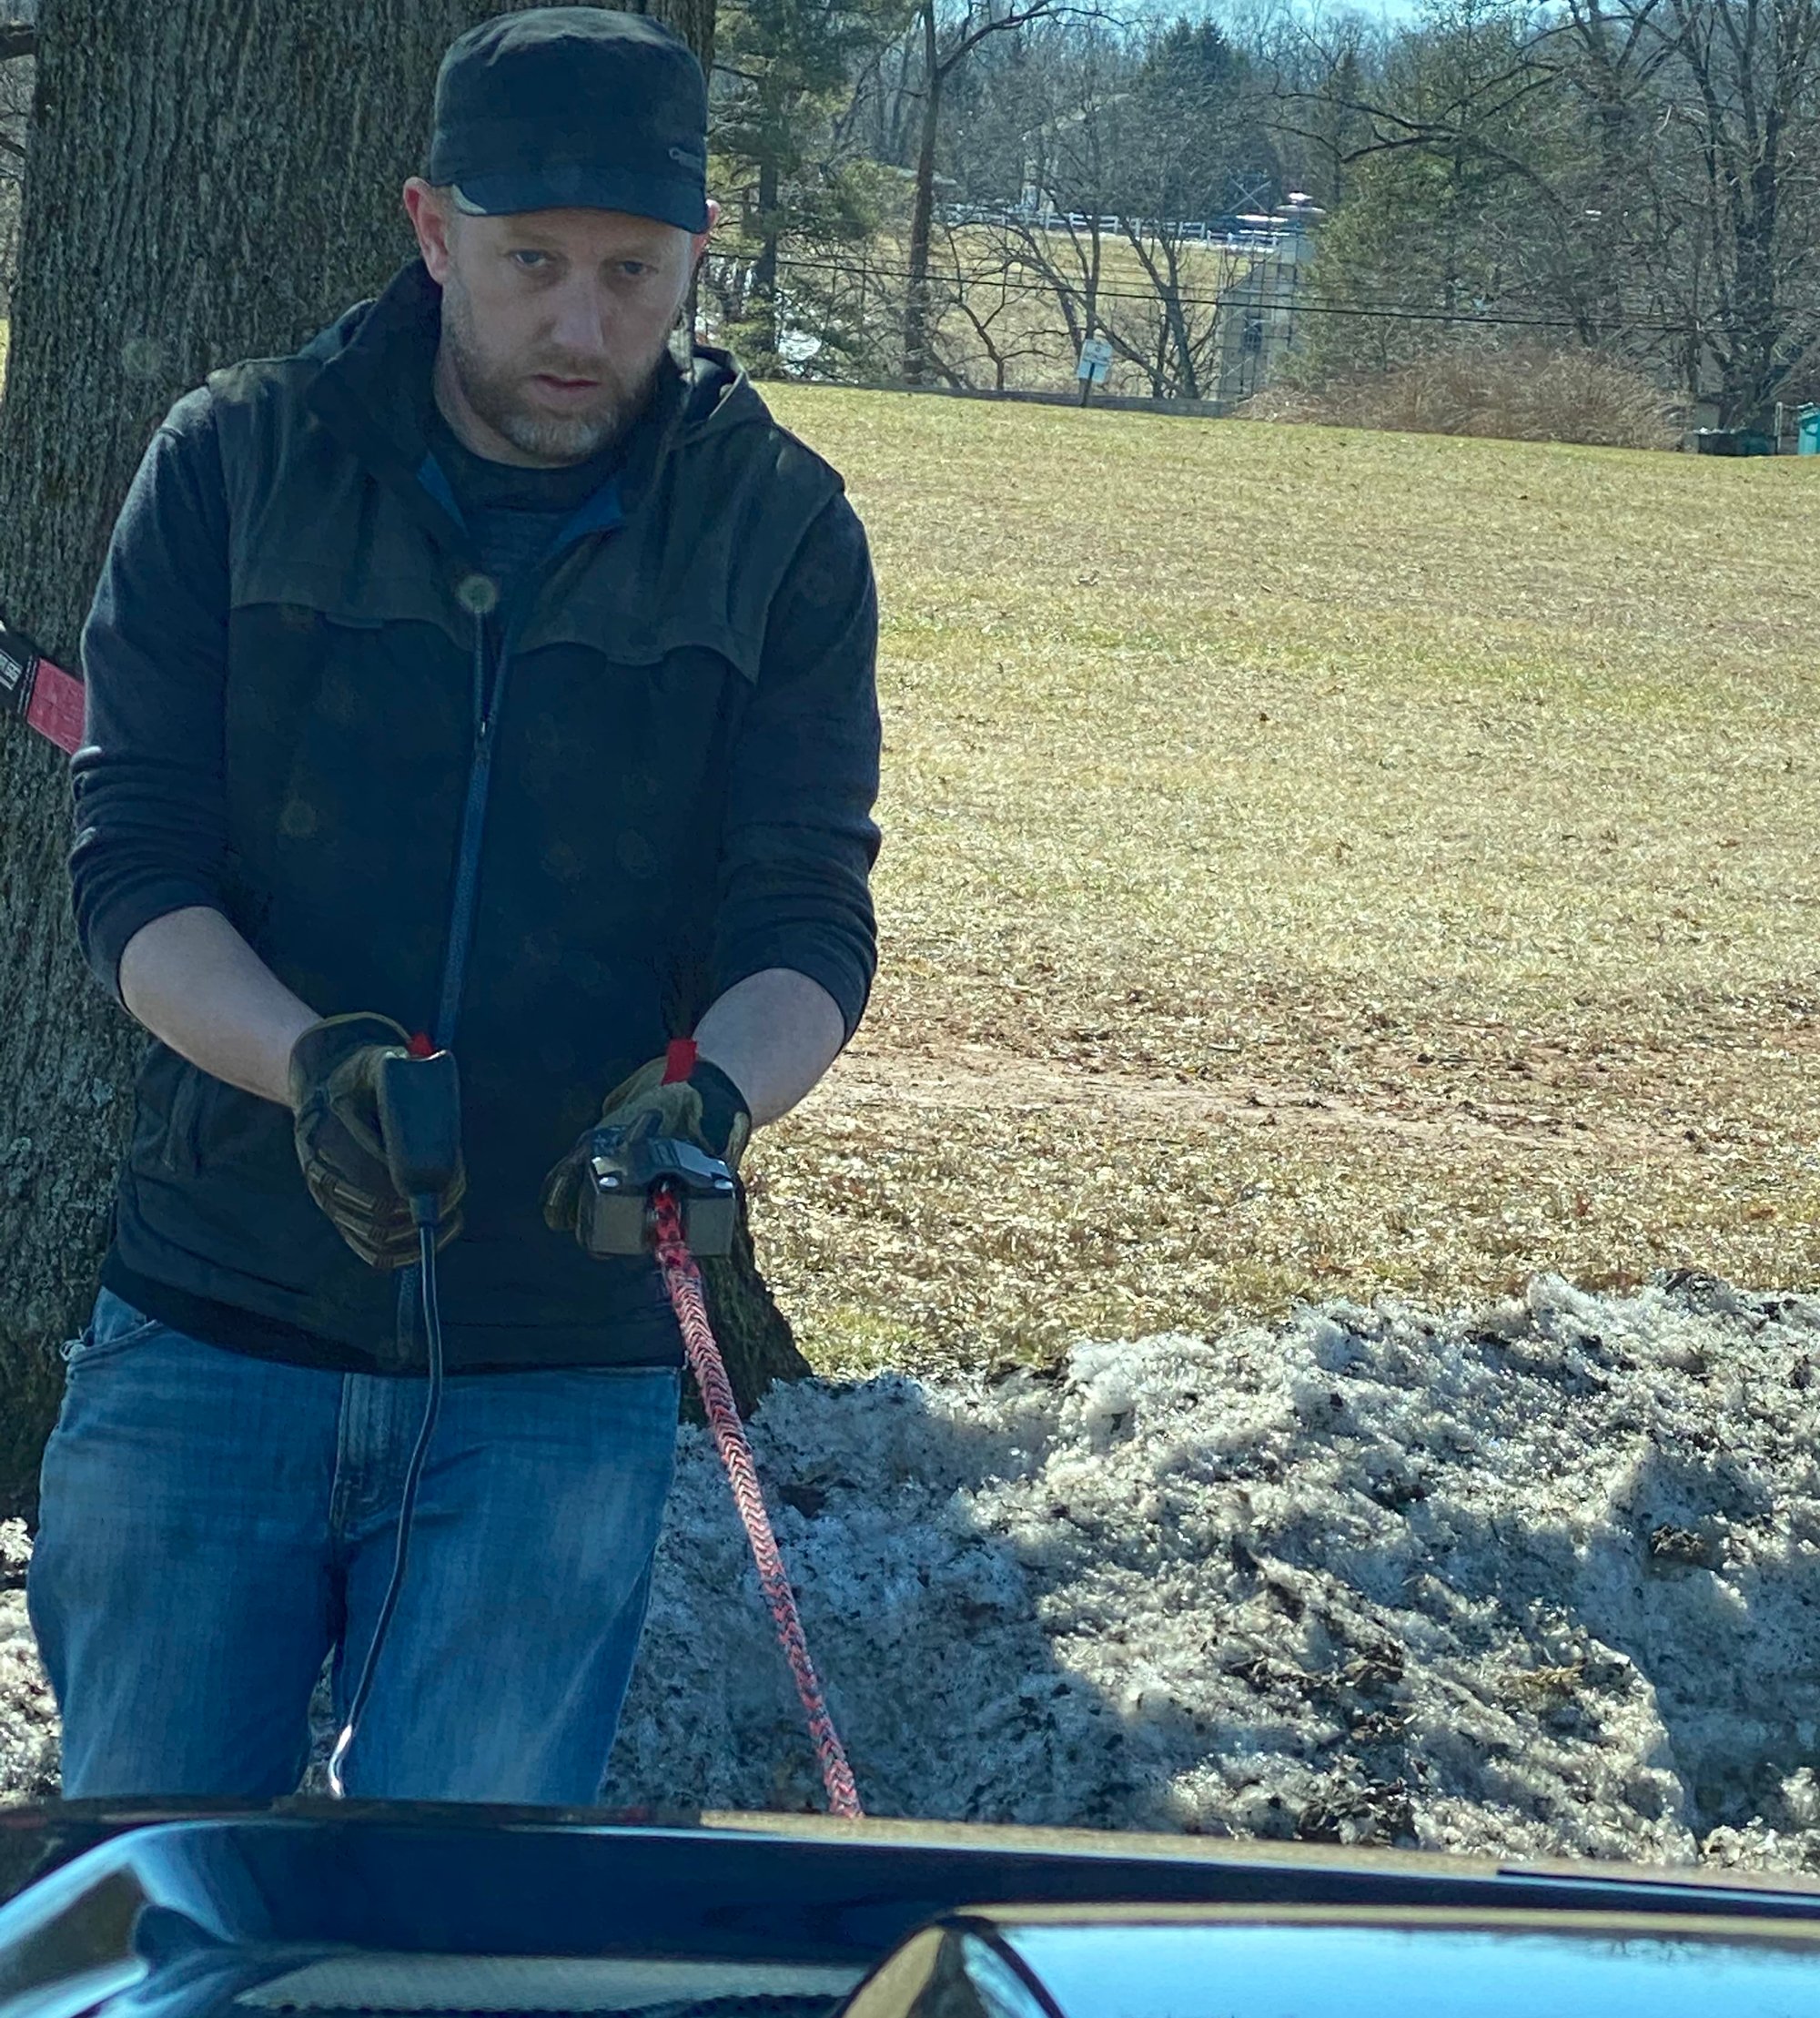
The most efficient way to do this is to employ a partner, because otherwise you will be hopping in and out of your Jeep over and over, every 6 feet of line or so, to make sure that the drum is loading evenly. With a second person involved, this cut the total time down to around 30 minutes — including setting up the rigging, clearing one error, and photography.
Safety Notes:
As with any other recovery operation, we recommend you wear gloves, even with synthetic winch rope. At the very least it is a barrier against abrasion injury, and even though the Spydura rope I’m handling is substantially softer, it can pick up and hold on to debris. Also, do not step over or handle a winch line under tension, as the risk of injury is high.
Always use the winch to place the line under load, rather than moving the vehicle to take up the final amount of slack. This will keep an unnecessary shock load against the brake of your winch. Do not step over any part of the winch rope at any time while the winch or vehicle is in motion. Also, ensure the winch is pulling rope in on the underside of the drum.
Required equipment in addition to your winch and partner:
- Winch remote for your winch
- A solid anchor point (a sturdy vehicle recovery point or immovable object)
- Tree saver strap if you’re using a tree
- Shackles (steel D-ring or soft)
Before starting, make sure both team members understand the pre-tensioning process and their roles.
The driver will be in charge of:
- Evenly applying the brake to create resistance against the winch
- Steering the vehicle in motion to remain centered in relation to the anchor point
- Setting the brake, putting the vehicle in gear when required for safety
The winch operator will be in charge of:
- Directing the driver’s actions
- Operating the winch remote for cable in/cable out
- Verifying that all wraps are even and tight
- Clearing any bad wraps of rope
Pace out approximate length from your anchor point (in our case, the tree) using each pace as 3 feet, and subtracting about 20 feet from your total winch rope capacity. In our case this was 80 feet, or about 27 paces. This measurement isn’t critical down to the foot, but will give you an idea how much total room you will require.
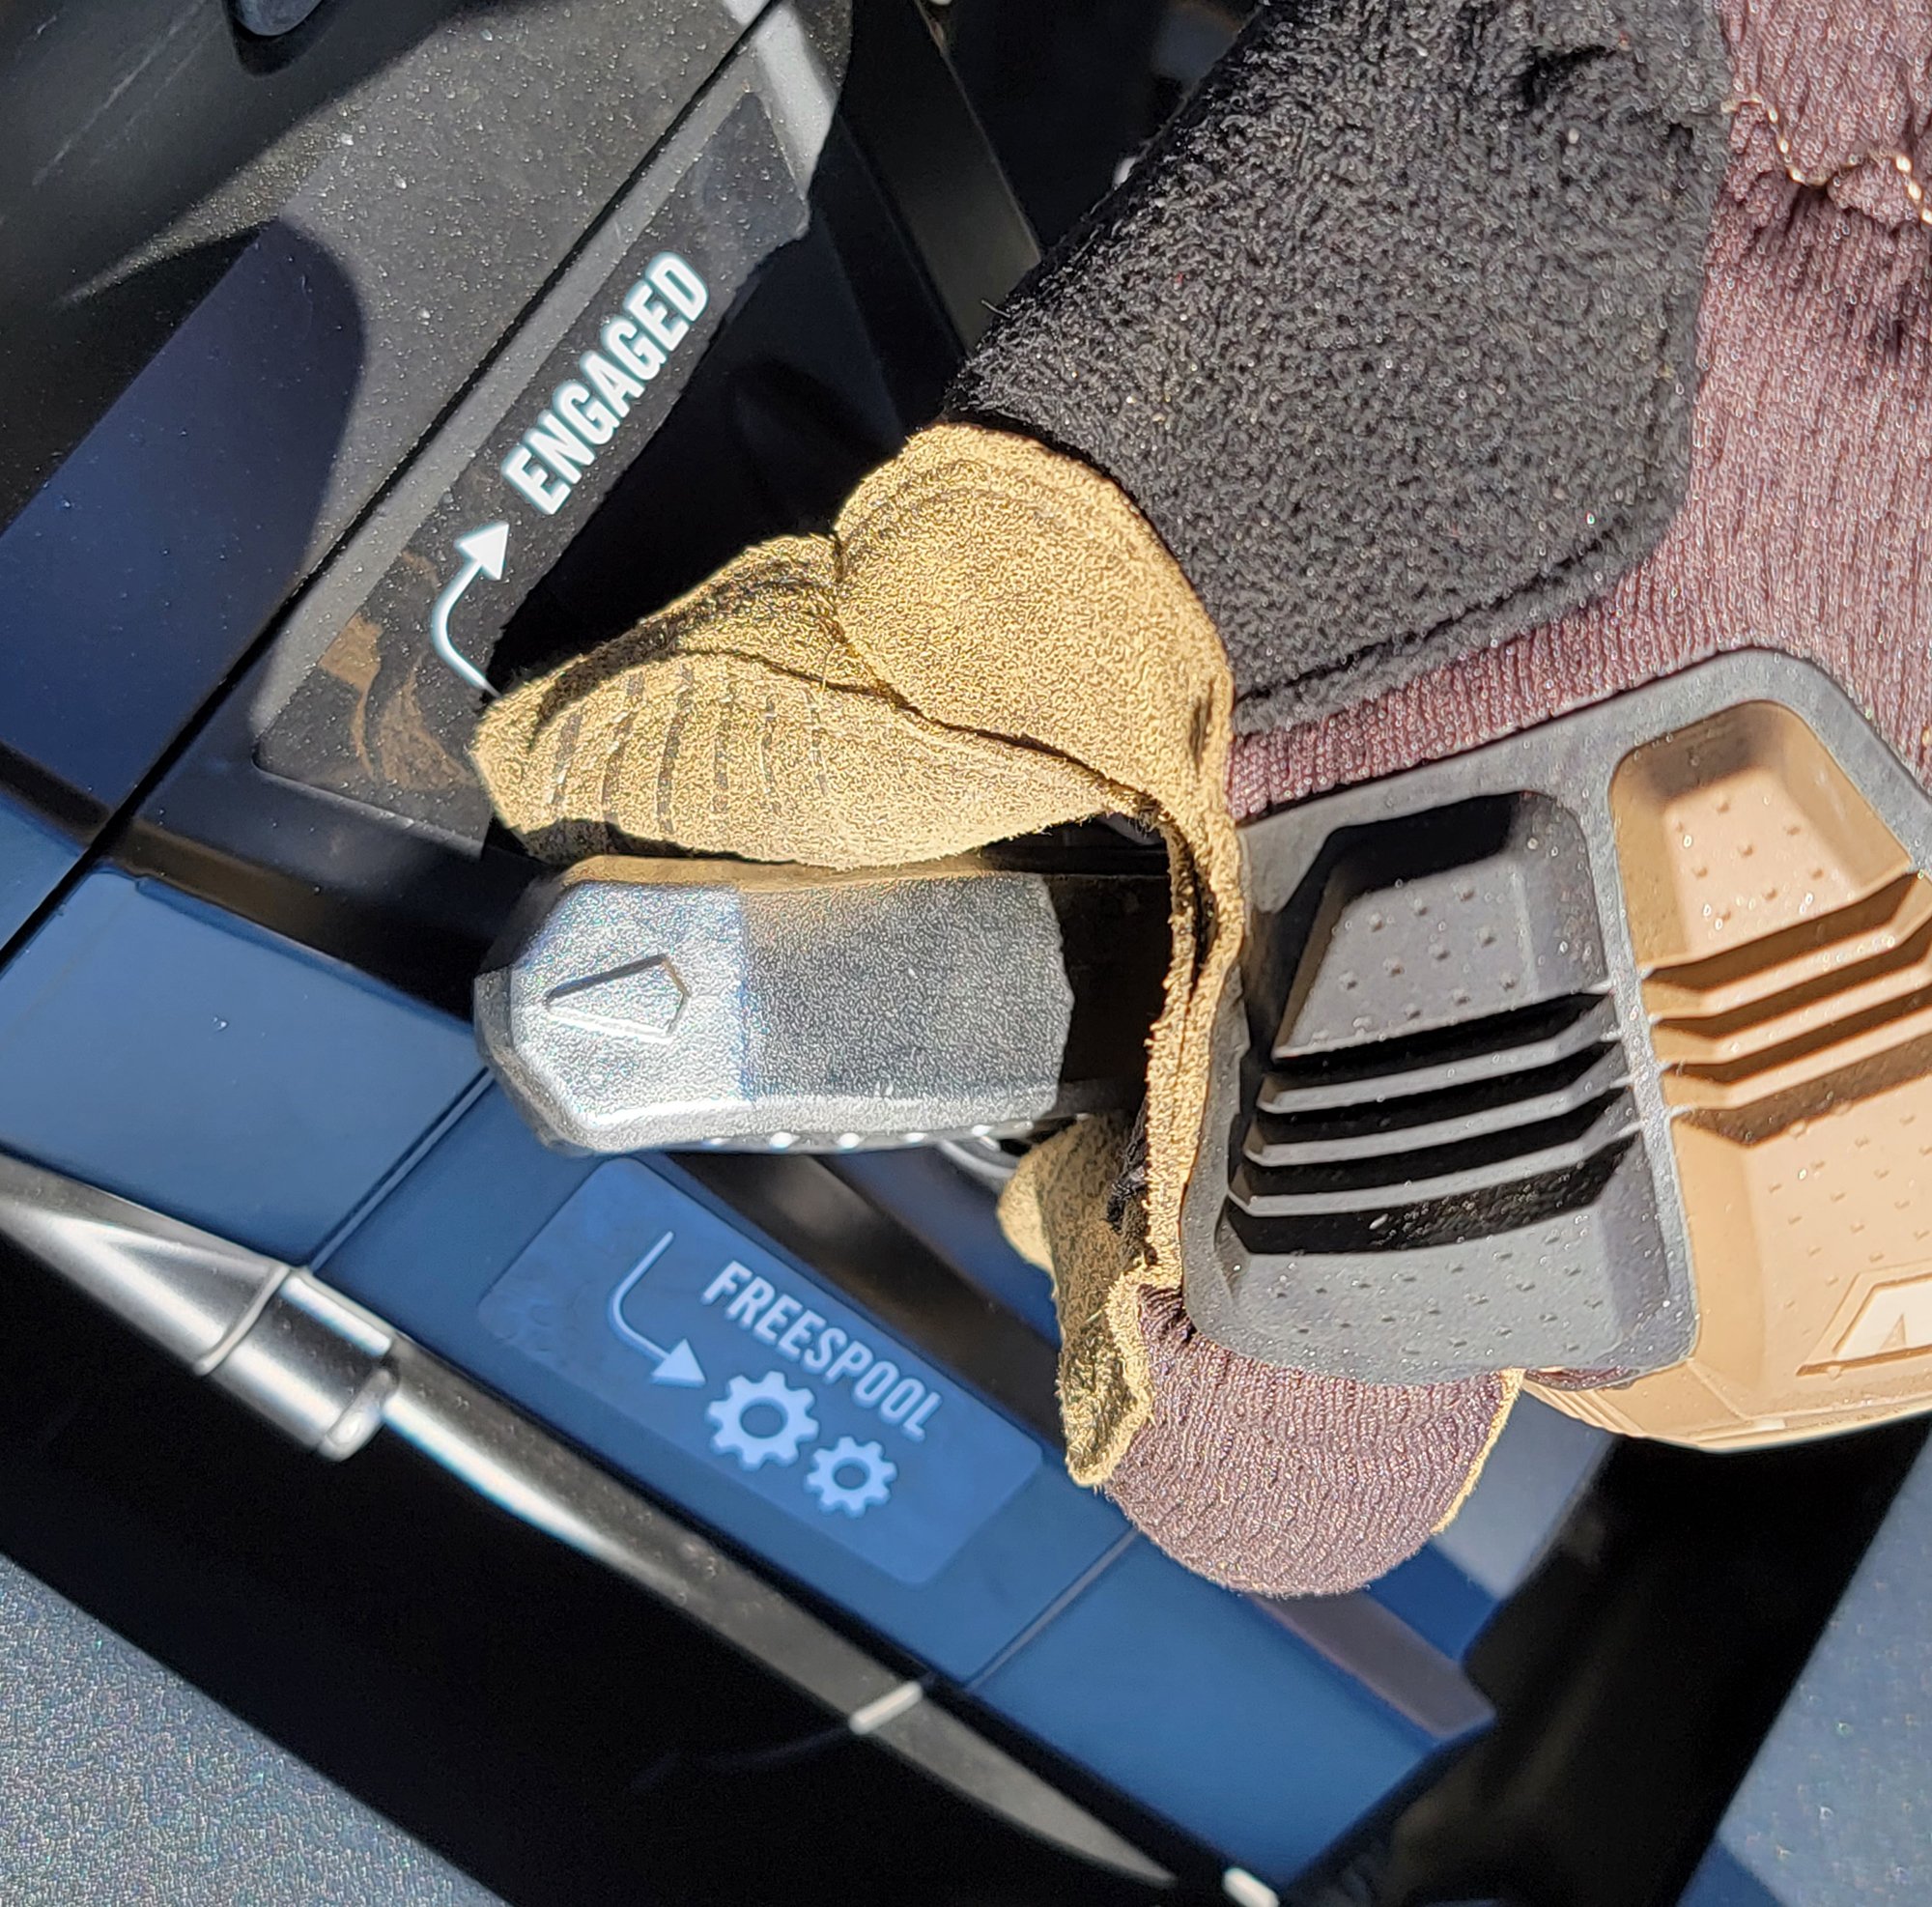
Start by disengaging the clutch to allow you to pull the rope out towards your anchor point.
Leave about 10 to 12 wraps around the drum, in this case all of those wraps are covered in heat sleeve. This protects the rope from heat damage when the winch is in operation.
When you get to your anchor point, connect your winch hook to the tree strap, or by using a shackle attached to a reinforced recovery point on another vehicle.

Have the driver slowly back up the vehicle, with winch clutch disengaged, as the winch operator makes sure there is no tangling in the line, or any other obstructions that could cause interference. When most of the slack is taken up and the rope is barely touching the ground, the driver should apply the brakes, shift into neutral and signal the vehicle is stopped. Once the winch operator receives that signal, the clutch can be engaged.
Before plugging in the remote, the winch operator should verify that the first wraps on the rope are tight and up against each other before proceeding.
The driver should have the vehicle in neutral with the brakes firmly applied during this process and the winch operator should then signal the driver when ready to start winching. When the signal is acknowledged, the operator can then plug in that remote. (Some of this communication seems redundant, but it is all in the name of safety — the more the driver and operator are in sync, the less risk of injury or equipment damage).

The driver should apply enough brake pedal pressure to create resistance, but not so much that those brakes are groaning in an attempt to overpower the winch. When ready, the winch operator can operate the remote’s ‘cable in’ switch.
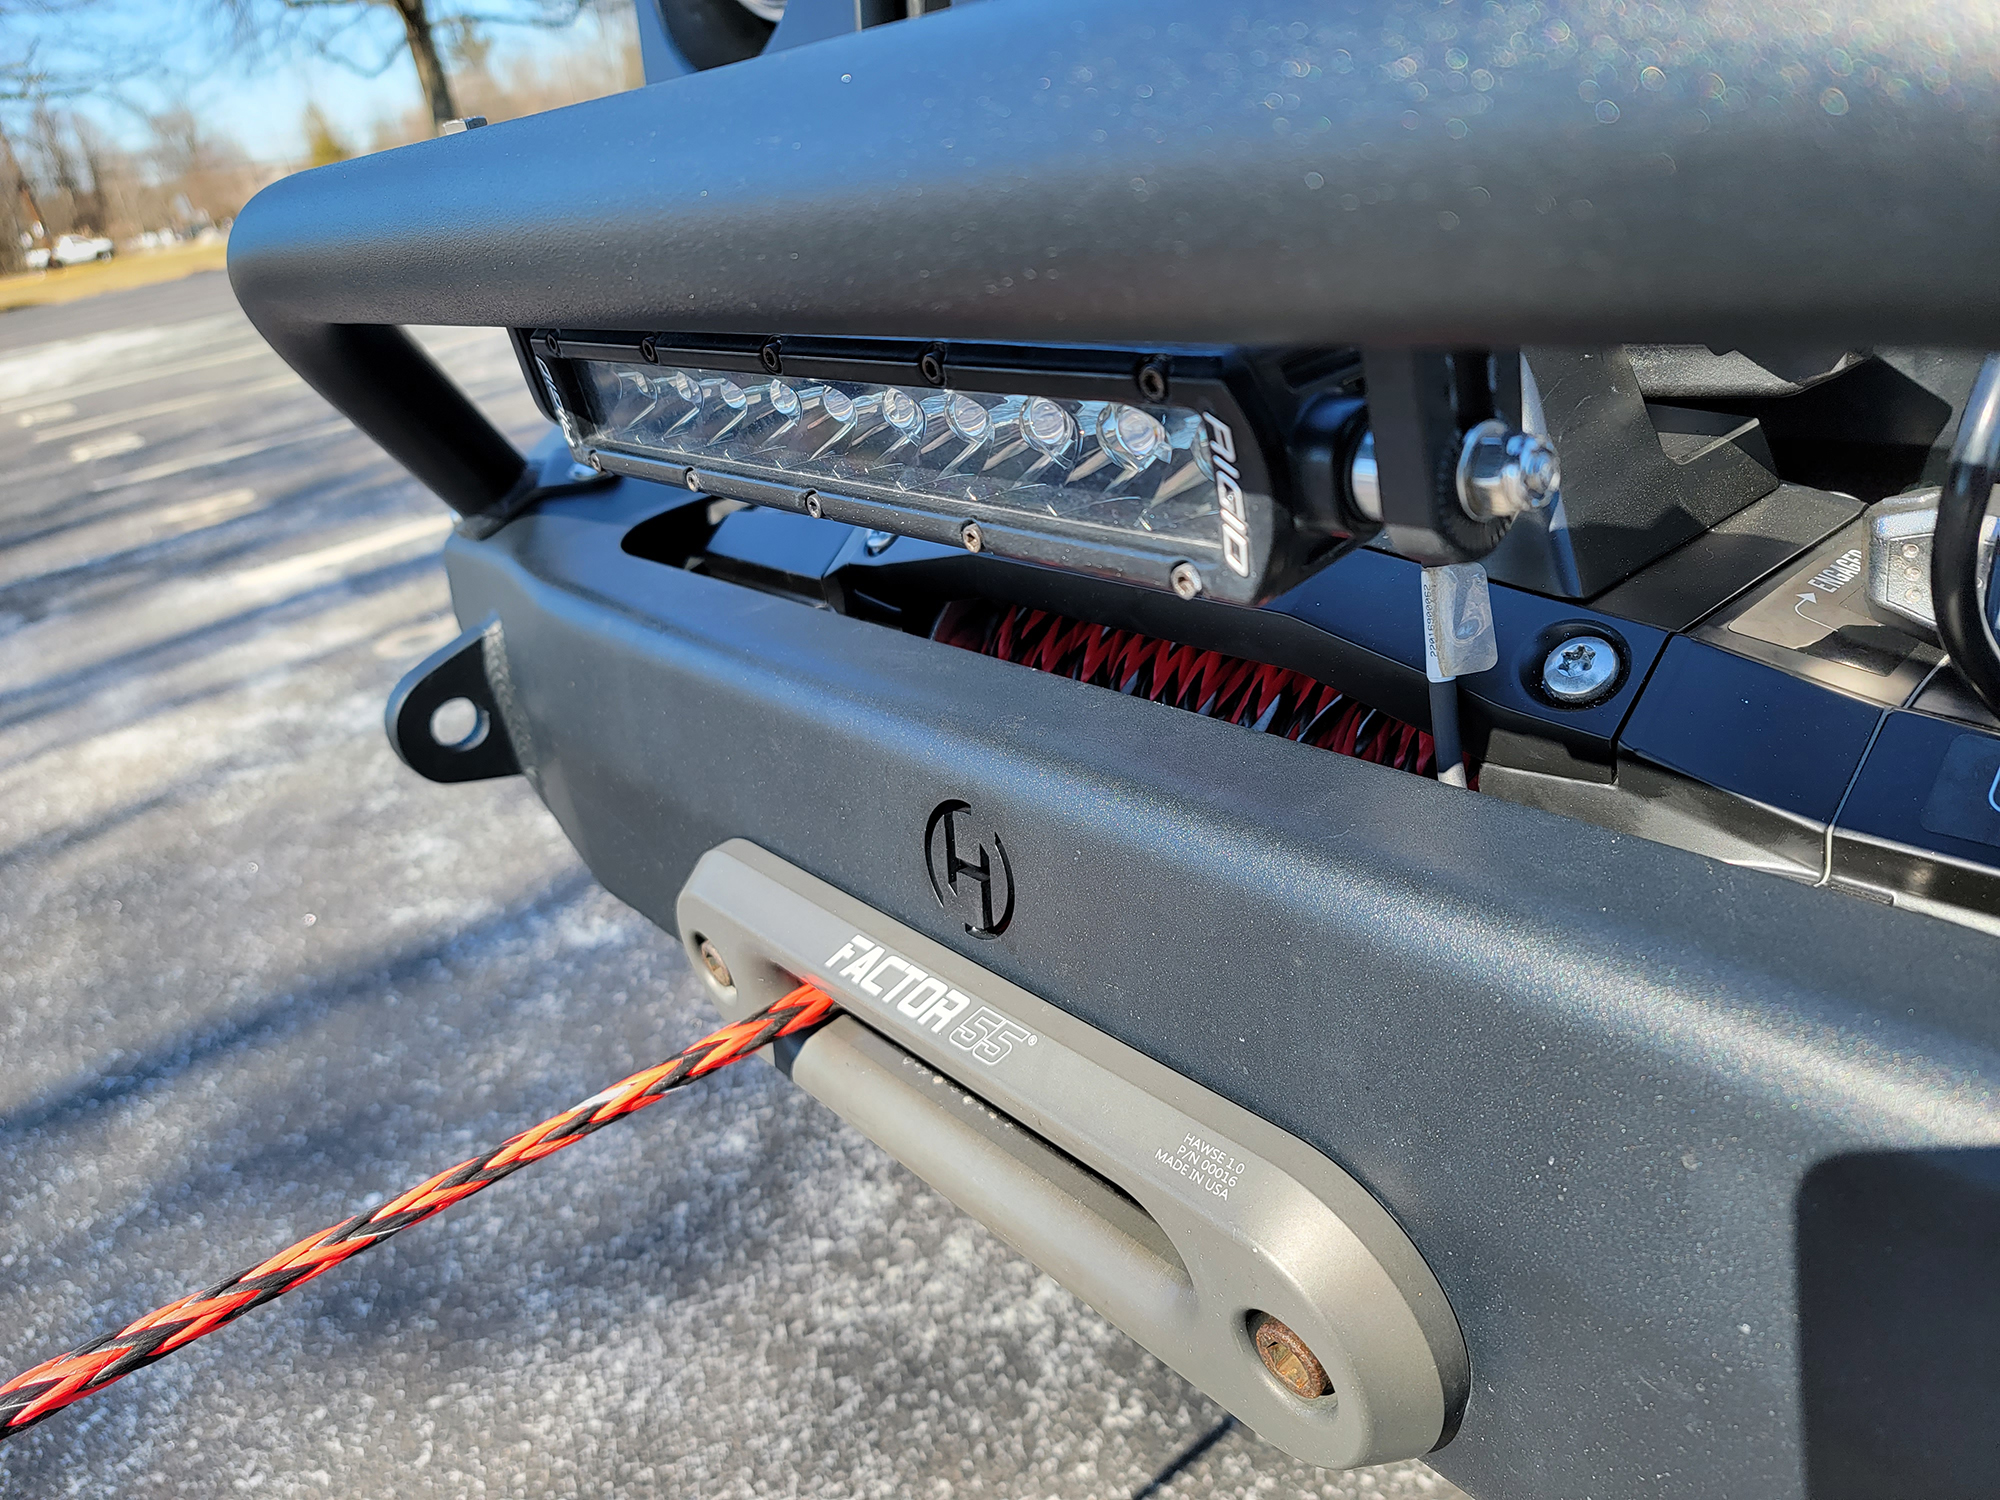
The winch operator should pick a good vantage point where they can keep an eye on the fairlead as the rope spools on to the drum. Also, it is crucial to make sure the winch remote cable does not get caught in the tire or other moving objects during operation.
Stopping periodically to ensure the rope is loading on the spool evenly is a good practice.
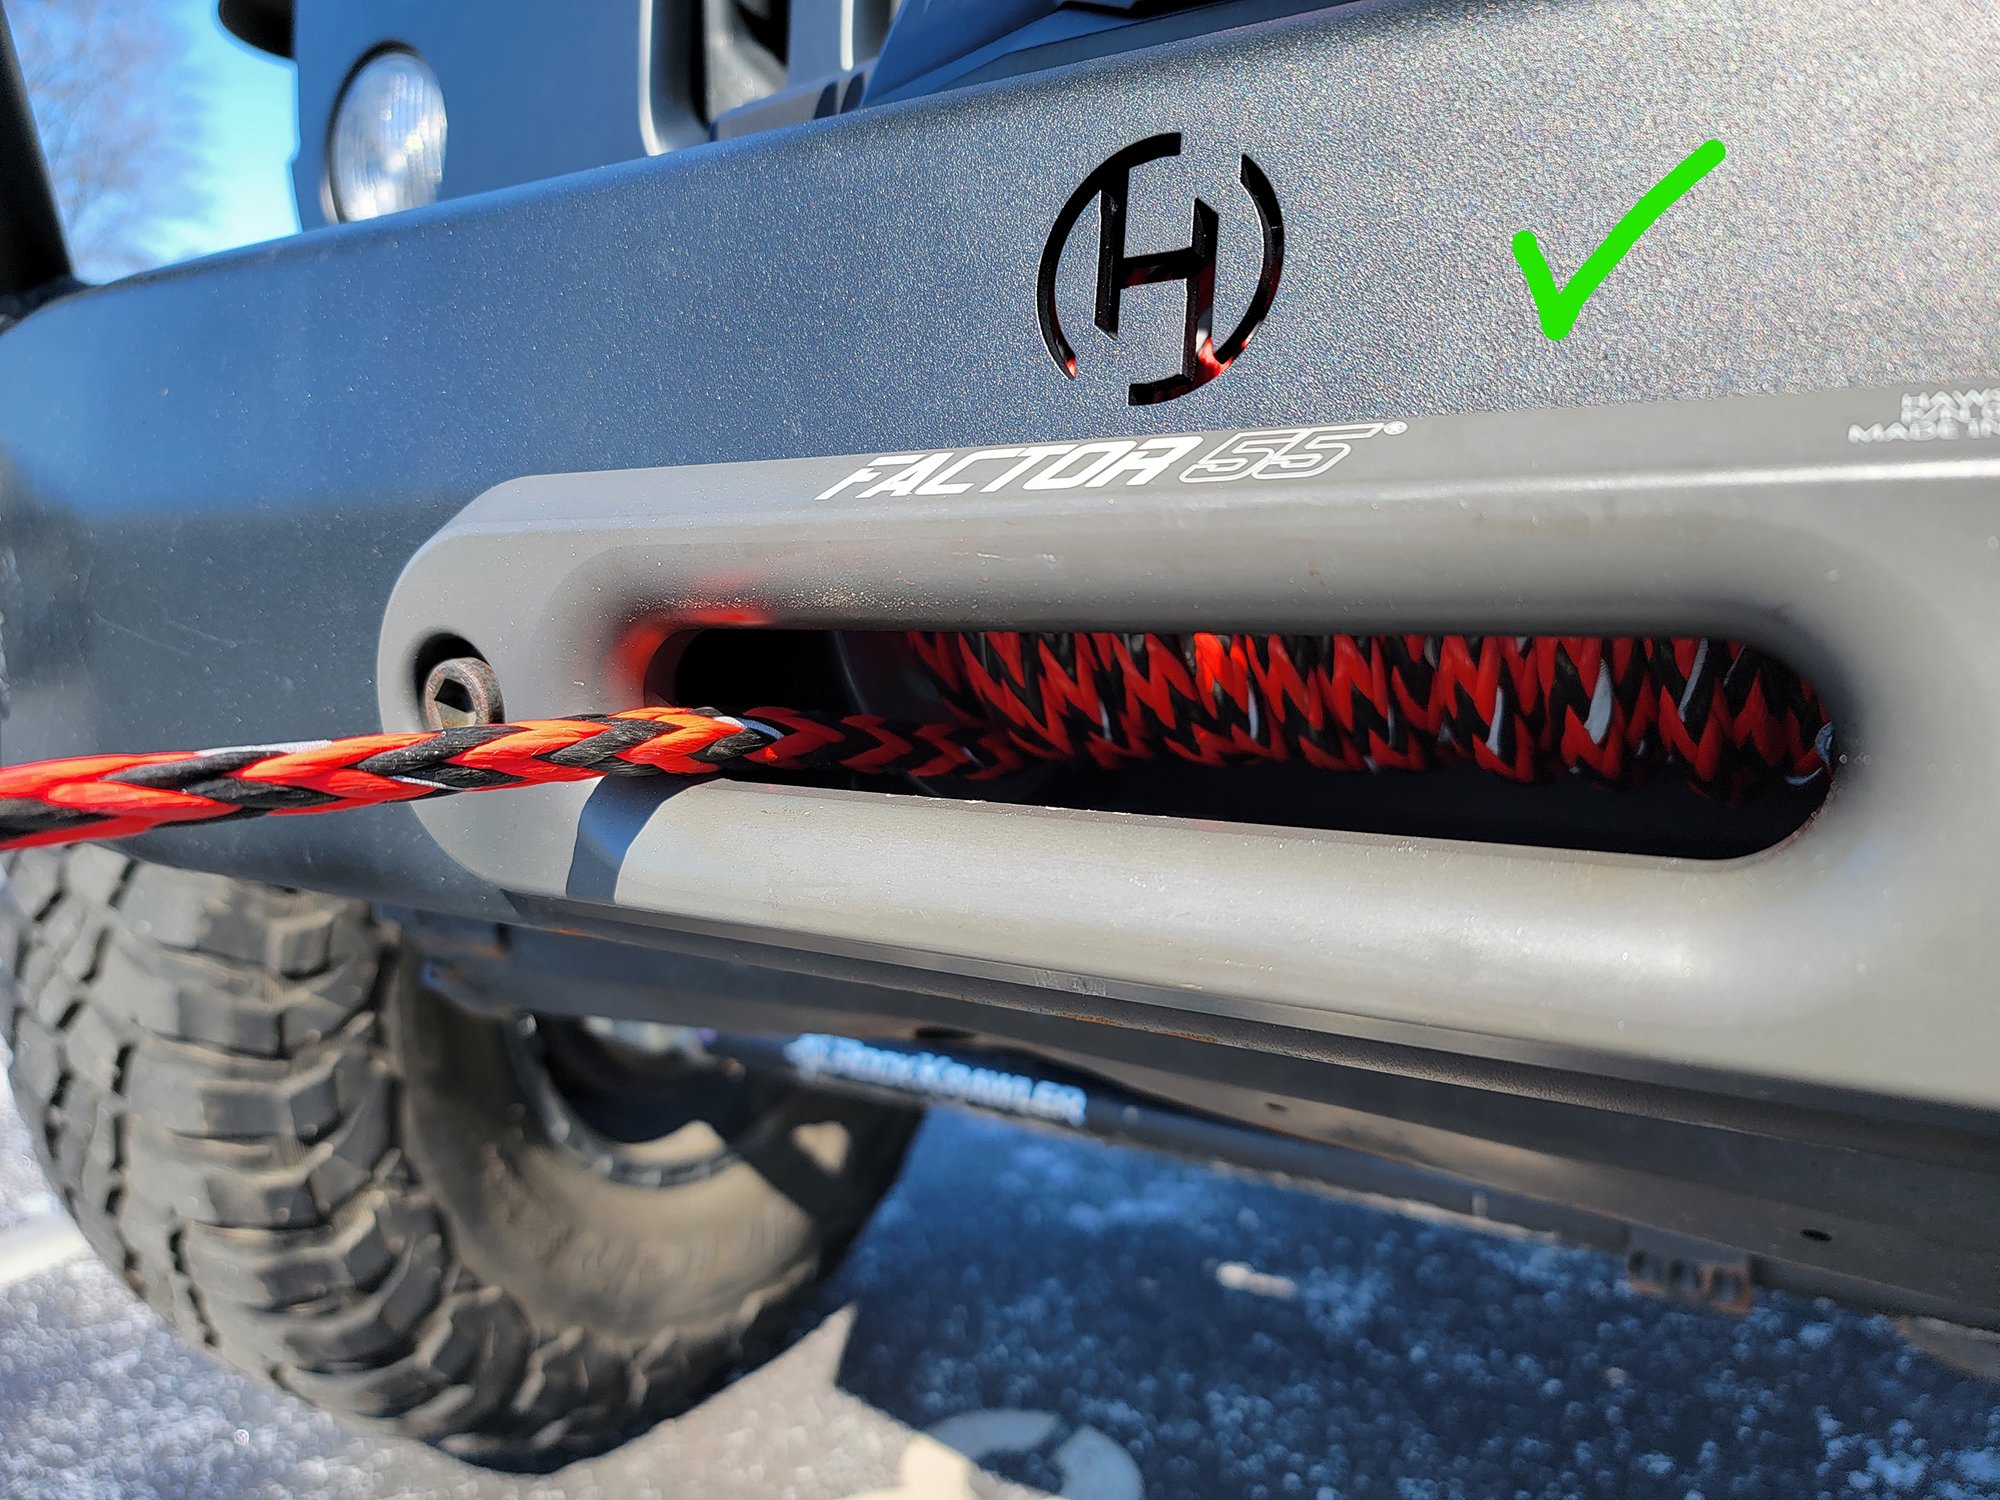
For the most part, the winch rope under load will spool back and forth correctly, but occasionally it can stack up — particularly when reversing directions in a corner of the drum.
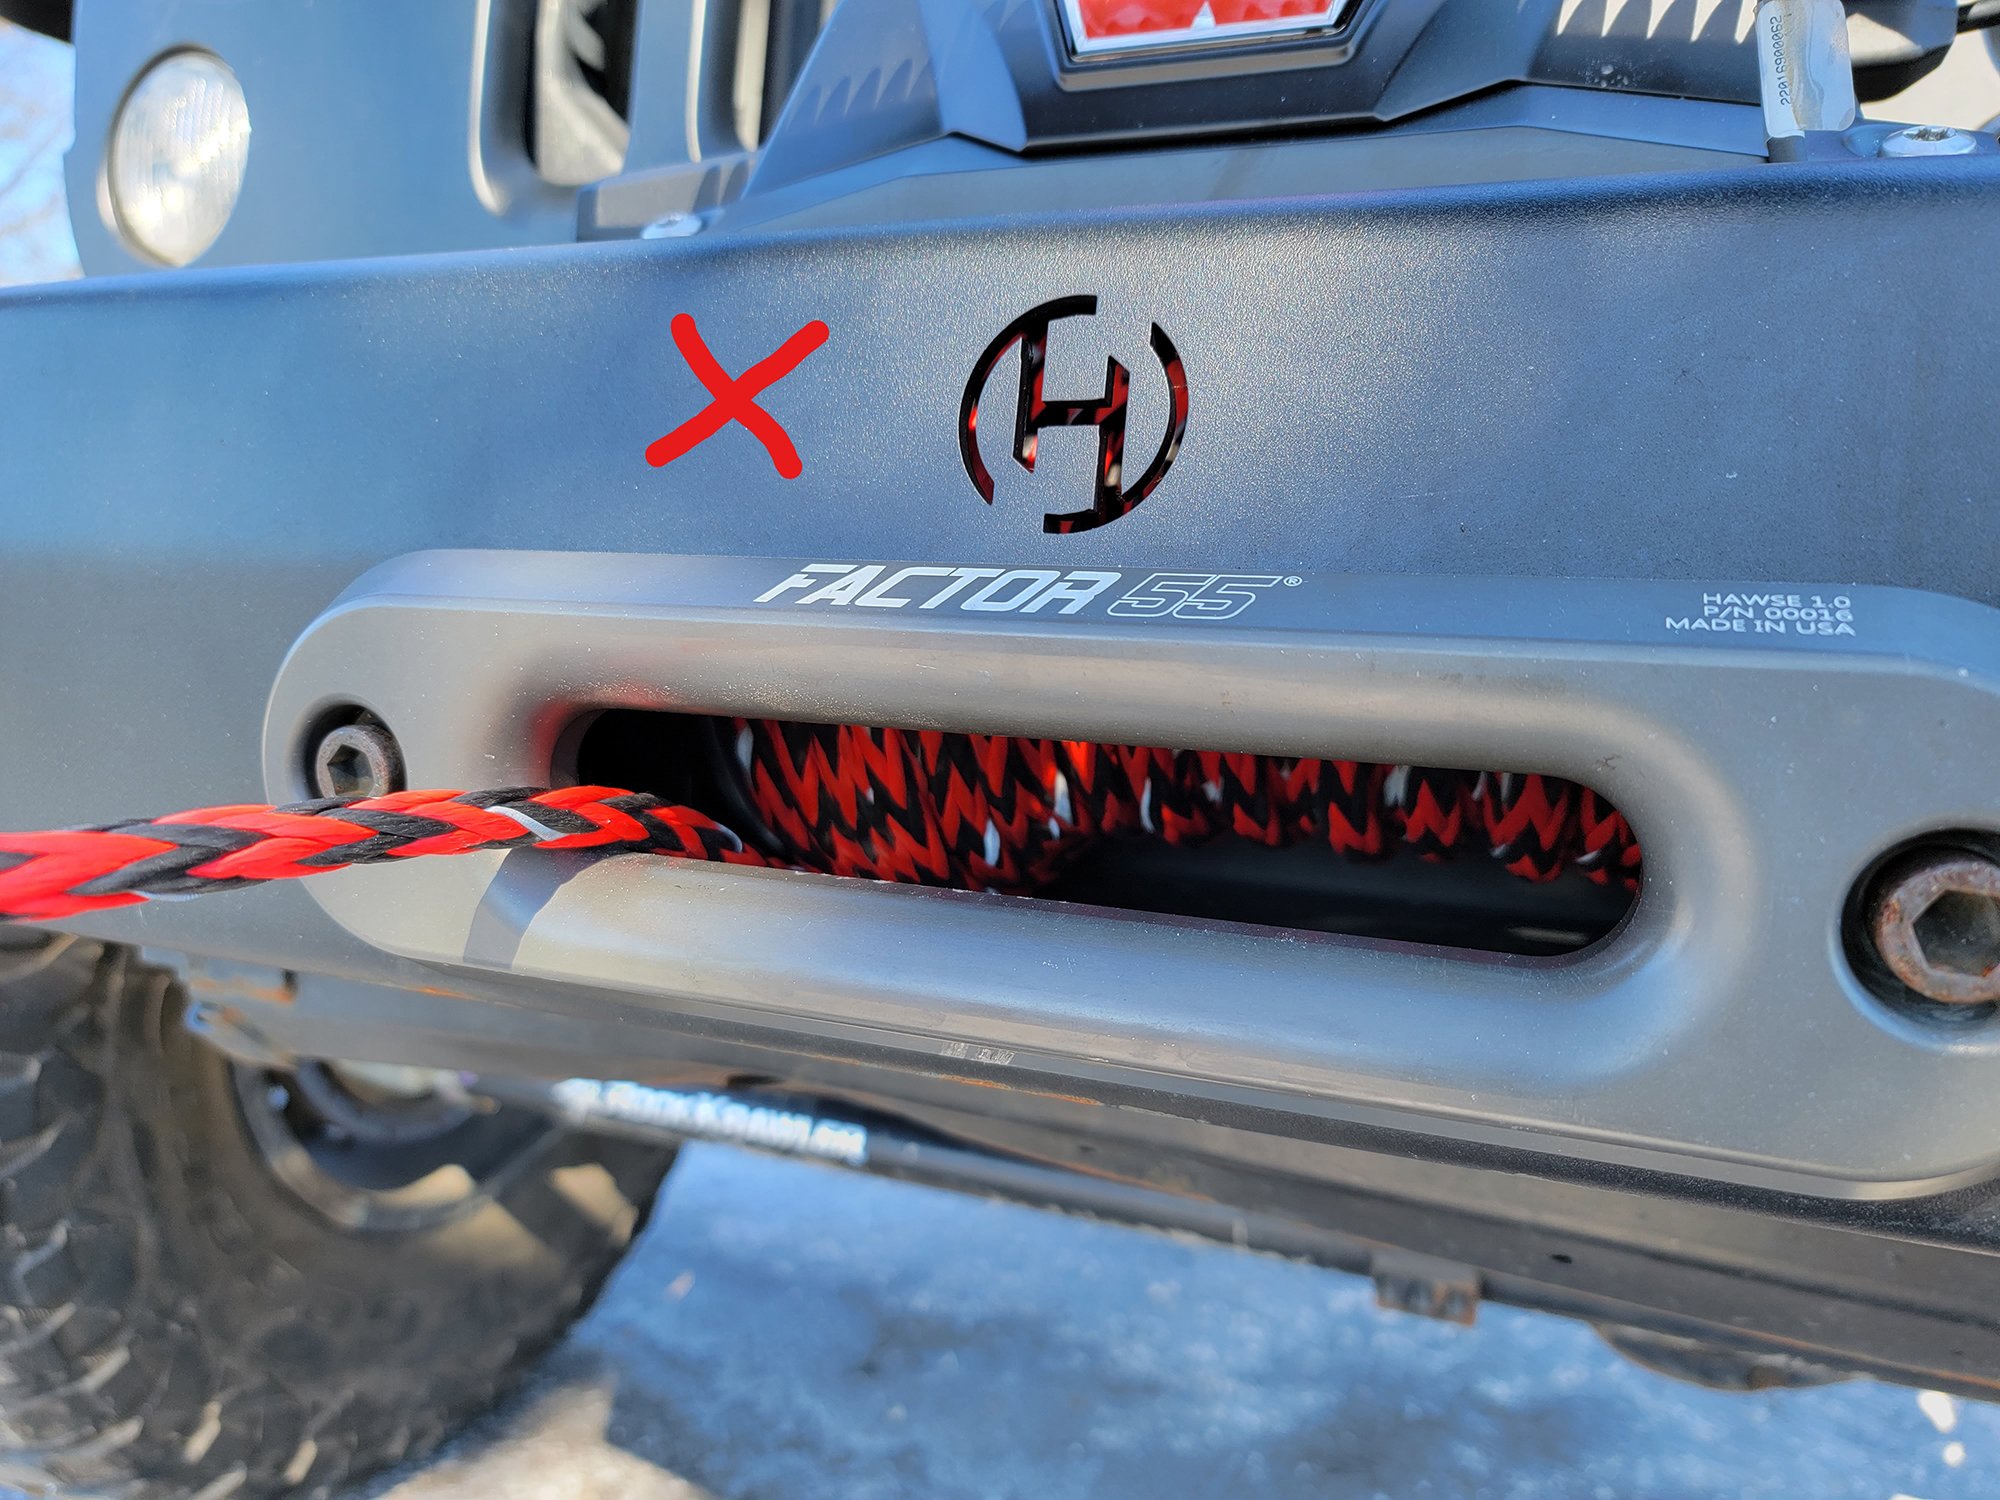
Should this condition occur, have the driver fully apply the brakes. Then, disengage the winch clutch and pull out enough rope until clean wraps are visible.
Have the driver reverse the vehicle slowly until the rope is just barely touching the ground.
Once the rope is almost taut, the driver should apply the brakes and shift back into neutral. The winch operator should then enable the clutch, and continue loading the drum. Verify that the driver is steering the vehicle towards the anchor point as it moves forward.
After the vehicle is within 8-10 feet of the anchor point, the winch operator should signal the driver to fully apply the brakes. The driver should then hold the hook in one hand once it is removed from the anchor point rigging, and the winch remote in the other hand.
Continue to cable in while holding resistance on the rope, walking towards the vehicle as the remaining cable is spooled onto the drum. Please note that care should be observed to avoid the pinch point between the fairlead and hook.
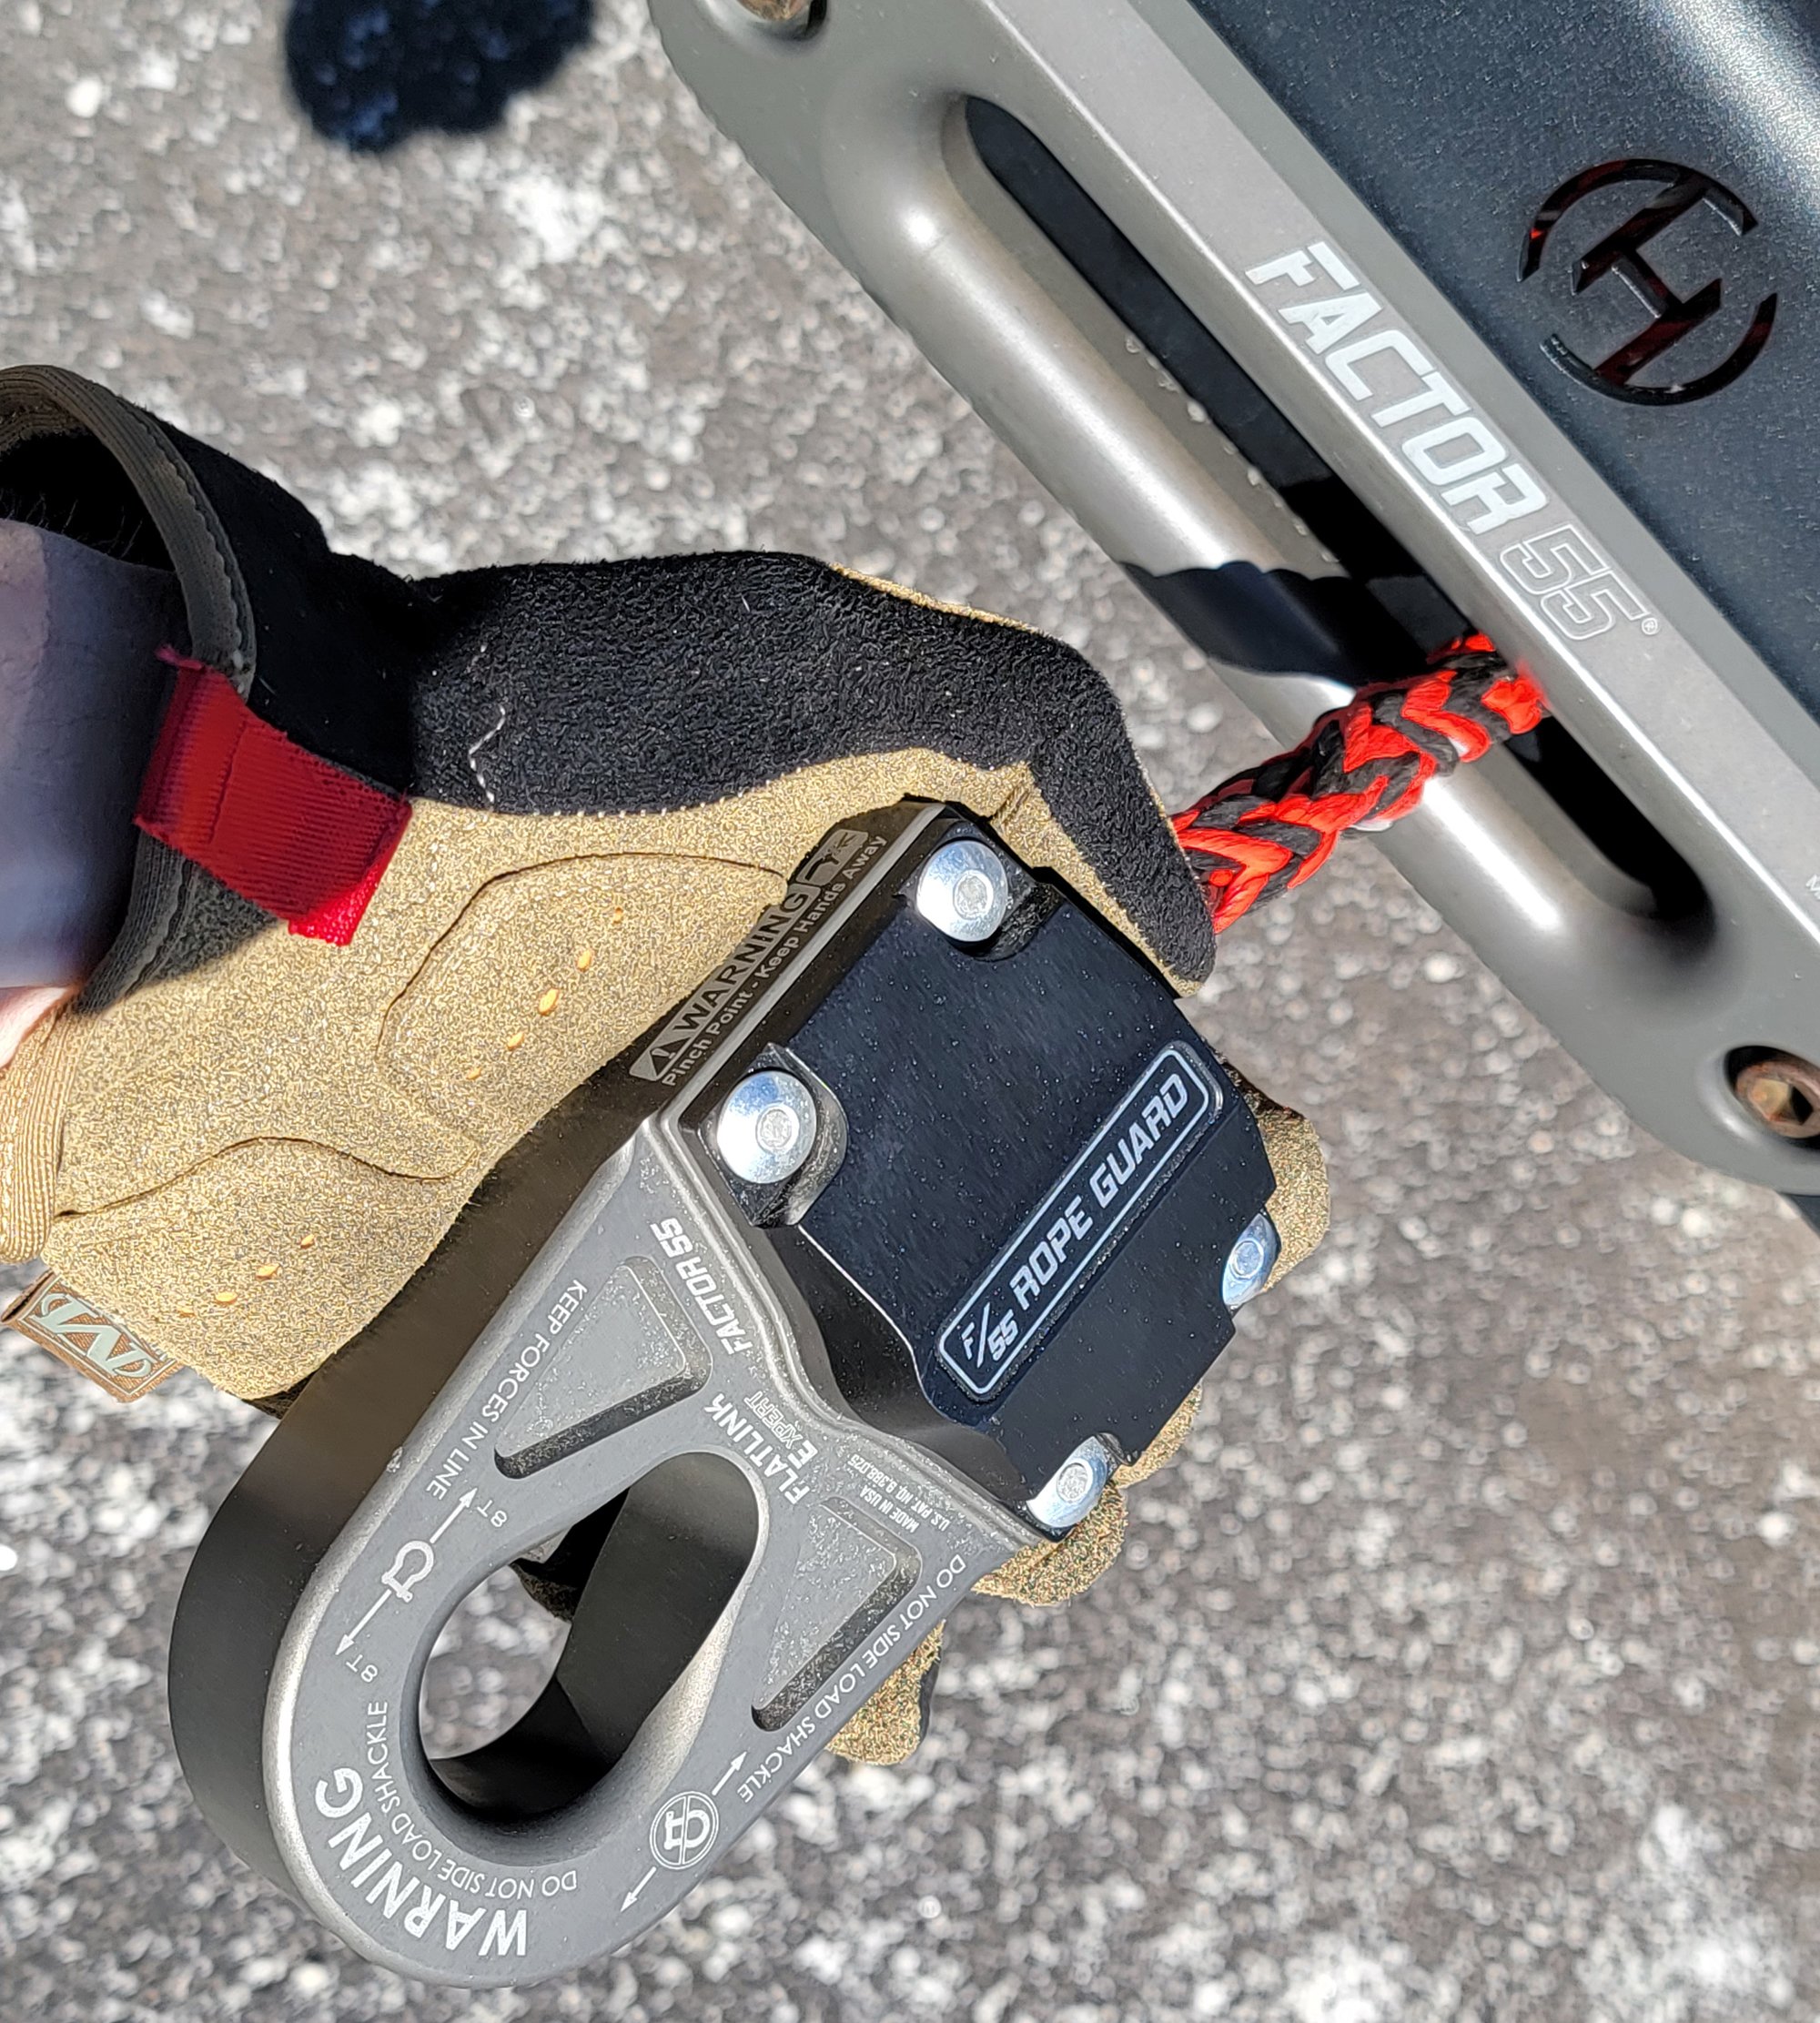
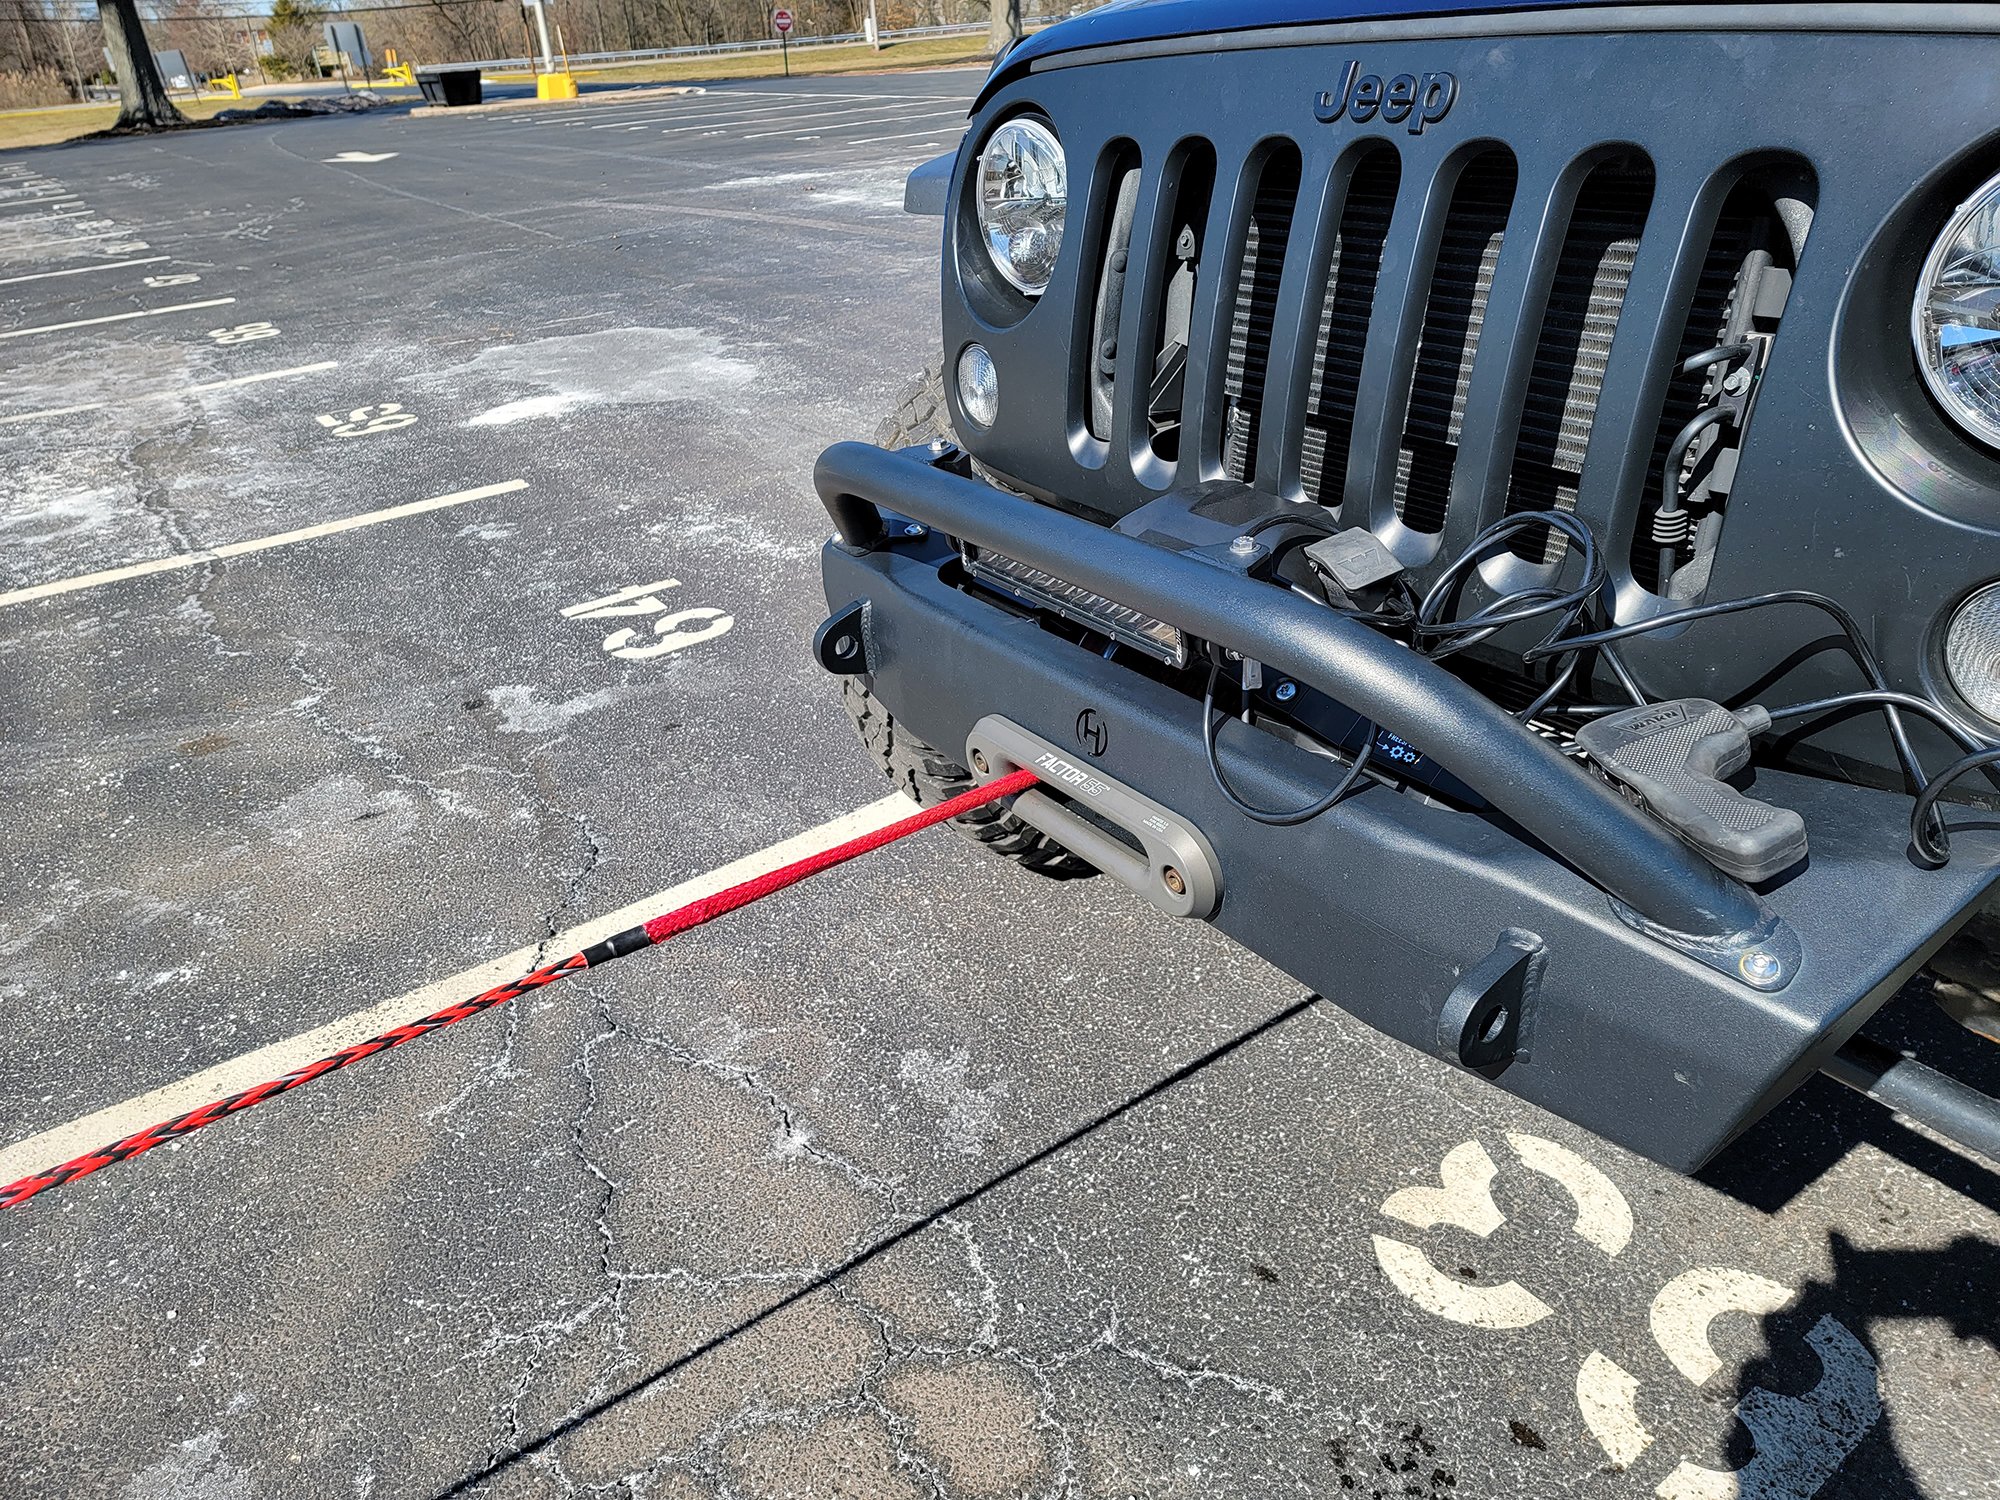
The hook can be secured on a recovery point with a D-ring, or cinched up against the fairlead should you have a Factor 55 FlatLink, ProLink UltraHook, or similar. Keep in mind, the less your synthetic winch rope is exposed to the elements, the better. UV light can damage your rope over time, as well as abrasion or impact with objects on the trail.